
In my previous post about transferring your designs to fabric, I mentioned printing yourself at home. So I thought I’d do a slightly more in depth post on this technique. Whether you have a complicated design that’s too tricky to trace, or you want to stitch a photograph - sometimes printing can be the best option. It's how I created these pieces:
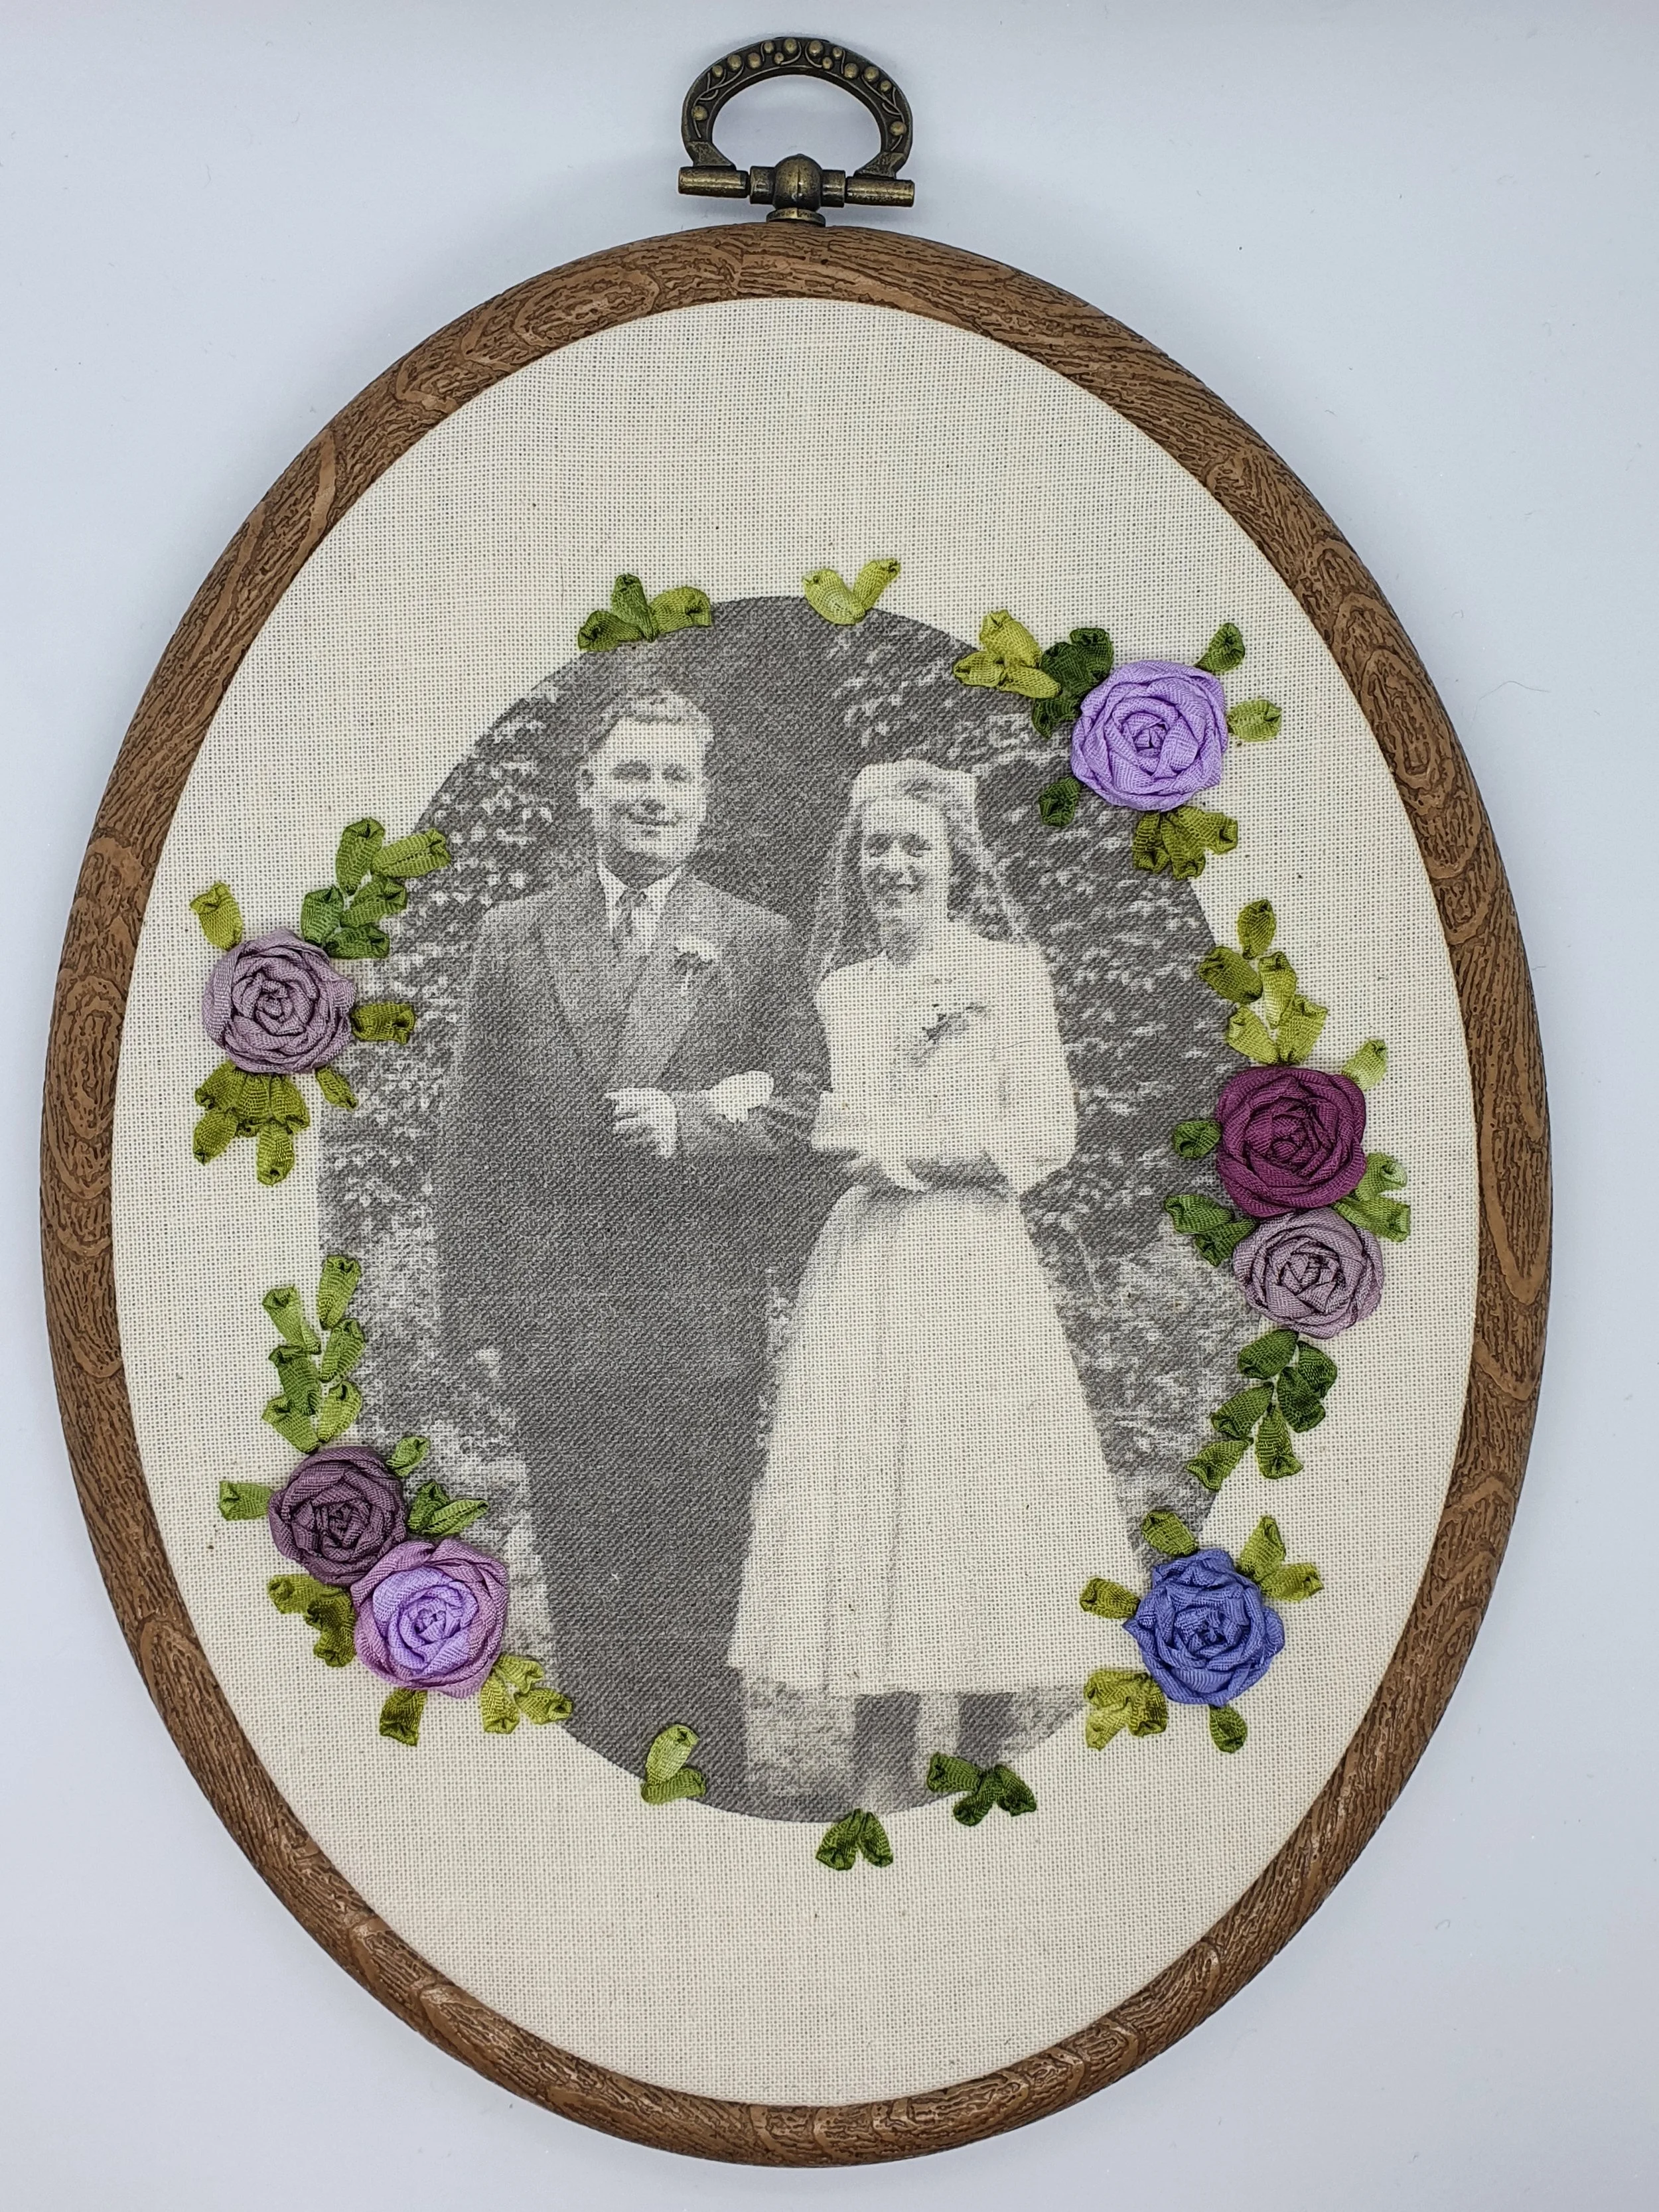
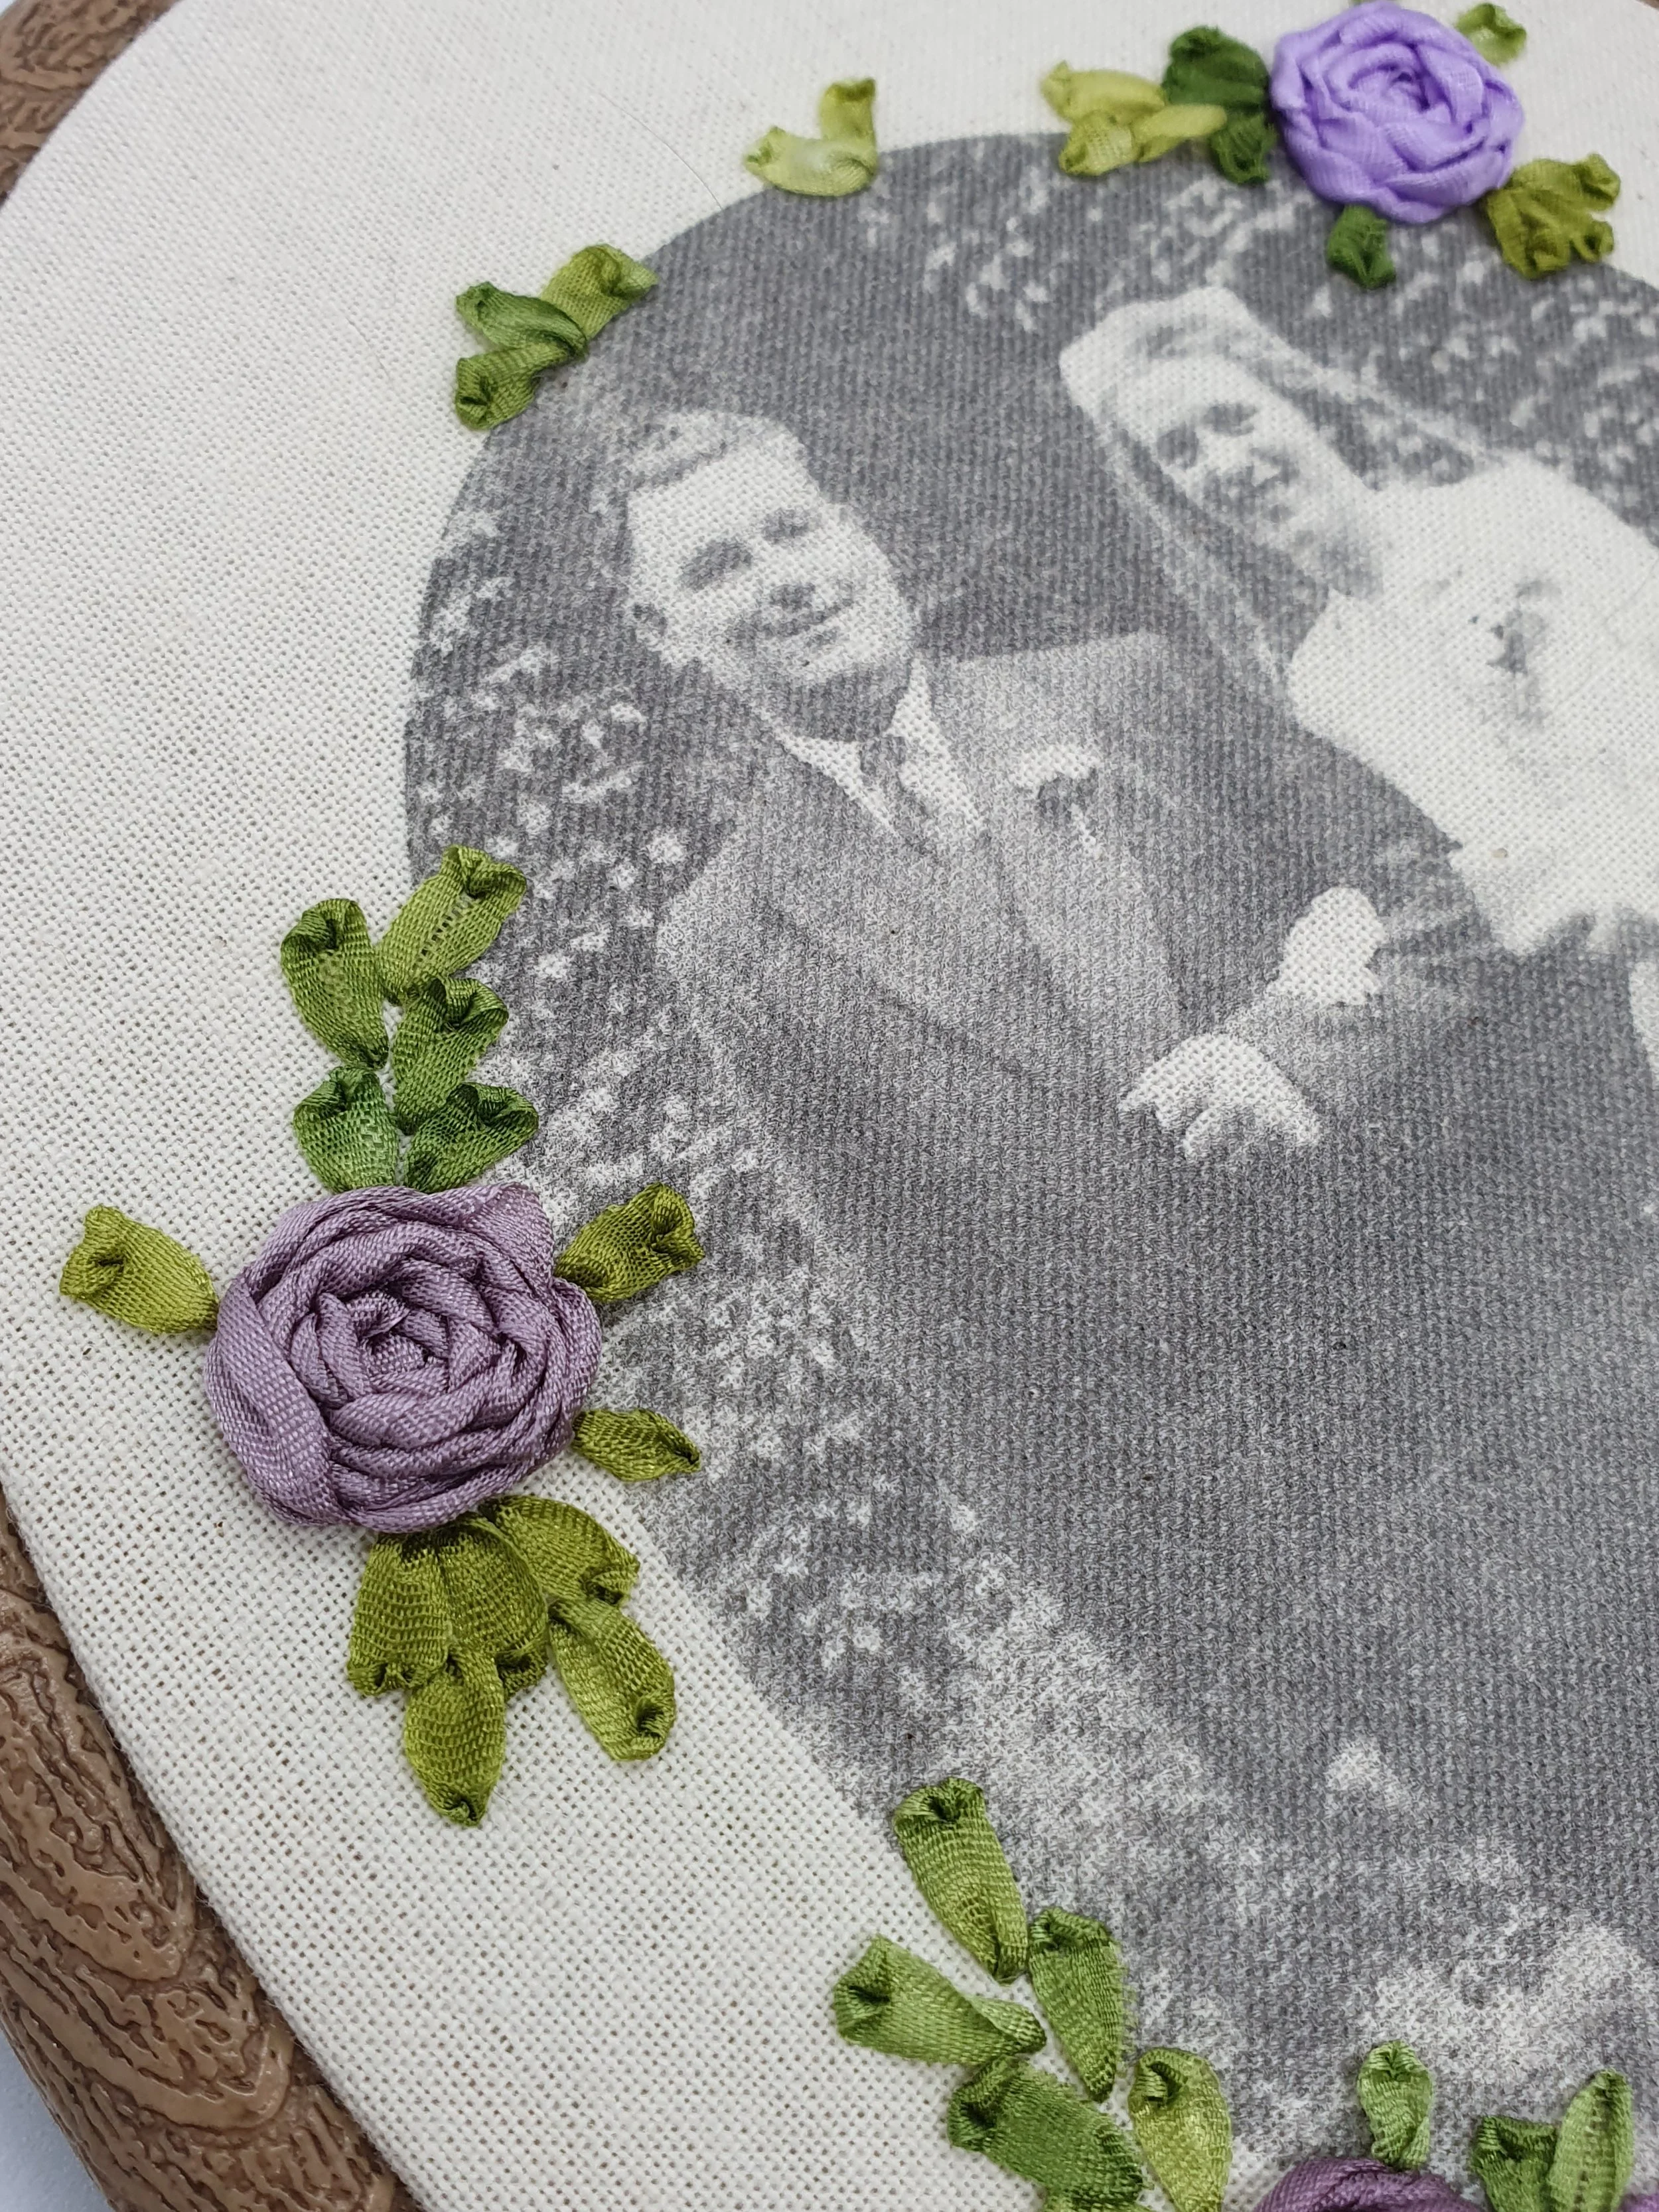
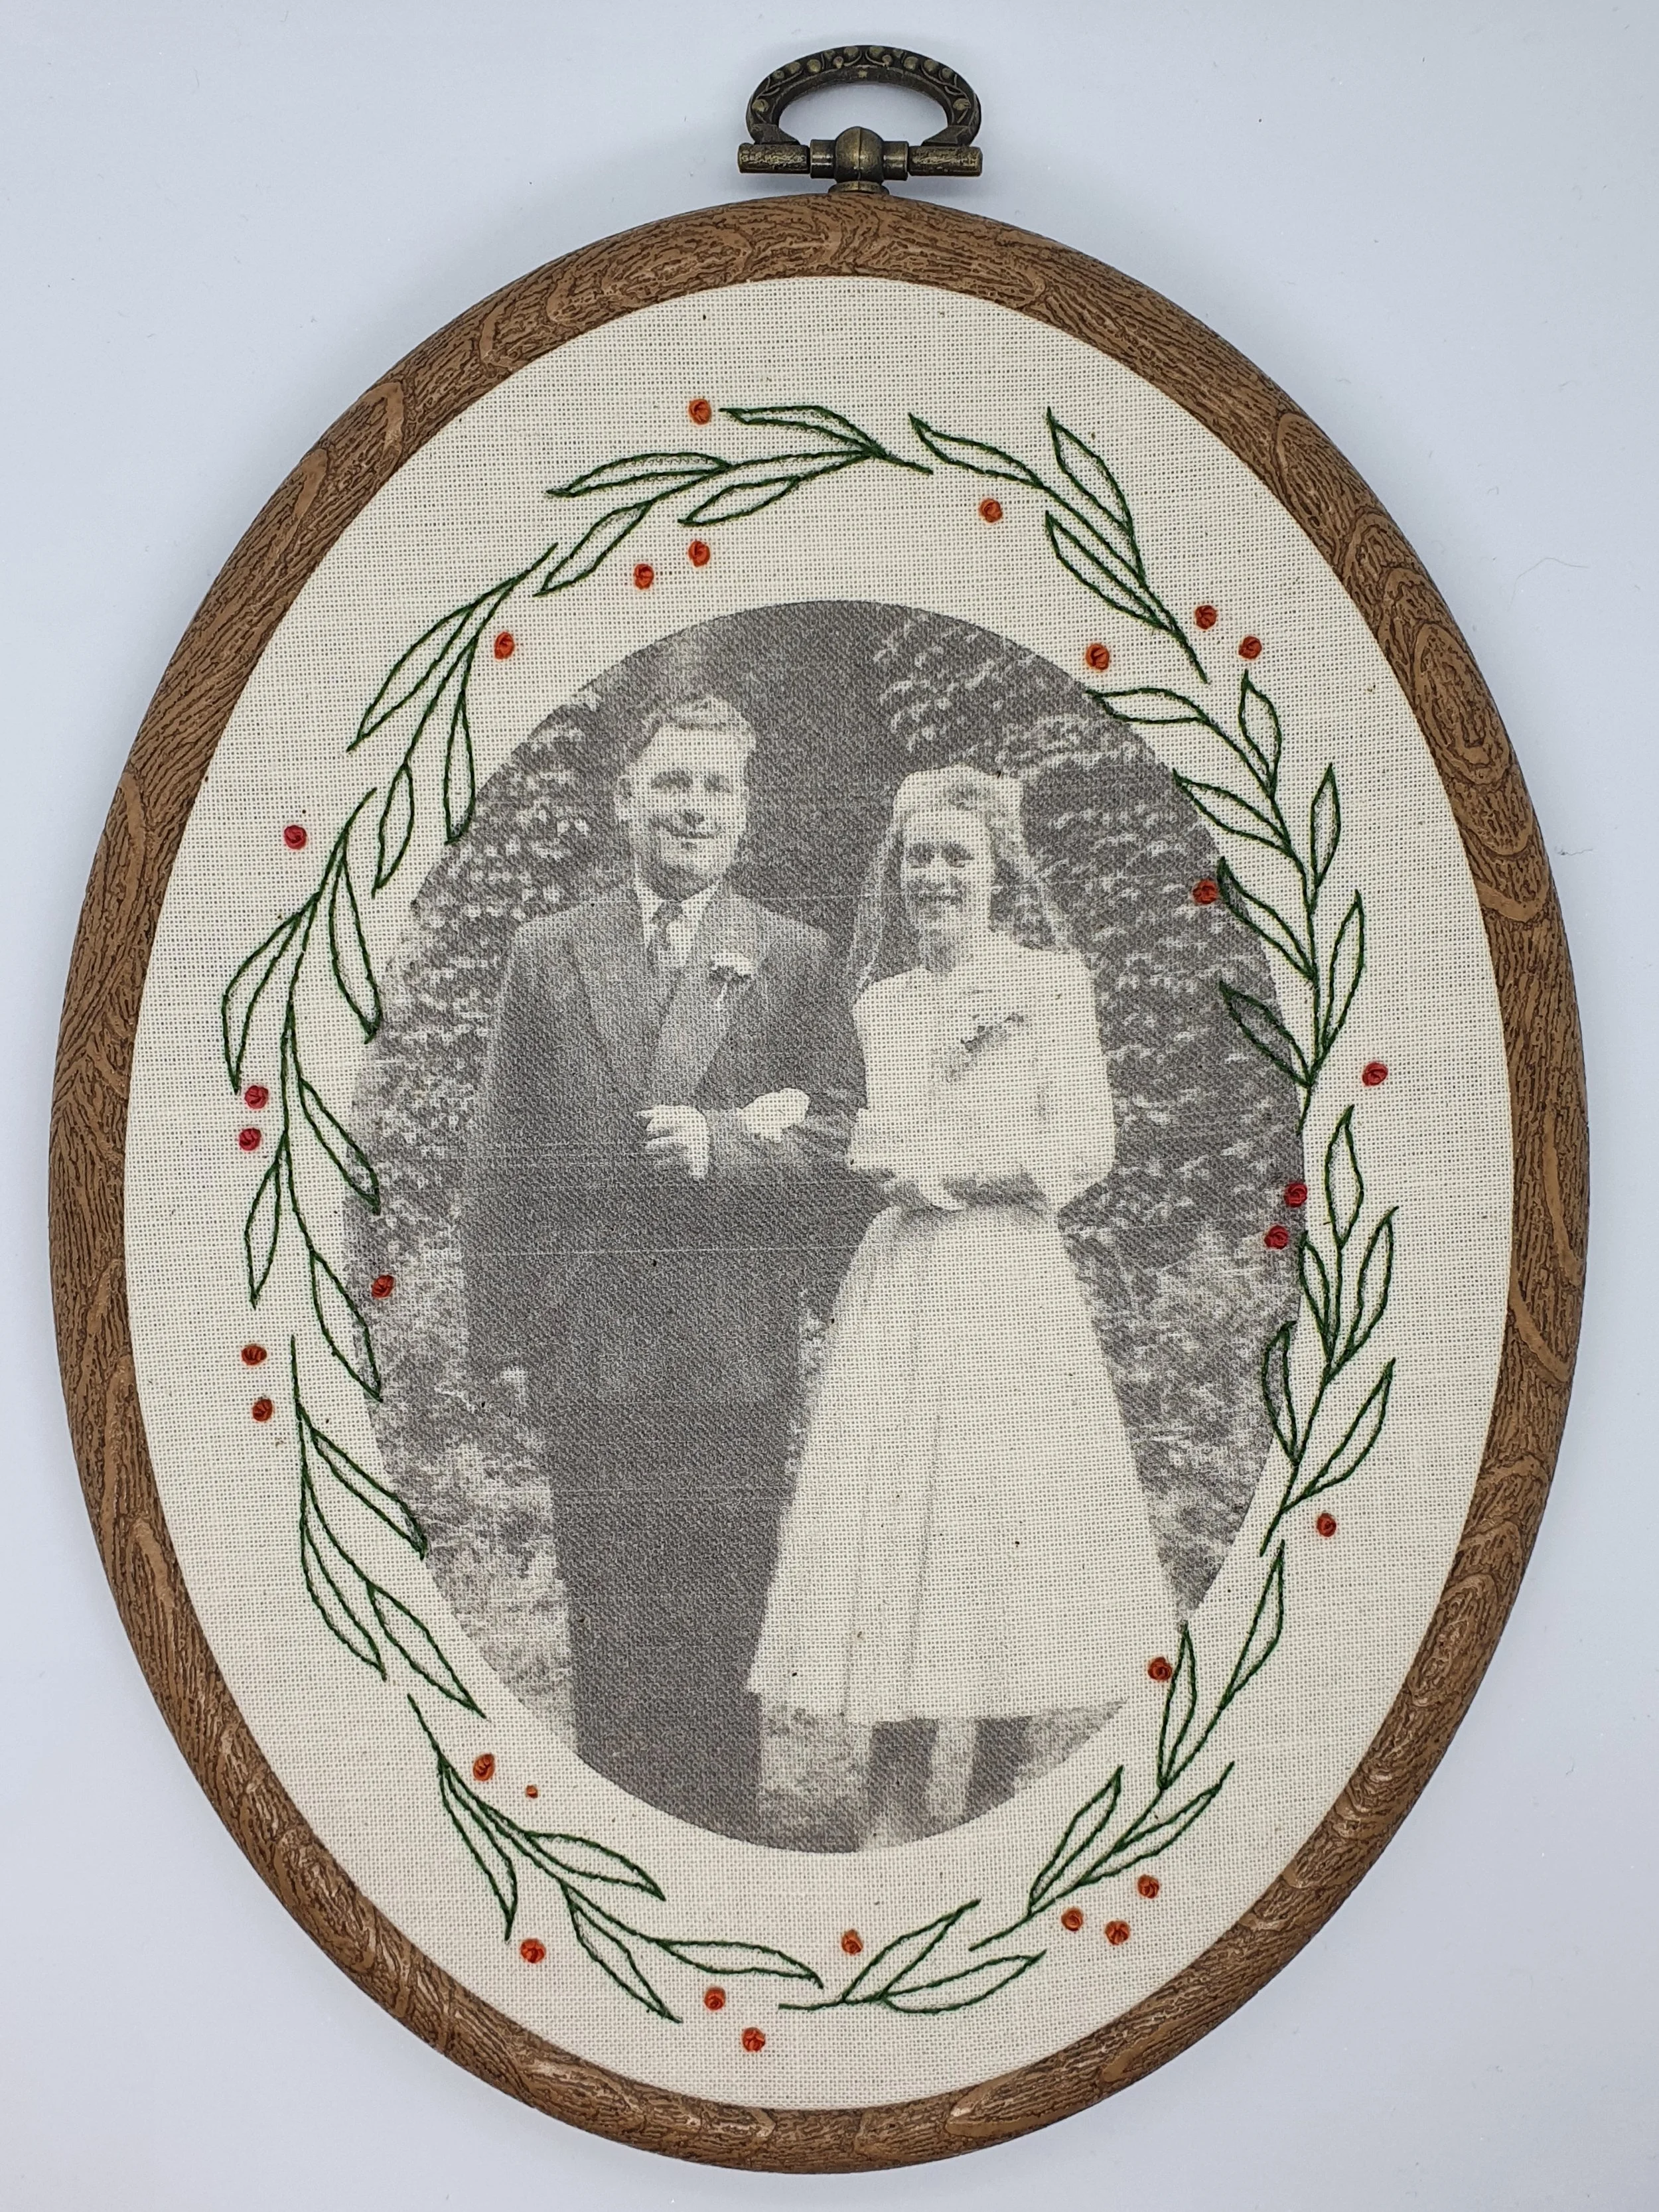
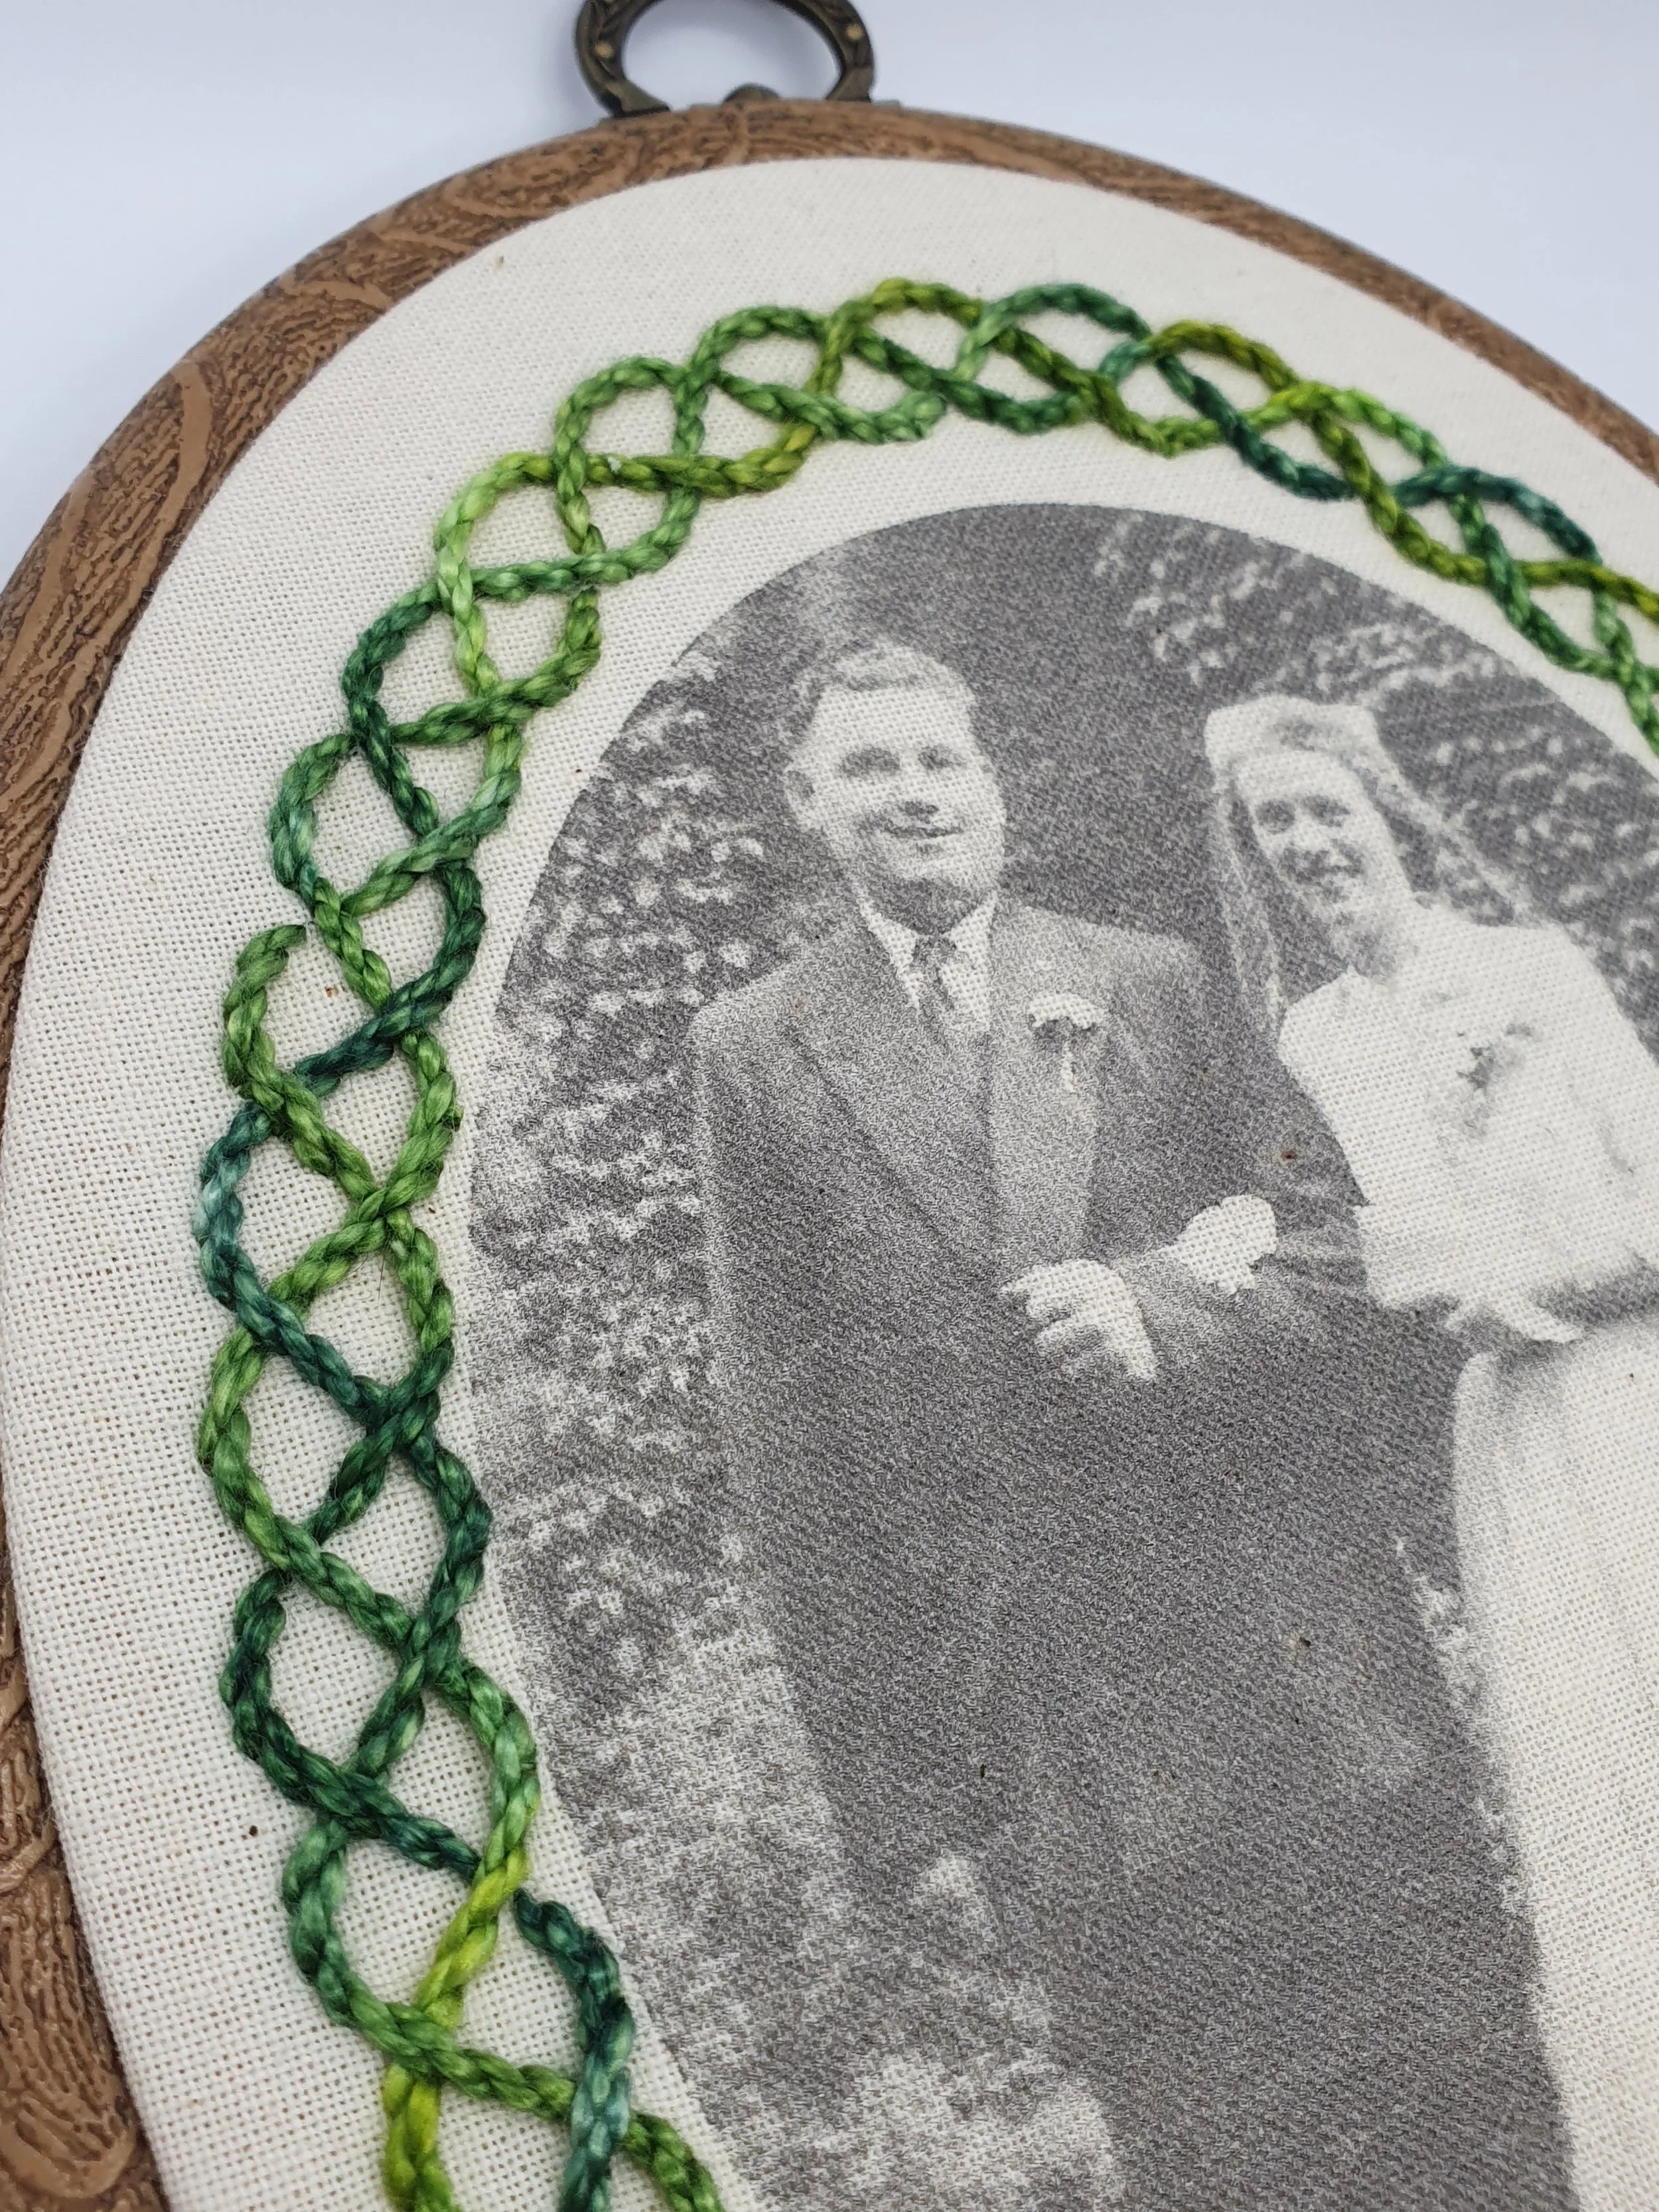
Unfortunately, this method is not guaranteed to work on every printer so a bit of patience is needed to figure out if it can work for you. I’m not an expert - I can just tell you what’s worked for me in the past. The first printer I had was brilliant for printing on fabric! The next one jammed every time I tried printing in colour - I could only do black & white images on fabric. They were both inkjets and both Epson, but I don’t know the reason one worked and the other didn’t. So you may need to try a couple of different settings to get it to work for you.
I’ve also recorded a video tutorial for this method, you can watch it here!
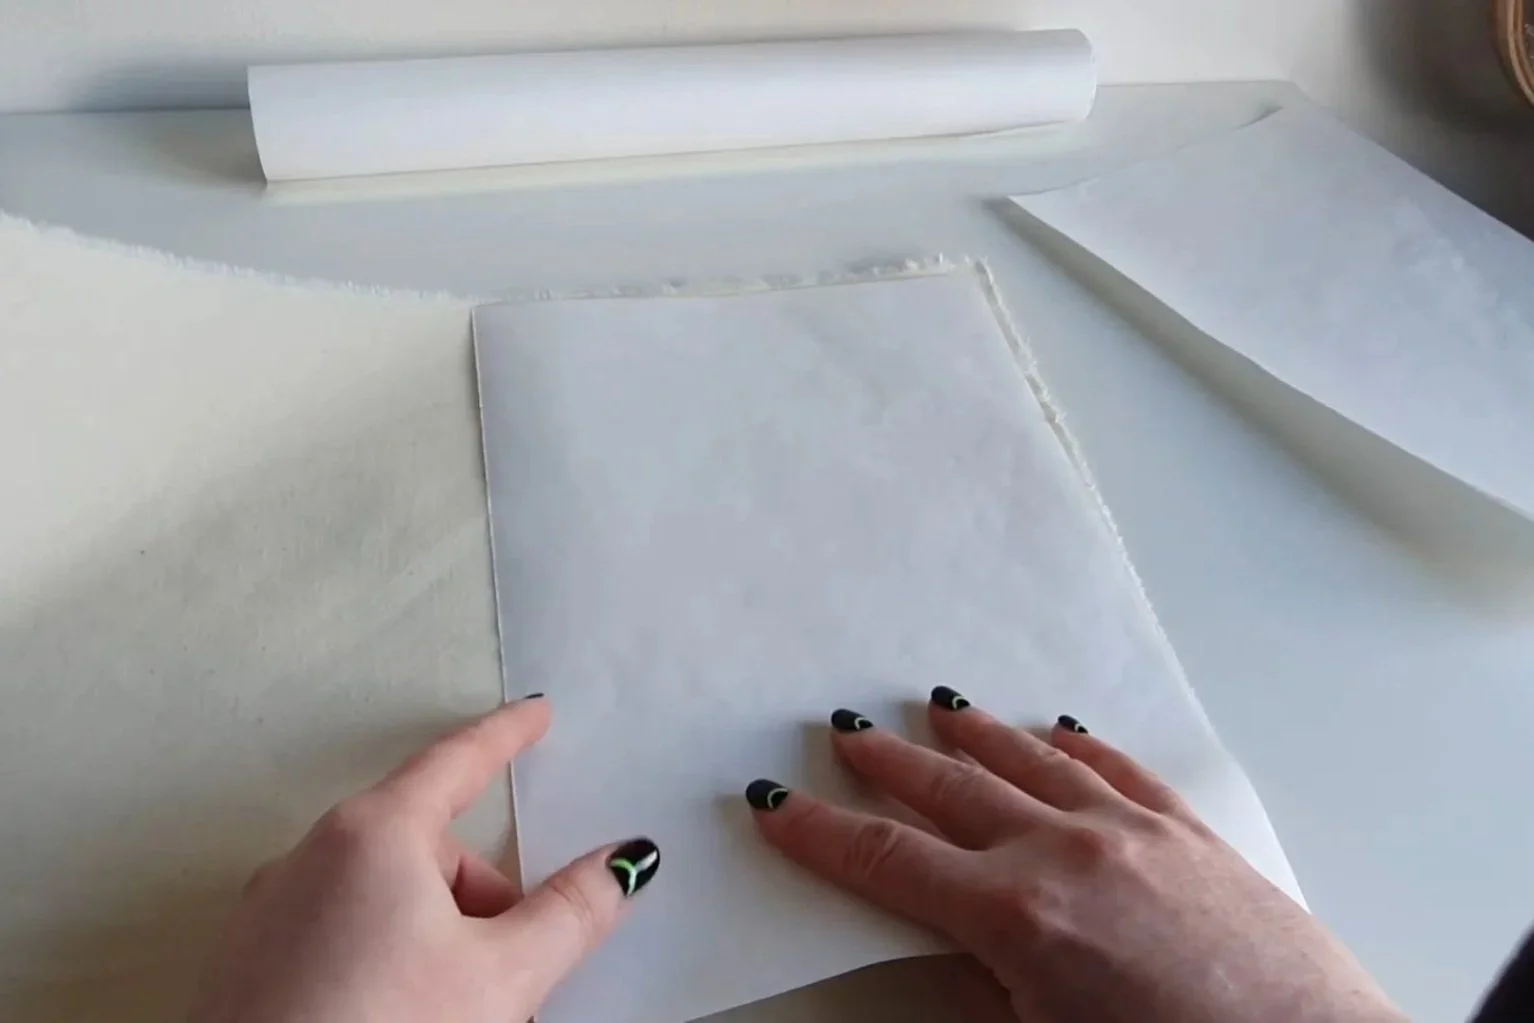
All you need is your printer, fabric, iron and some freezer paper. Light coloured fabric is always best to use as it won’t distort the colours too much. And you don’t want anything that’s too heavy - a medium weight cotton is perfect! Make sure to iron the fabric before you get started. i usually leave my fabric a little bigger than the size of the freezer paper.
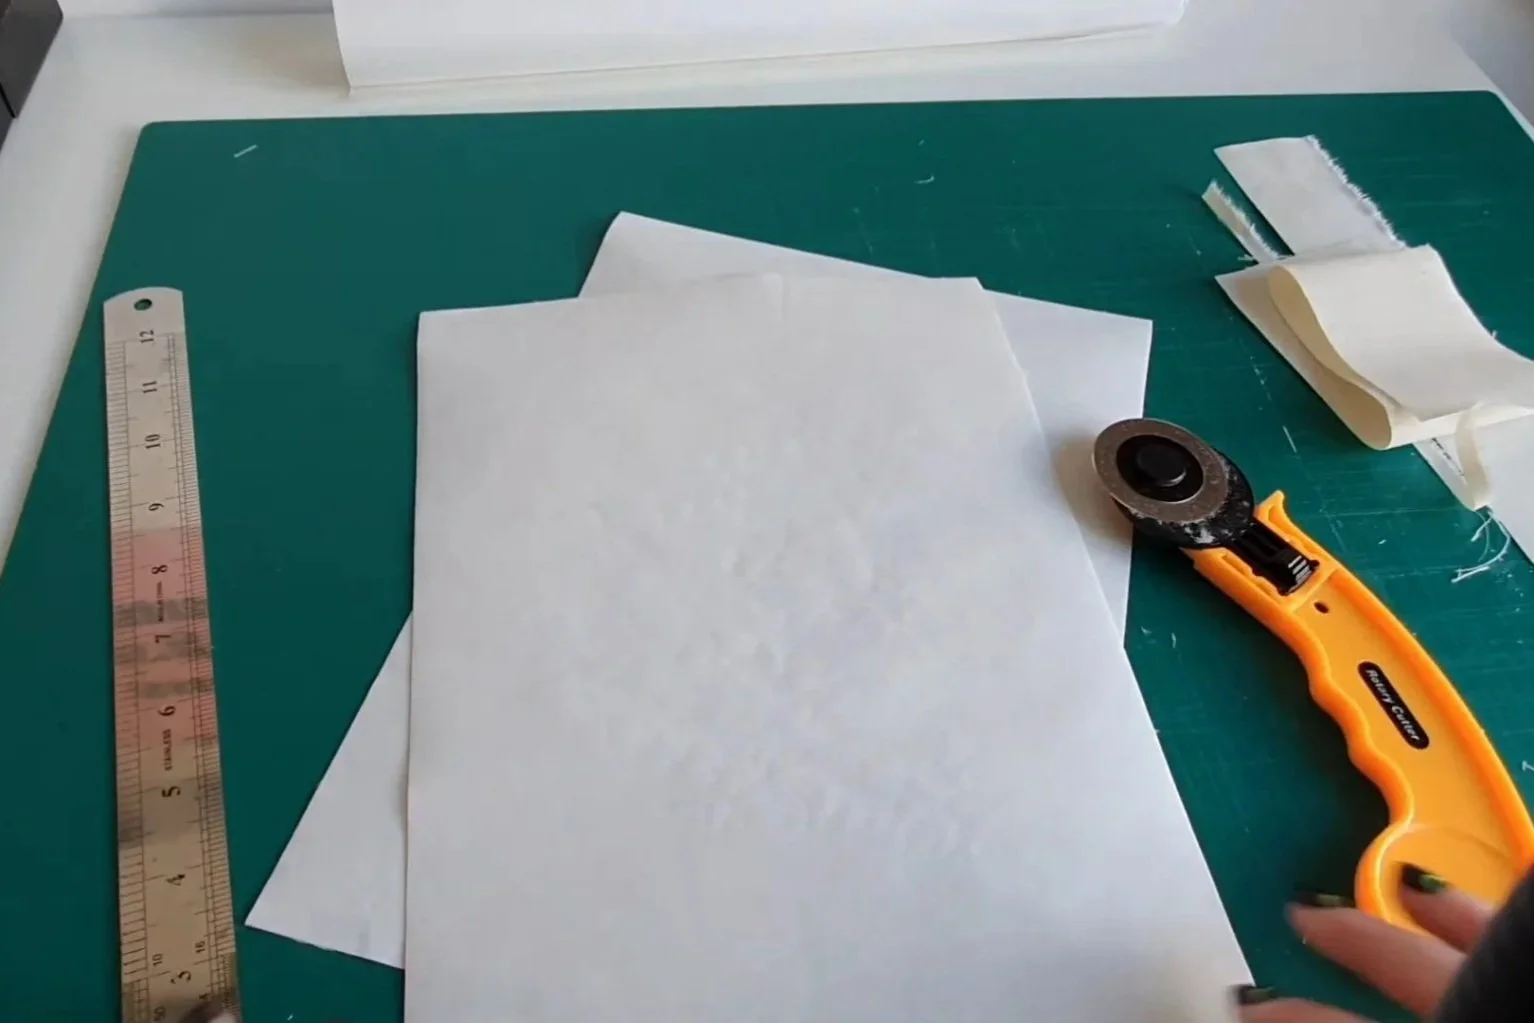
Depending on your printer, you’re probably going to be printing on A4 size sheets, so that’s the size you want to cut your freezer paper. You’ll see the freezer paper is shiny on one side - this is the side you want to lay on the fabric. Iron the freezer paper to the fabric on a medium-high dry iron, so that they’re completely stuck together (I usually iron paper side first then flip over and iron the fabric side). You want to make sure there’s no creases or wrinkles or the printing won’t work properly. Trim the excess fabric so you’re left with just the A4 size.
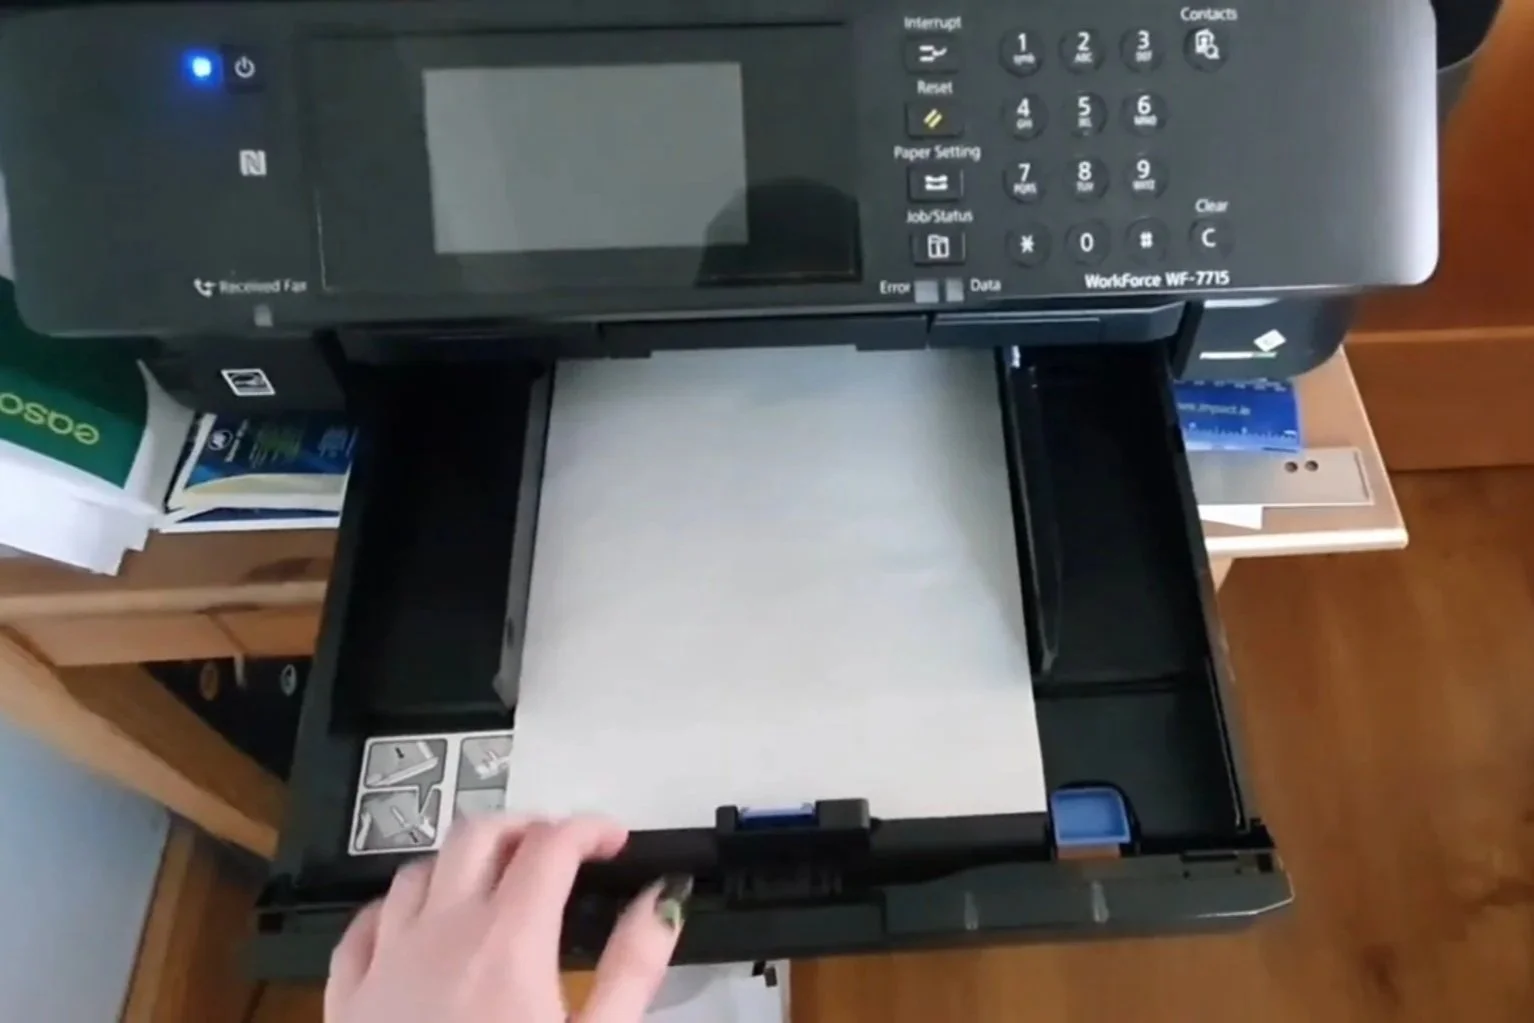
Next step is to put your fabric through the printer. You need to know which side your printer prints on, so you might need to test this on paper first. When you put a page into the paper drawer will the image end up on the side facing up, or the side facing down? If it’s the side facing down, obviously you want to make sure the fabric side is facing down and the freezer paper side is facing up. Or vice versa. I only load one sheet at a time just in case the printer get a little confused. You also want to make sure that the image you’re printing will be printed in the middle of the page and not to one edge or it will be difficult to fit you fabric into an embroidery hoop.
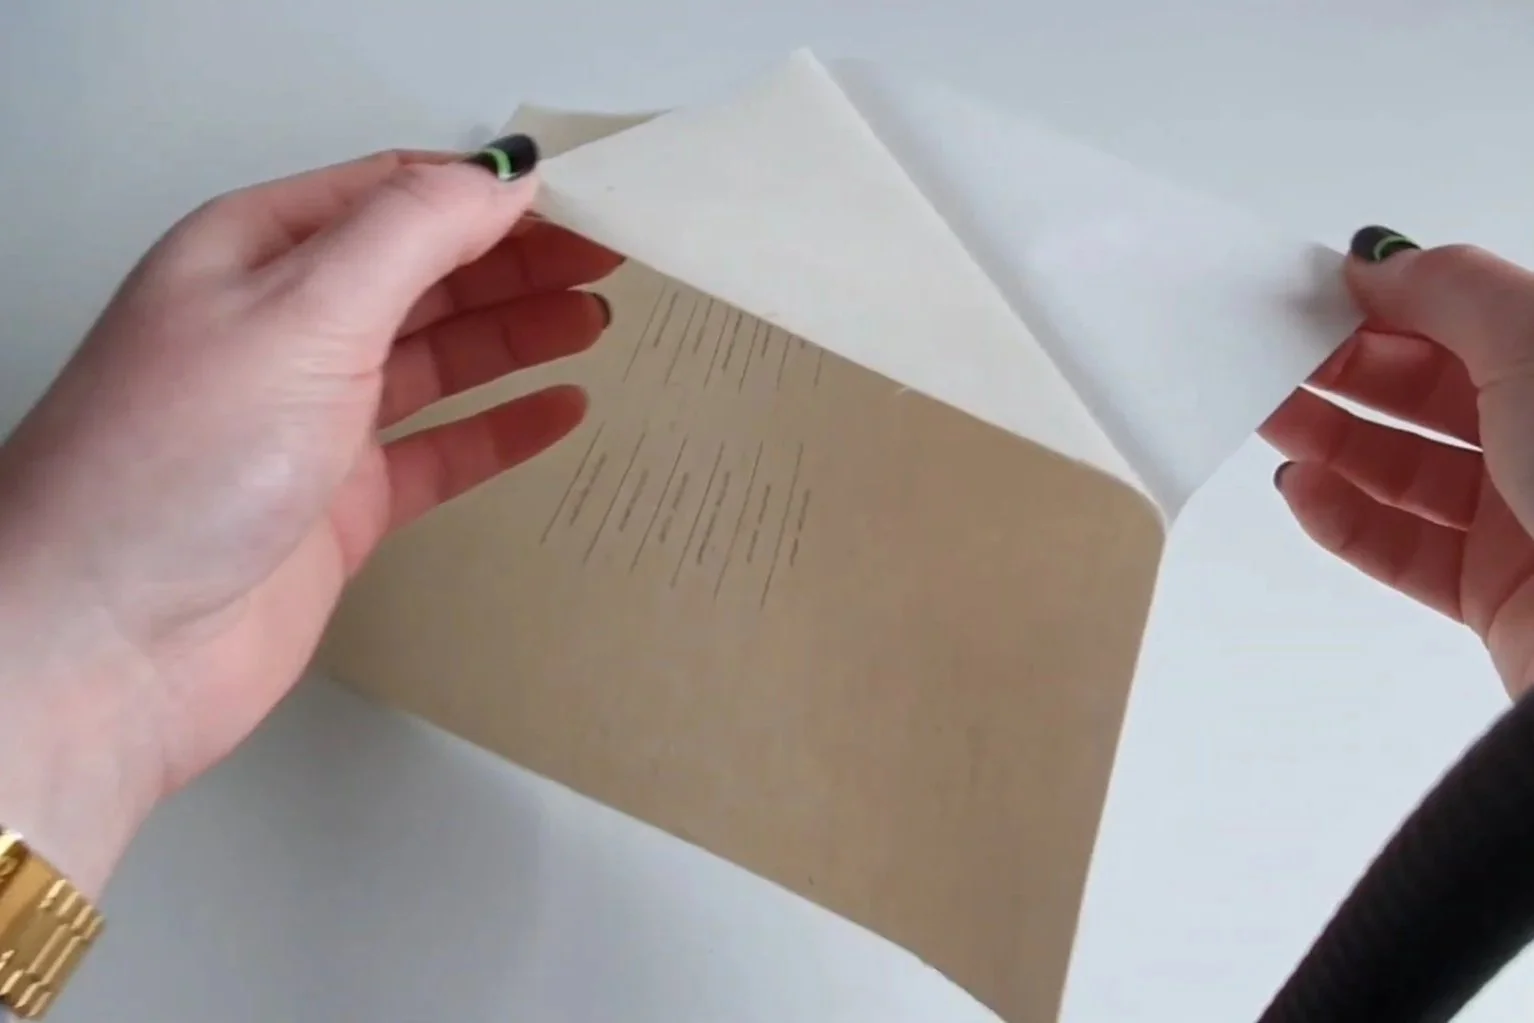
The last step is to peel the freezer away from the fabric before you put it in a hoop and start stitching!
If you’ve tried out this method, I hope your printer was nice a cooperative! If you’re tearing your hair out, please know there are other options! You can read my previous post about different ways to transfer your design. Or of course, you can get the professionals to do it for you! I’ve used Cotton Bee and Tiska printed fabrics in my kits both of whom do a swatch/sample size print which is perfect for a one off project!
