
how to transfer an embroidery design onto fabric
Whether you’re starting to create your own designs, or you’re working on a pattern you’ve purchased, you may need to transfer a piece onto the fabric yourself. Here’s a few different methods to try:
Tools for drawing
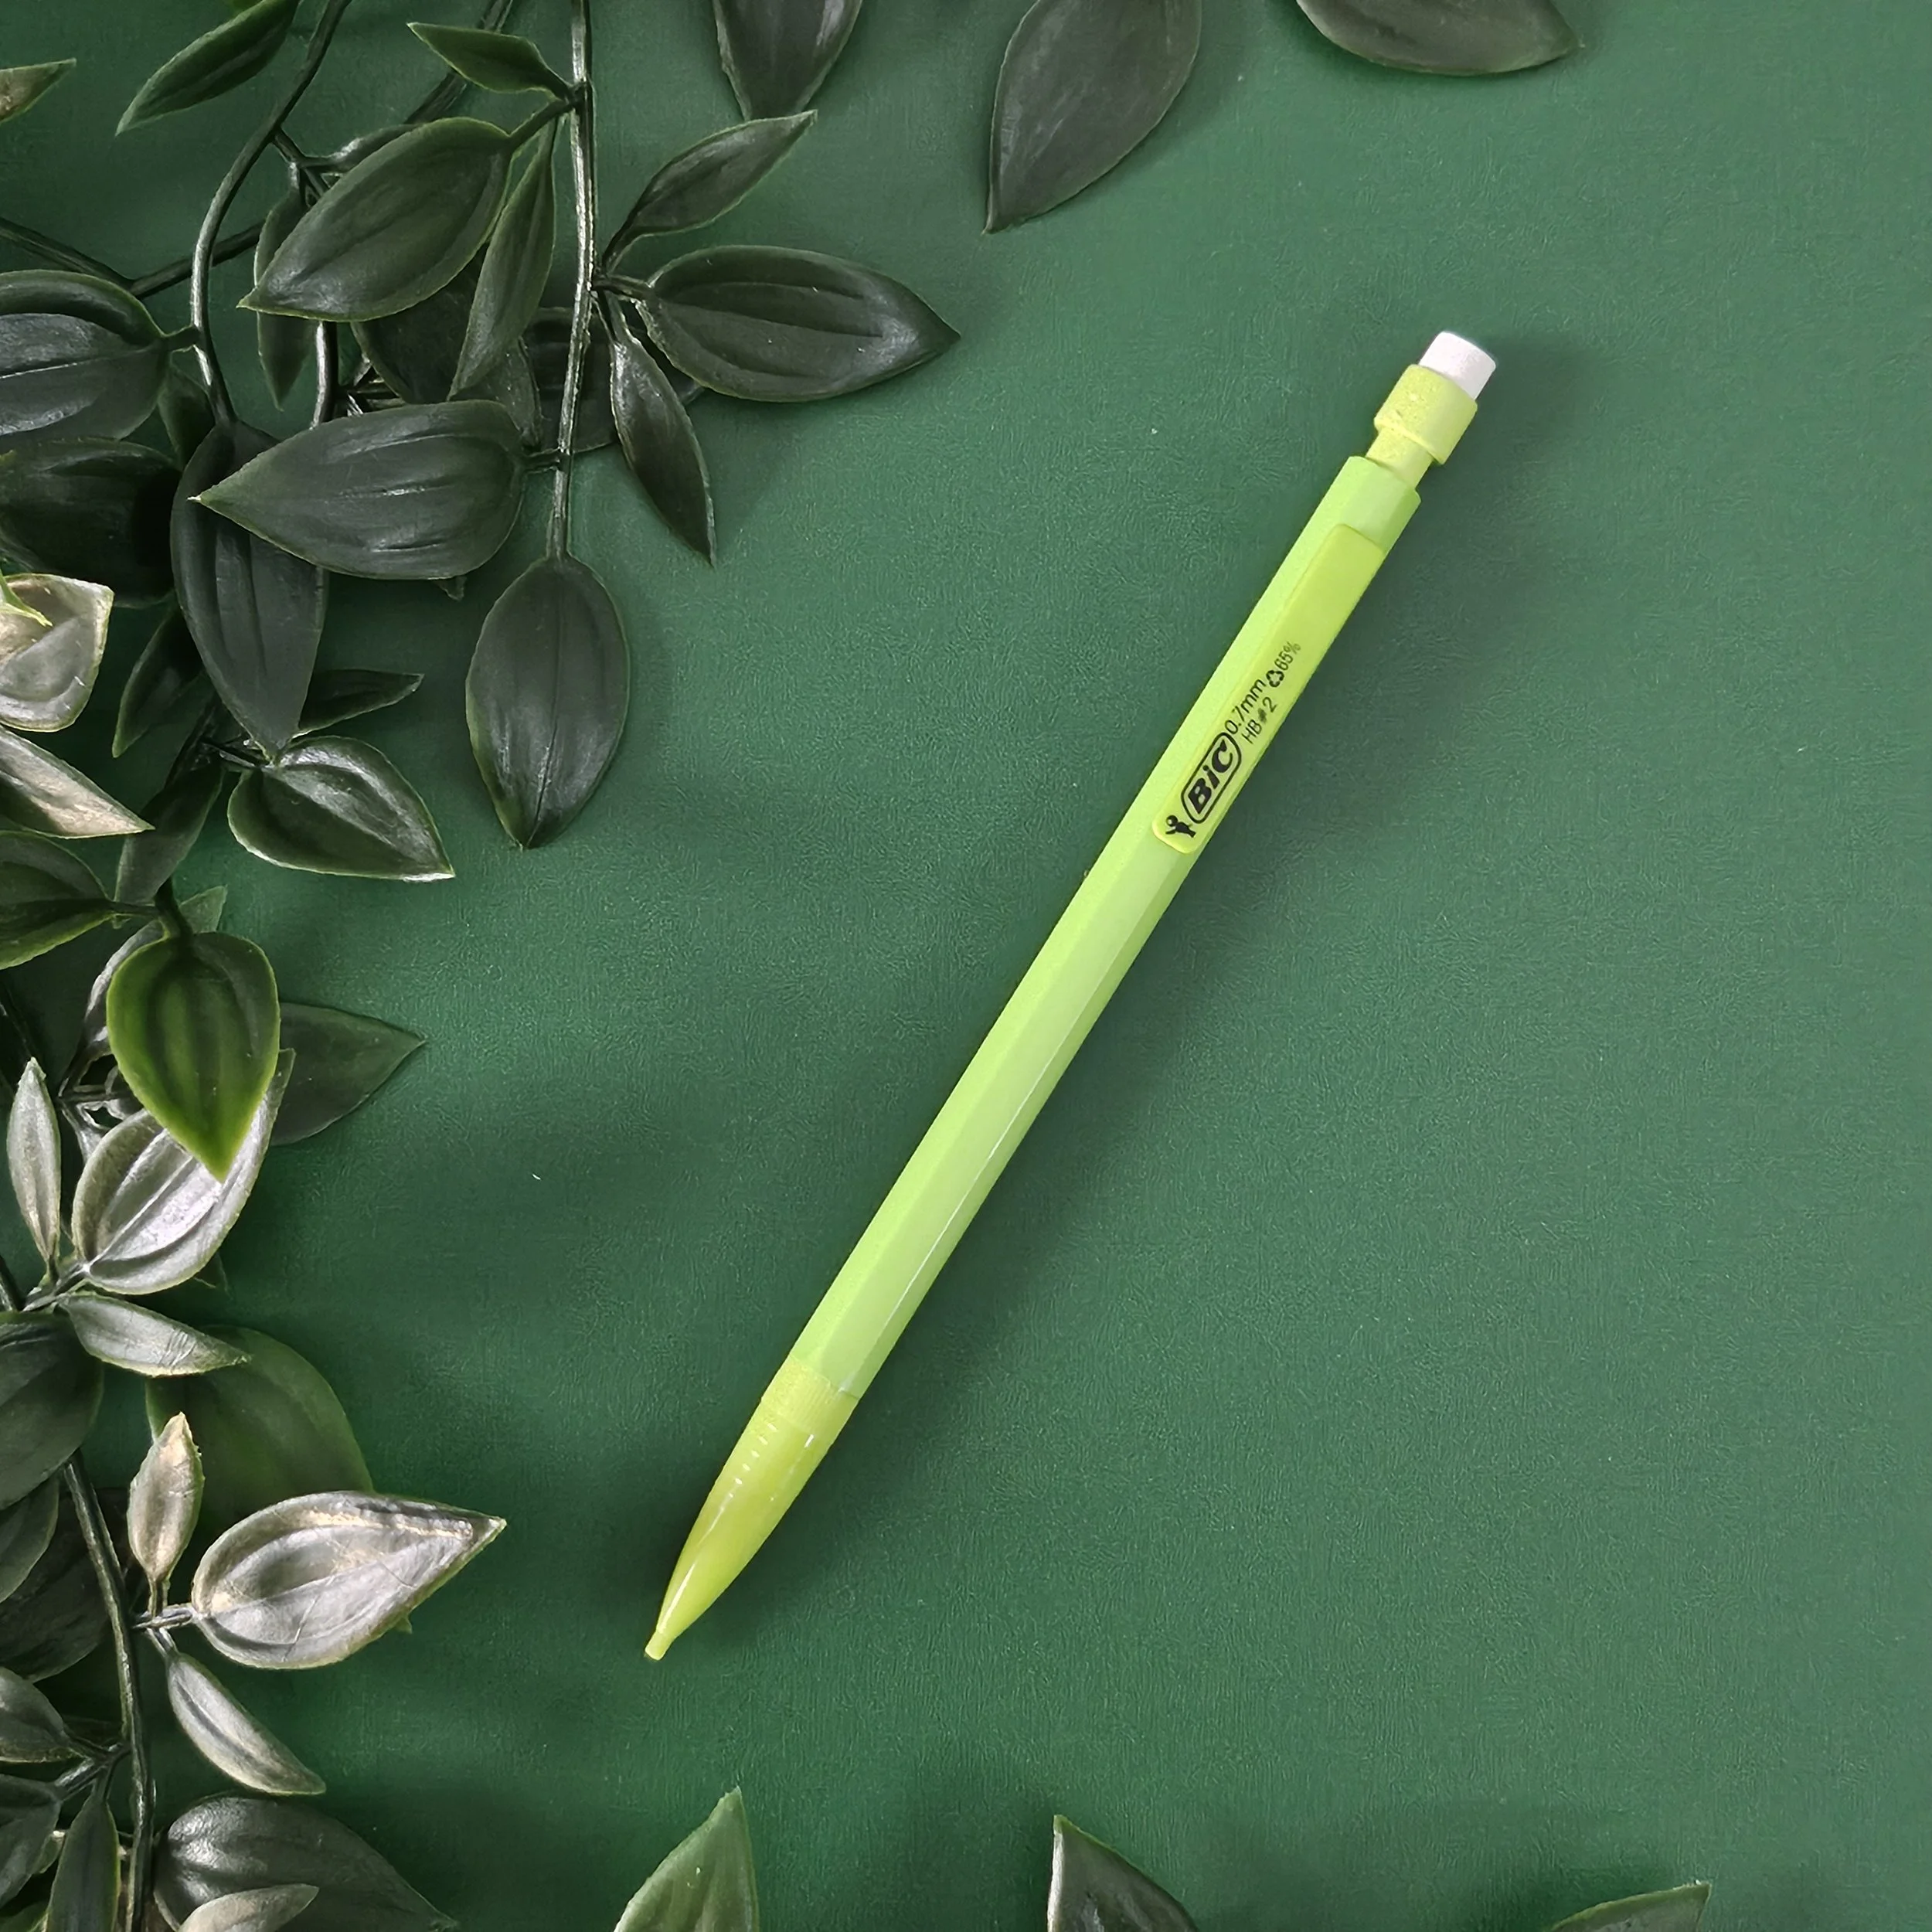
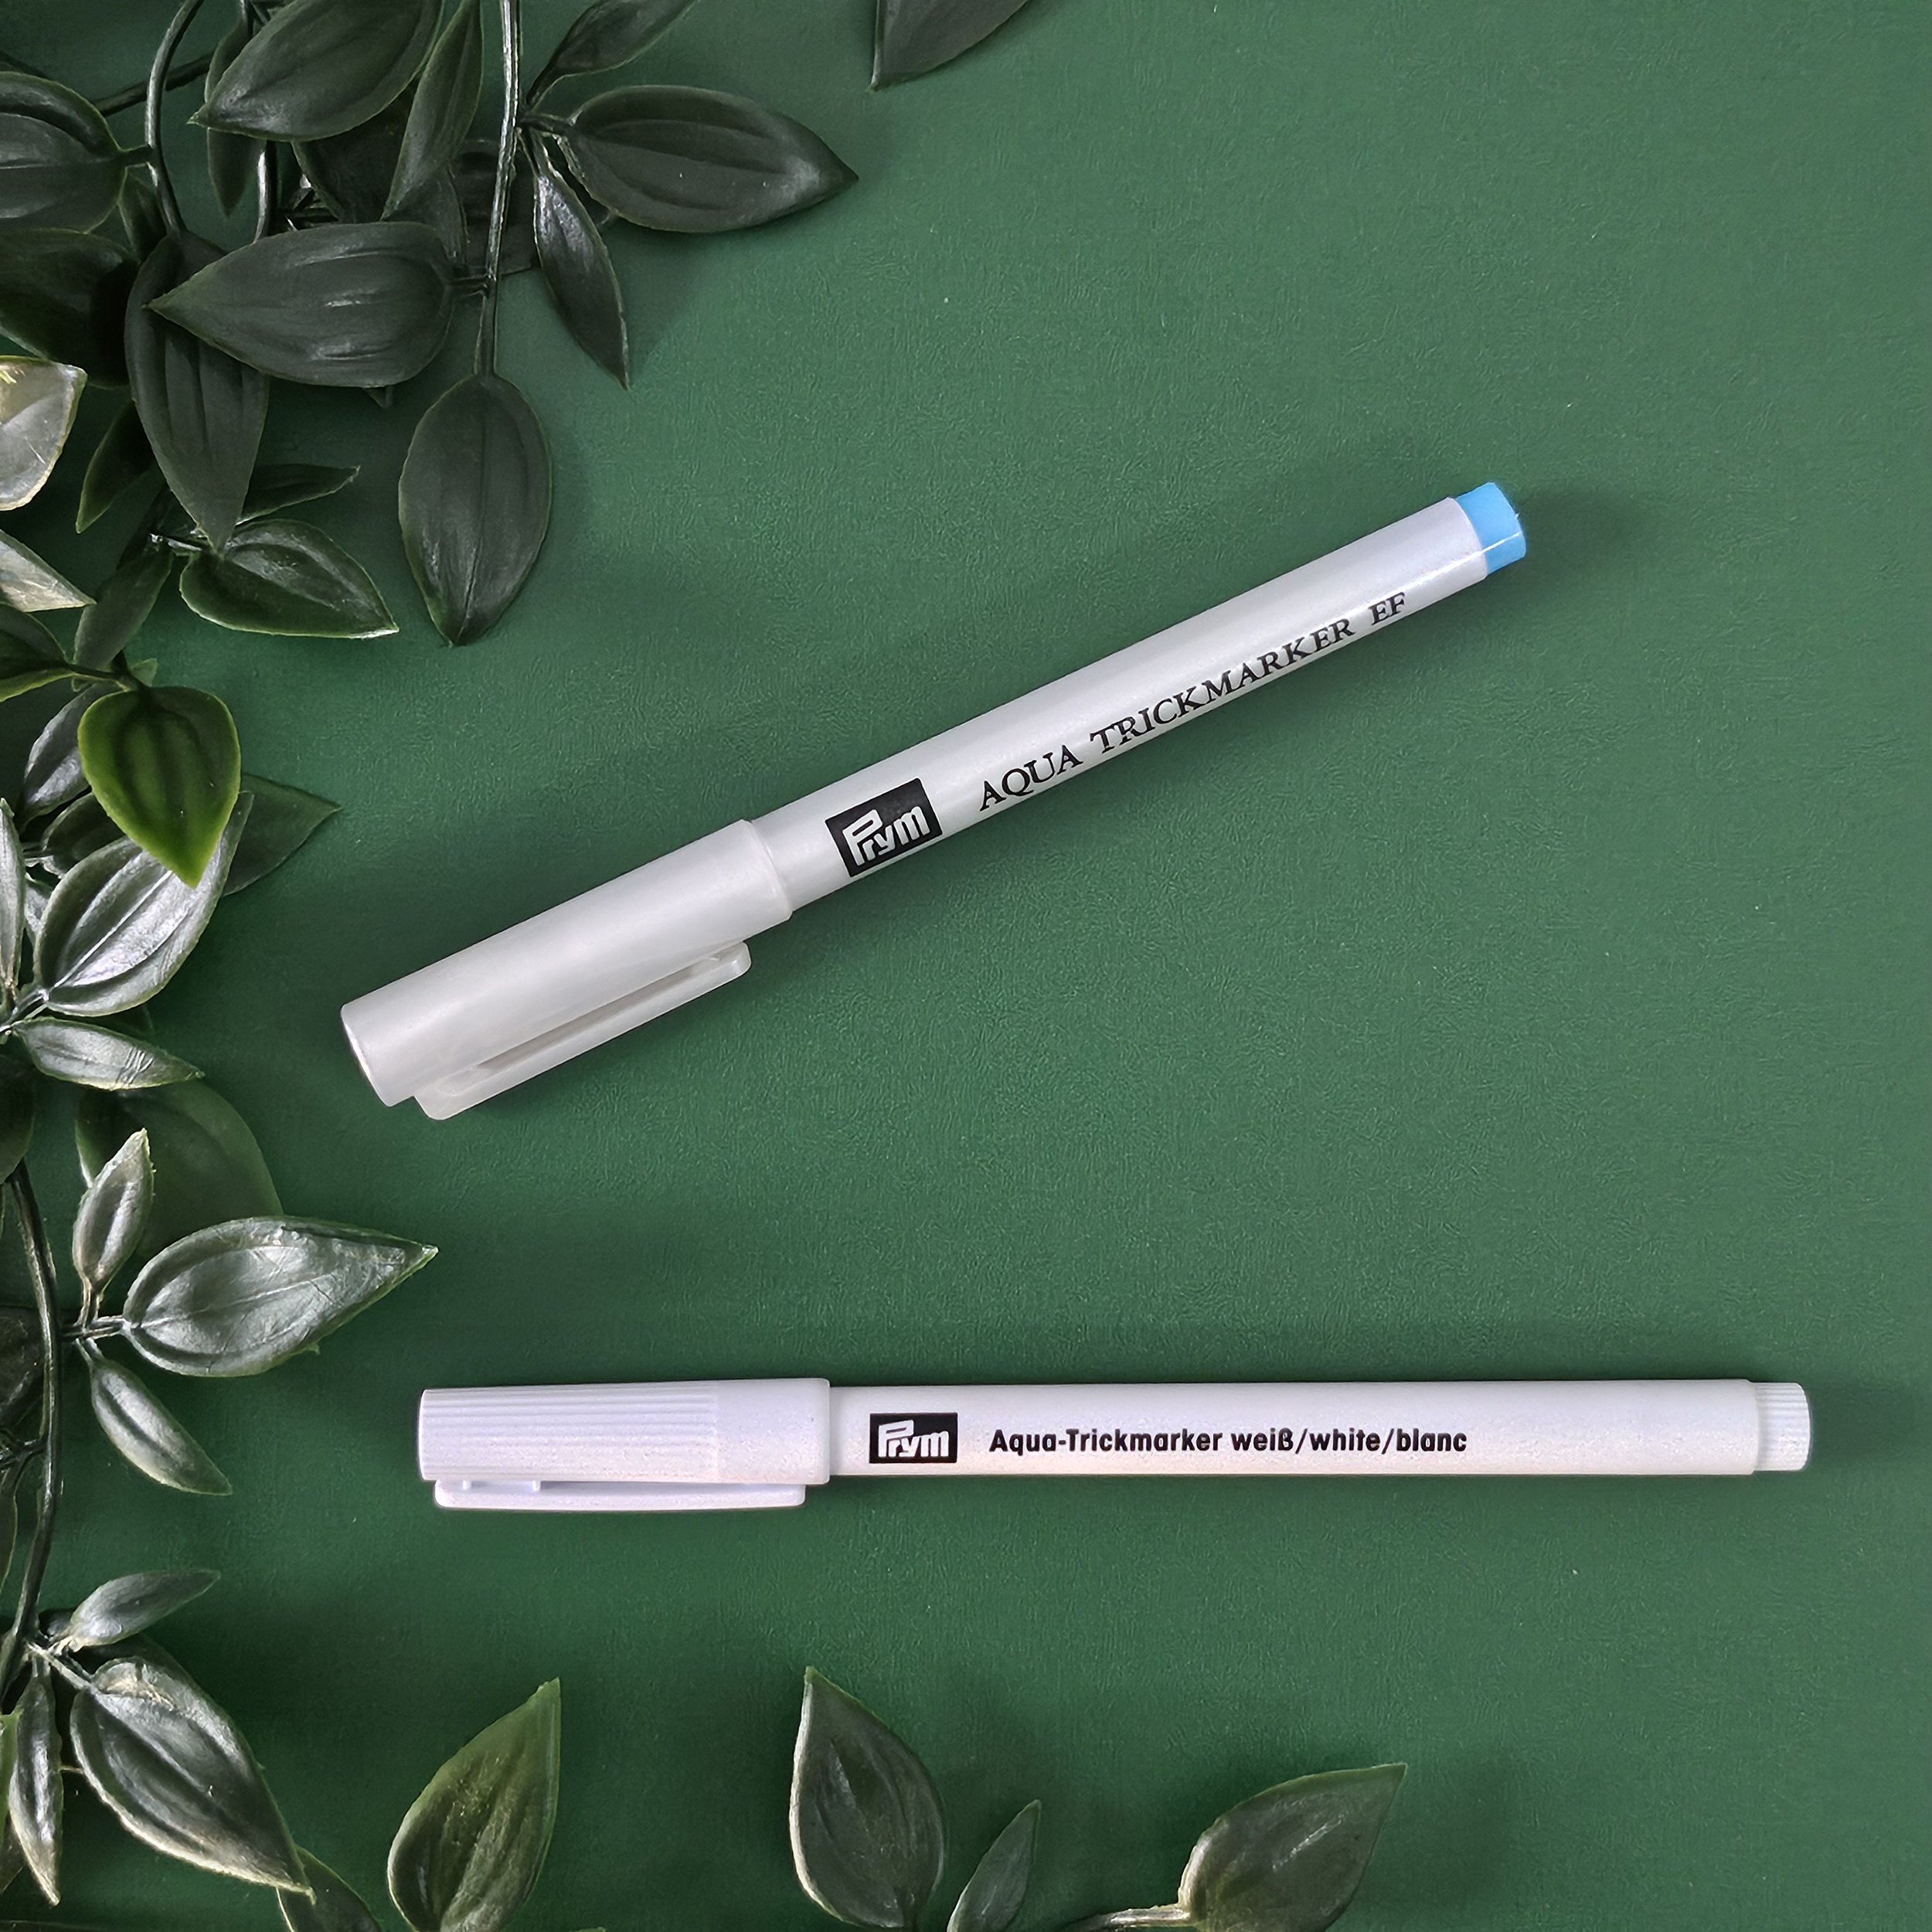
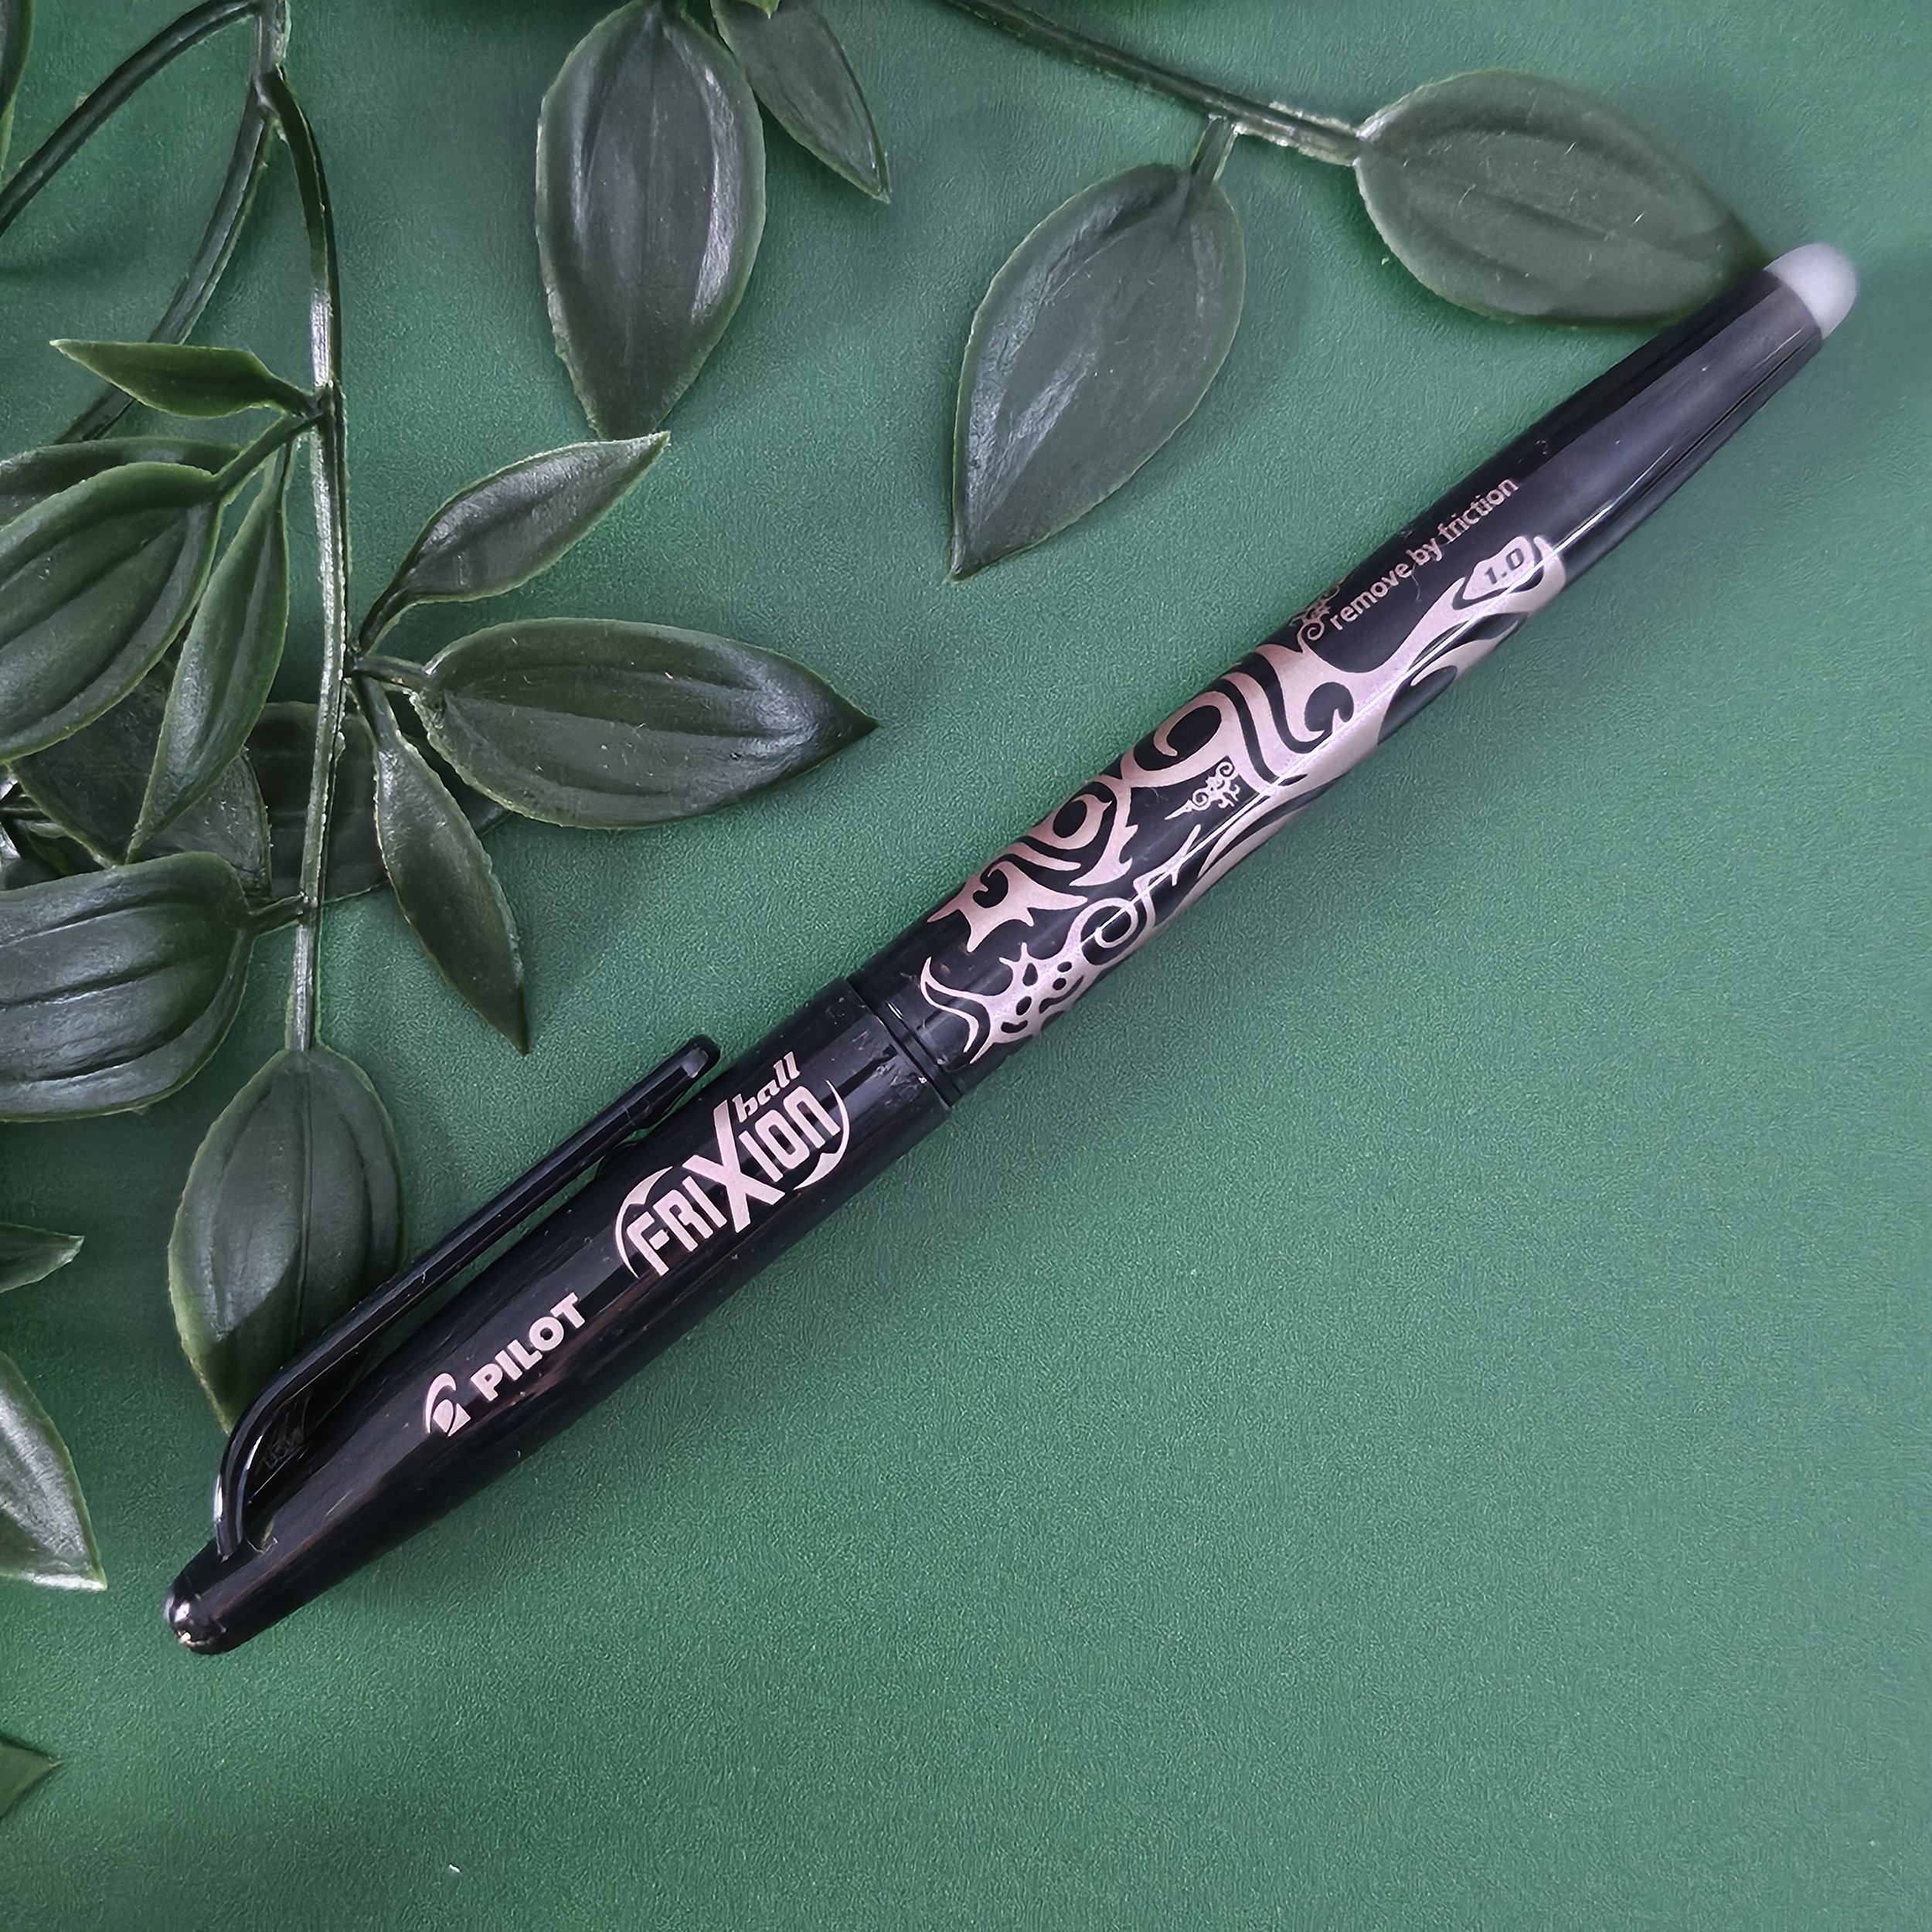
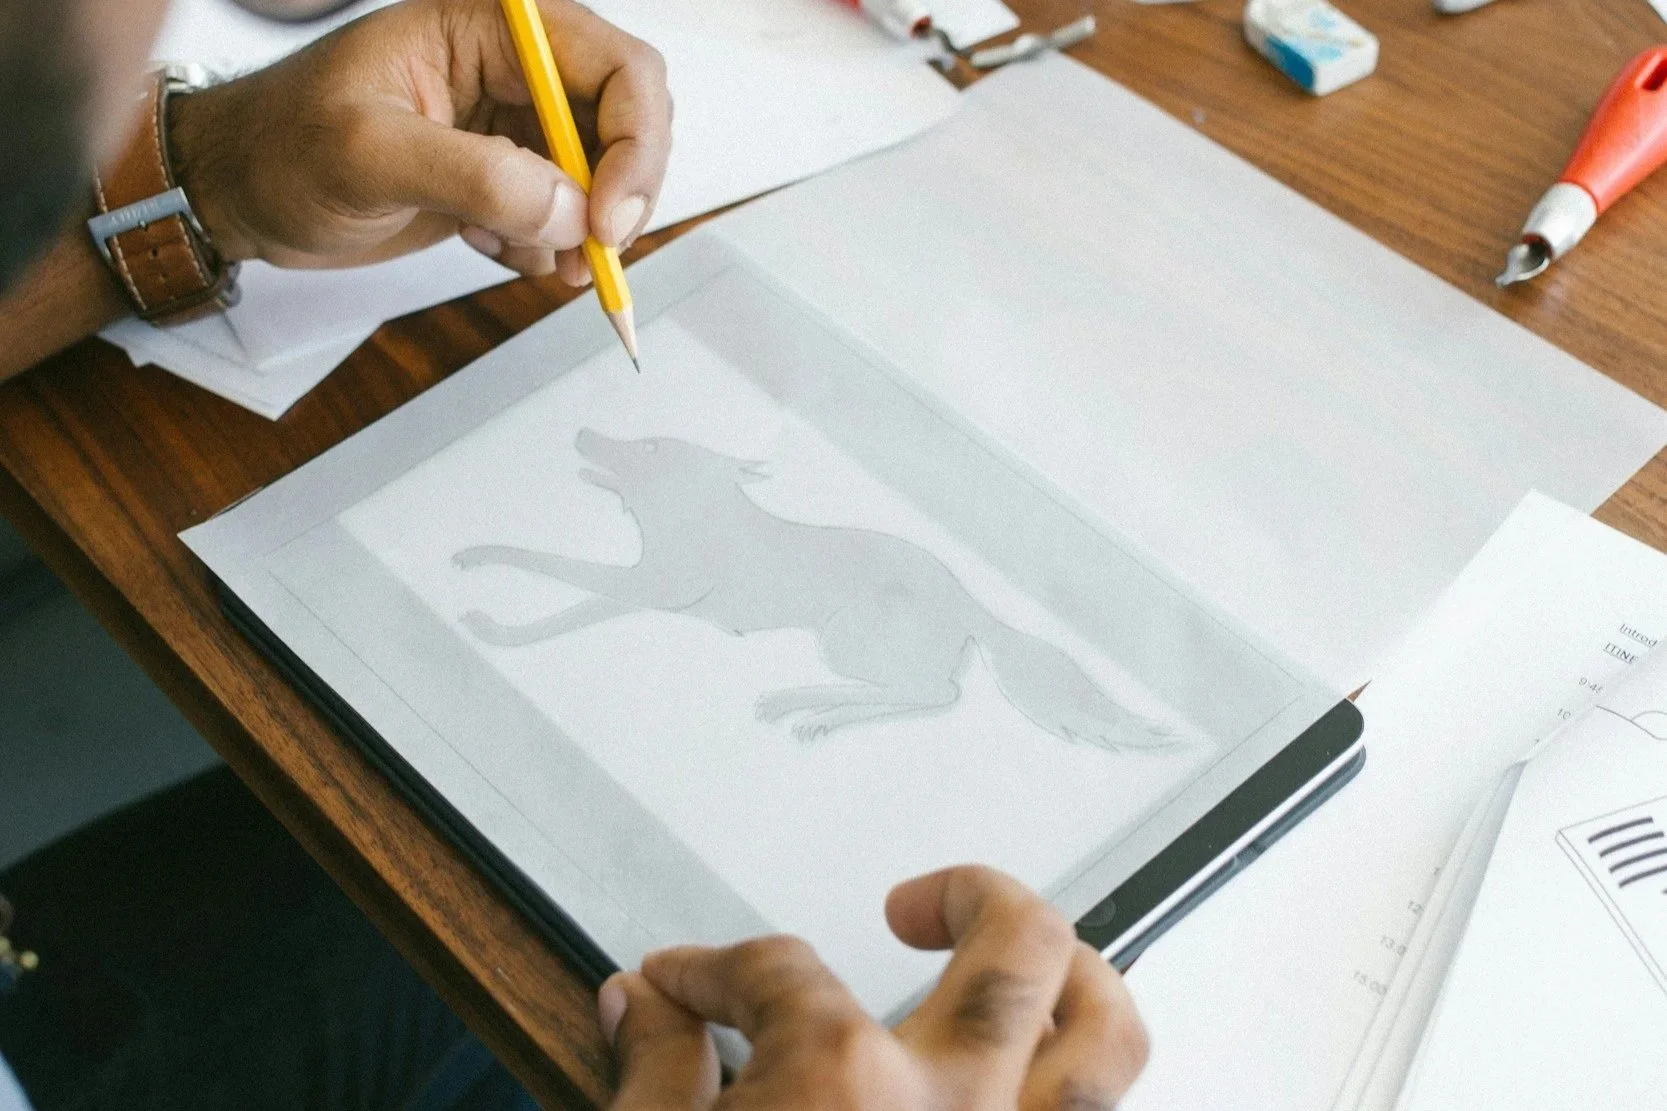
Firstly, if you’re drawing directly onto the fabric, you want to be using the right tools. For most of my work I use a mechanical pencil. These are like a regular HB pencil, but they keep a finer line than the type you sharpen when it gets blunt. They do not rub out like they would on paper, but you can often wash the fabric to get rid of pencil marks. Use this to draw lines you know will be covered in stitch! Another option is water soluble markers. You can draw whatever you like on the fabric and then rinse it away. Do make sure you rinse it out completely though (rather than just wetting the area with the ink), or when the fabric dries you could be left with a blue-tinged area. Lastly, there’s Frixion pens. These are often referred to as ‘heat-erasable’ but that’s technically not true. What really happens is the ink lightens with heat. So on light coloured fabrics it becomes invisible, but on dark ones it does not! With this, and all other drawing tools, make sure you test it out on the corner of the fabric first - just to be sure.
Light box
The simplest way to transfer your design to the fabric, is to trace it using a lightbox. Put the design page down on the lightbox and lay the fabric on top (you may want to tape them in place to stop them moving). The light will shine through and allow you to see the design well enough to trace it. It may still be difficult to see through very dark or thick fabrics, so in this case you may want to try one of the other methods below.
If you don't have a lightbox on hand, the same can be achieved by holding your work up against a window when it's bright and sunny out. But if you're doing a lot of transferring I definitely advise investing in a lightbox, it will make life easier! See the tutorial here
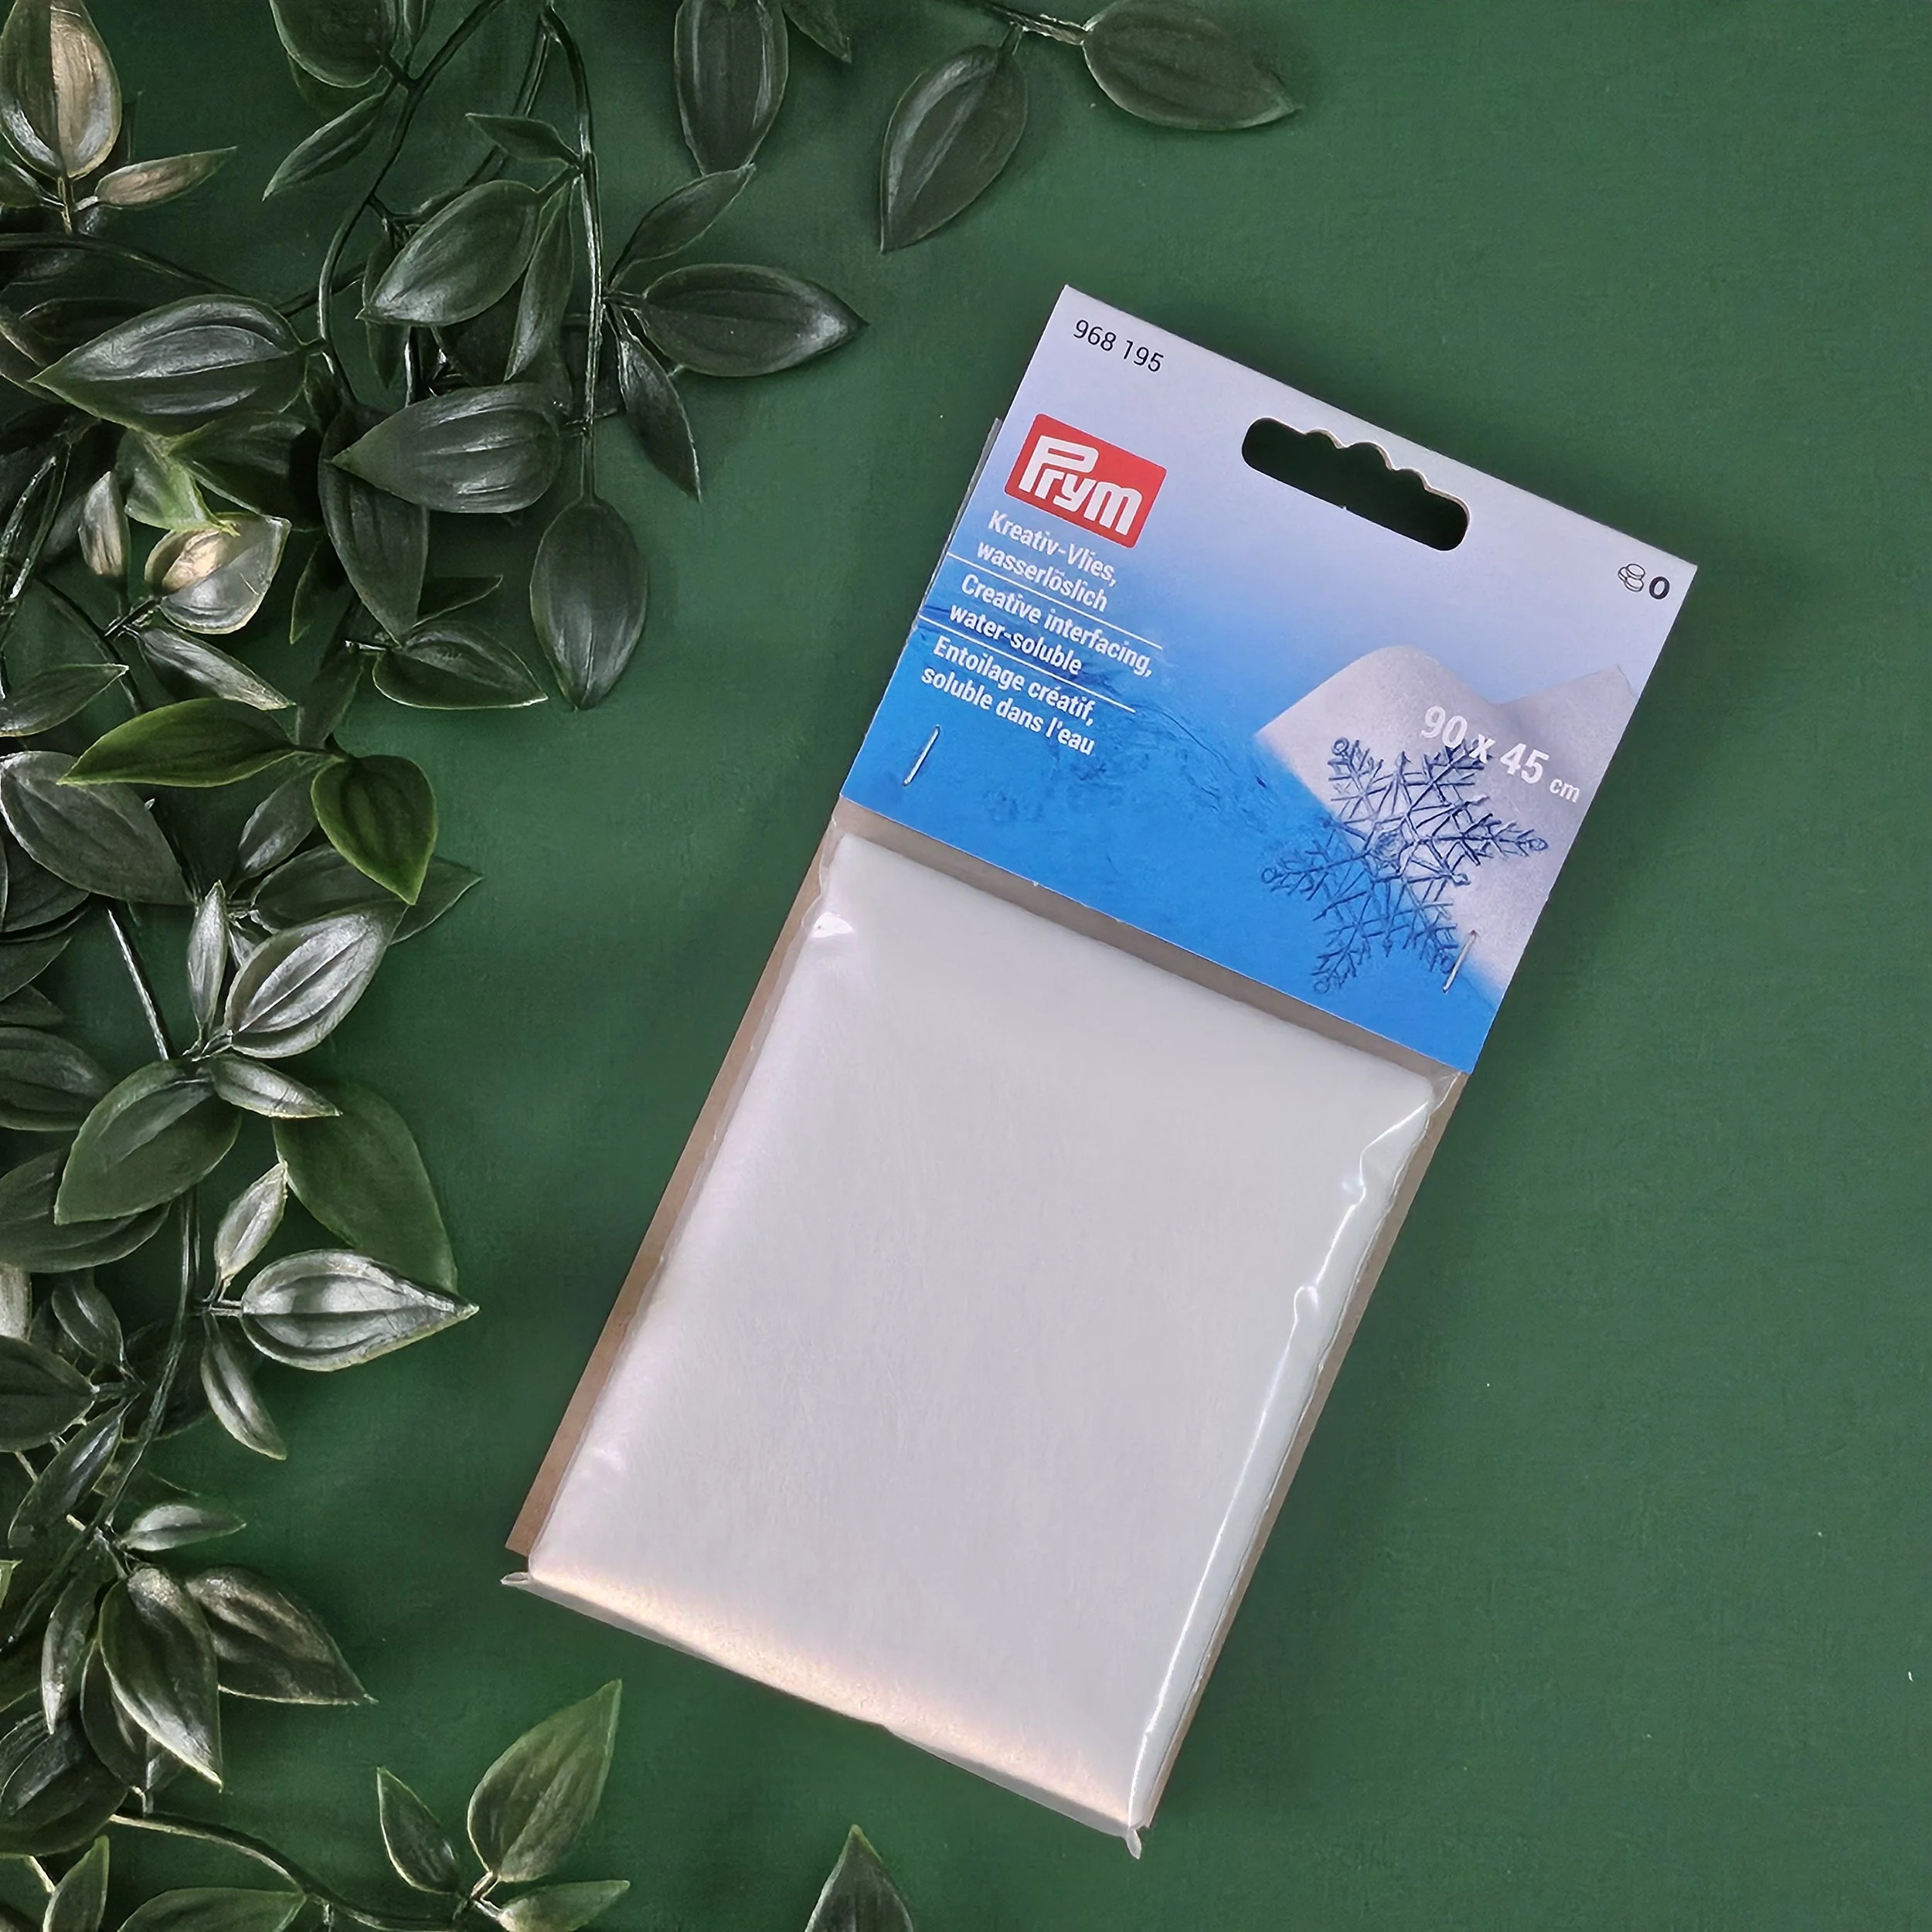
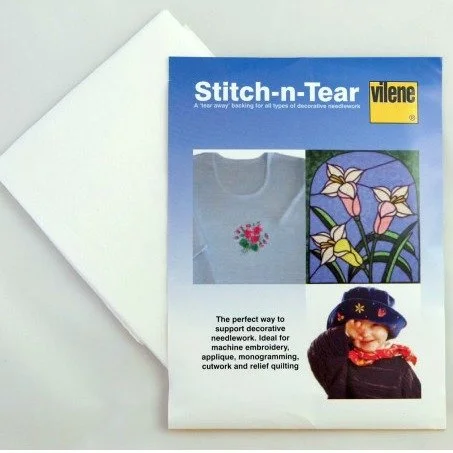
Special Interfacing
There are special kinds of interfacing you can use with embroidery to transfer a design. You can draw or print on the interfacing and then attach it to your fabric either by hooping them up together, or pinning the interfacing to the fabric, or using a sticky interfacing. You stitch through both layers, following the design on the interfacing. Then when you're done you remove the interfacing. These special interfacings come in tear-away, cut-away and wash-away. But you do have to be careful to pull your stitches tight - they can often loosen up after the interfacing layer is removed.
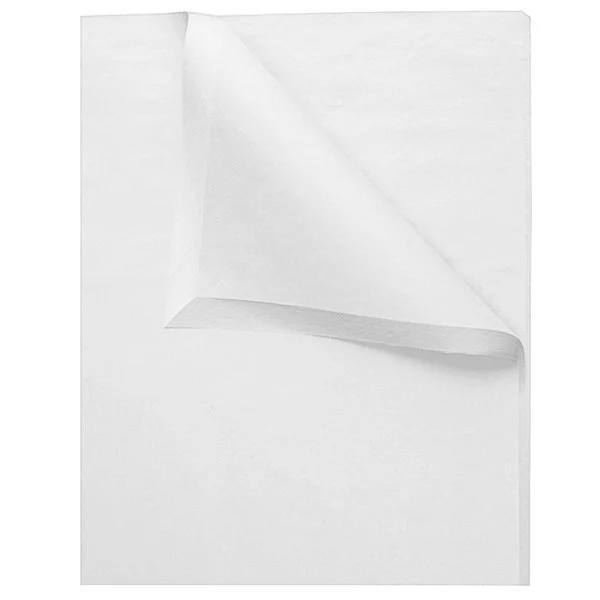
Tissue Paper
Tissue paper can be used in a similar way to tear-away interfacing. I usually use large tacking stitches to plot the design out rather than stitch the whole finished piece as it tears away easier than the interfacing. You may need a tweezers to remove all the tiny pieces, but this is a good cheaper alternative to interfacings.

Prick & Pounce
This method is another good one for transferring onto thicker and darker fabrics. Draw your design out on paper - I usually use thick tracing paper - and use a pin to poke holes along the design lines. Once all the holes have been pricked, lay the page on your fabric and rub the pounce (powder) over the top and it will transfer through the holes onto the fabric. Then you simply join the dots! This method is also very easy to remove if you make a mistake. You can get a prick and pounce kit from Sarah Homfray's website.
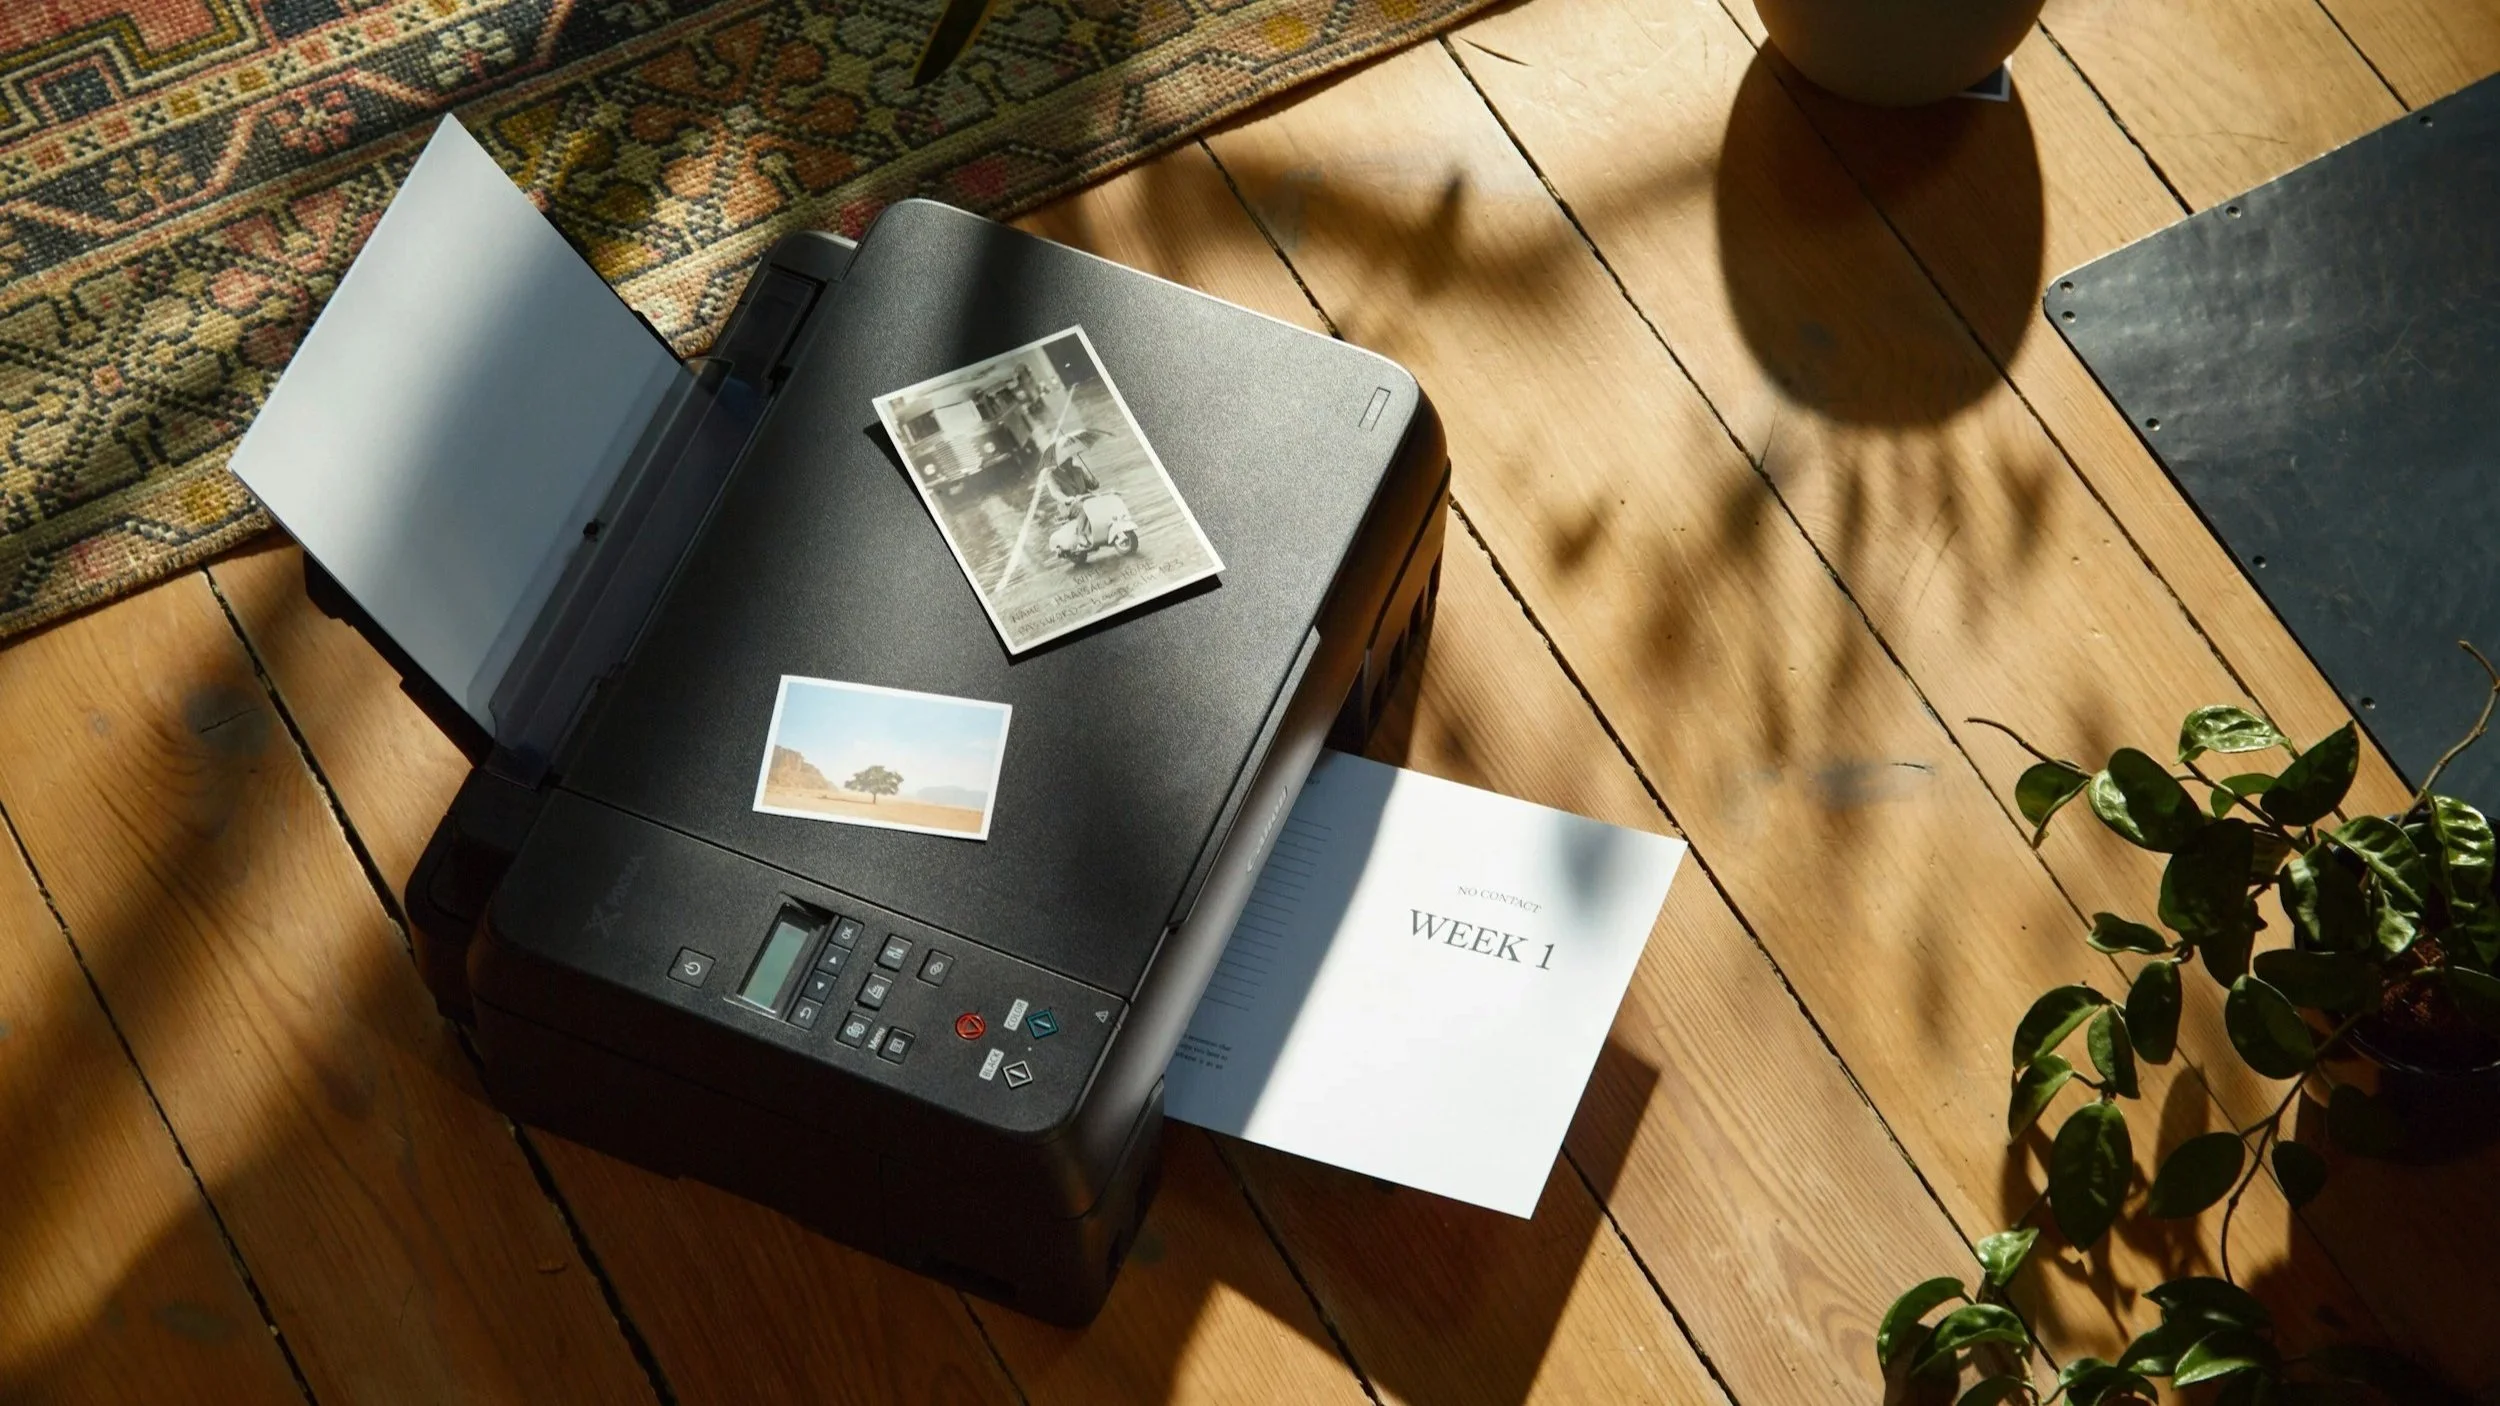
Printing
If those methods seem a bit too much trouble, you can always print your design directly onto the fabric. It may take a few goes to figure out how this best works with your printer, and you are limited to the size of page your printer takes. But it can be a handy technique to have under your belt. I have a tutorial for this method here, but basically you want to iron some freezer paper onto your fabric to help it feed through the printer. Alternatively you can pay a printing company - such as Cotton Bee, House of U, or Tiska - to print your designs for you! Most of these companies have the option to order a small sample size perfect for embroidery projects.
Which way works best for you? Let me know in the comments!