
5 embroidery stitches for lettering
Whether you’re starting out with embroidery or just trying text for the first time, it can be difficult to know which stitches work best. To be honest, most stitches can be worked into writing in some way - just some are more tricky than others! Here’s a few I recommend starting with.
Top tip - keeping your stitches on the smaller side will help with getting the tight curves of letters a little bit neater.
Click on the name of each stitch to see a video tutorial
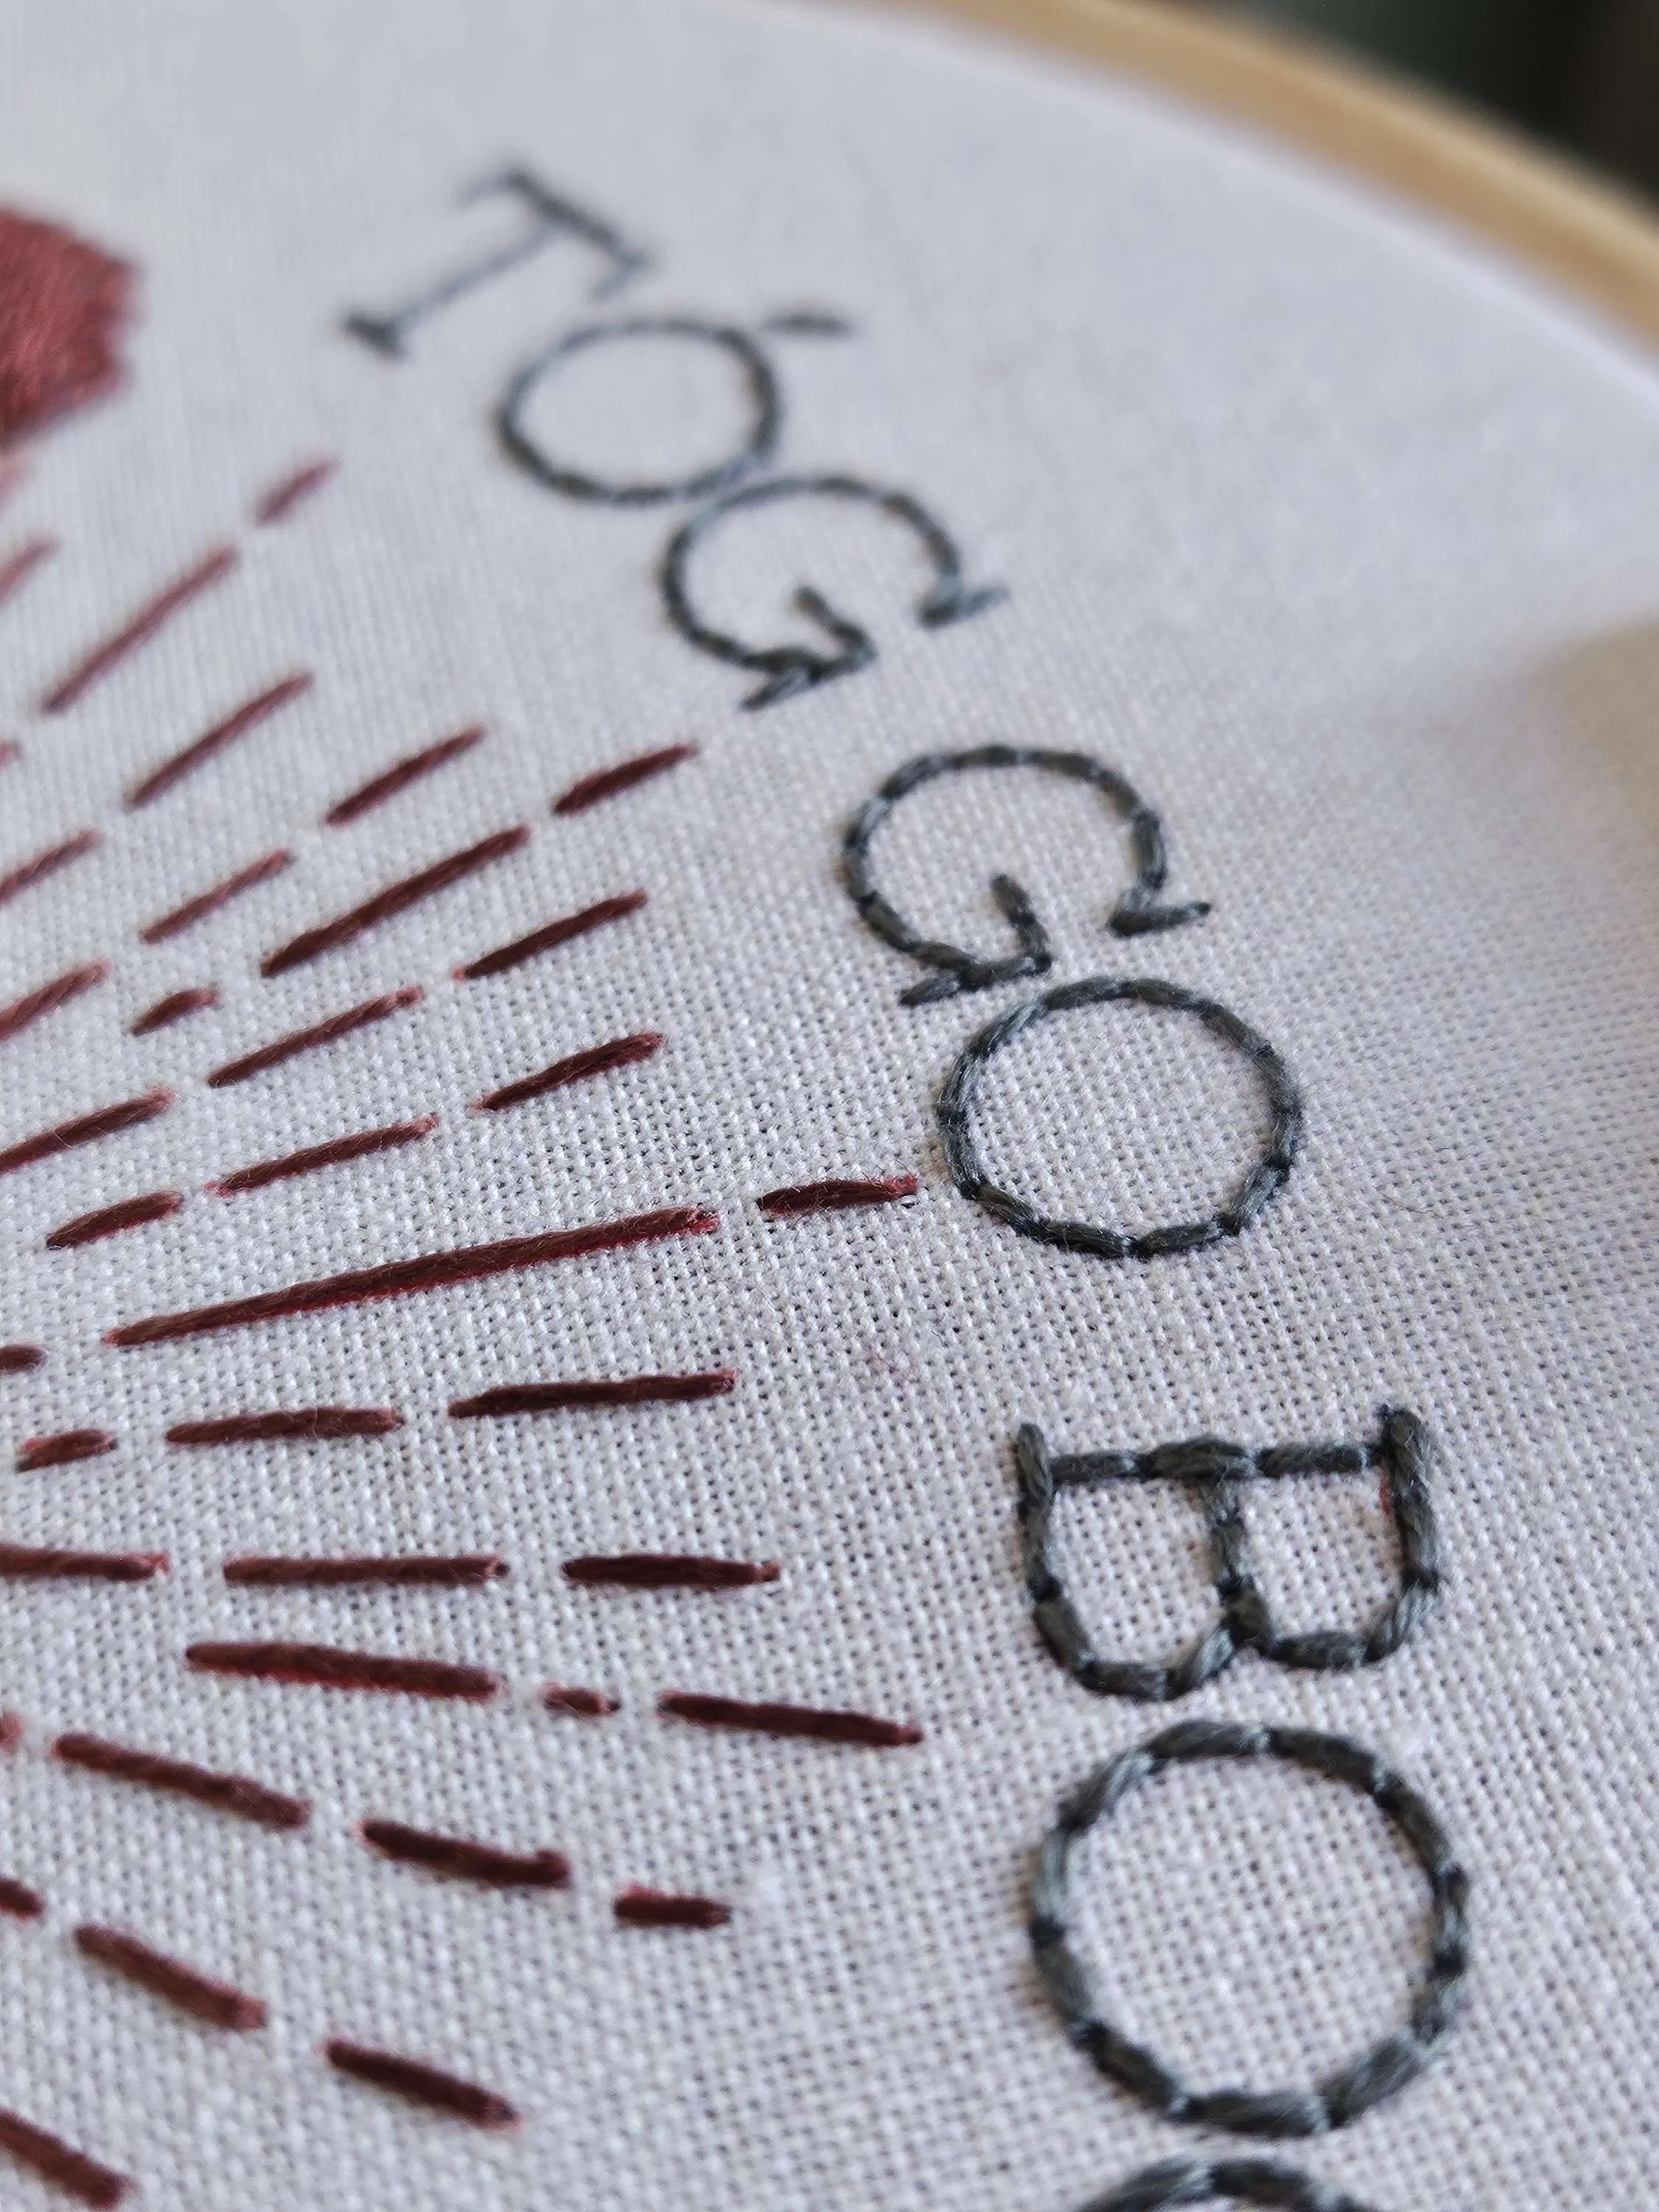
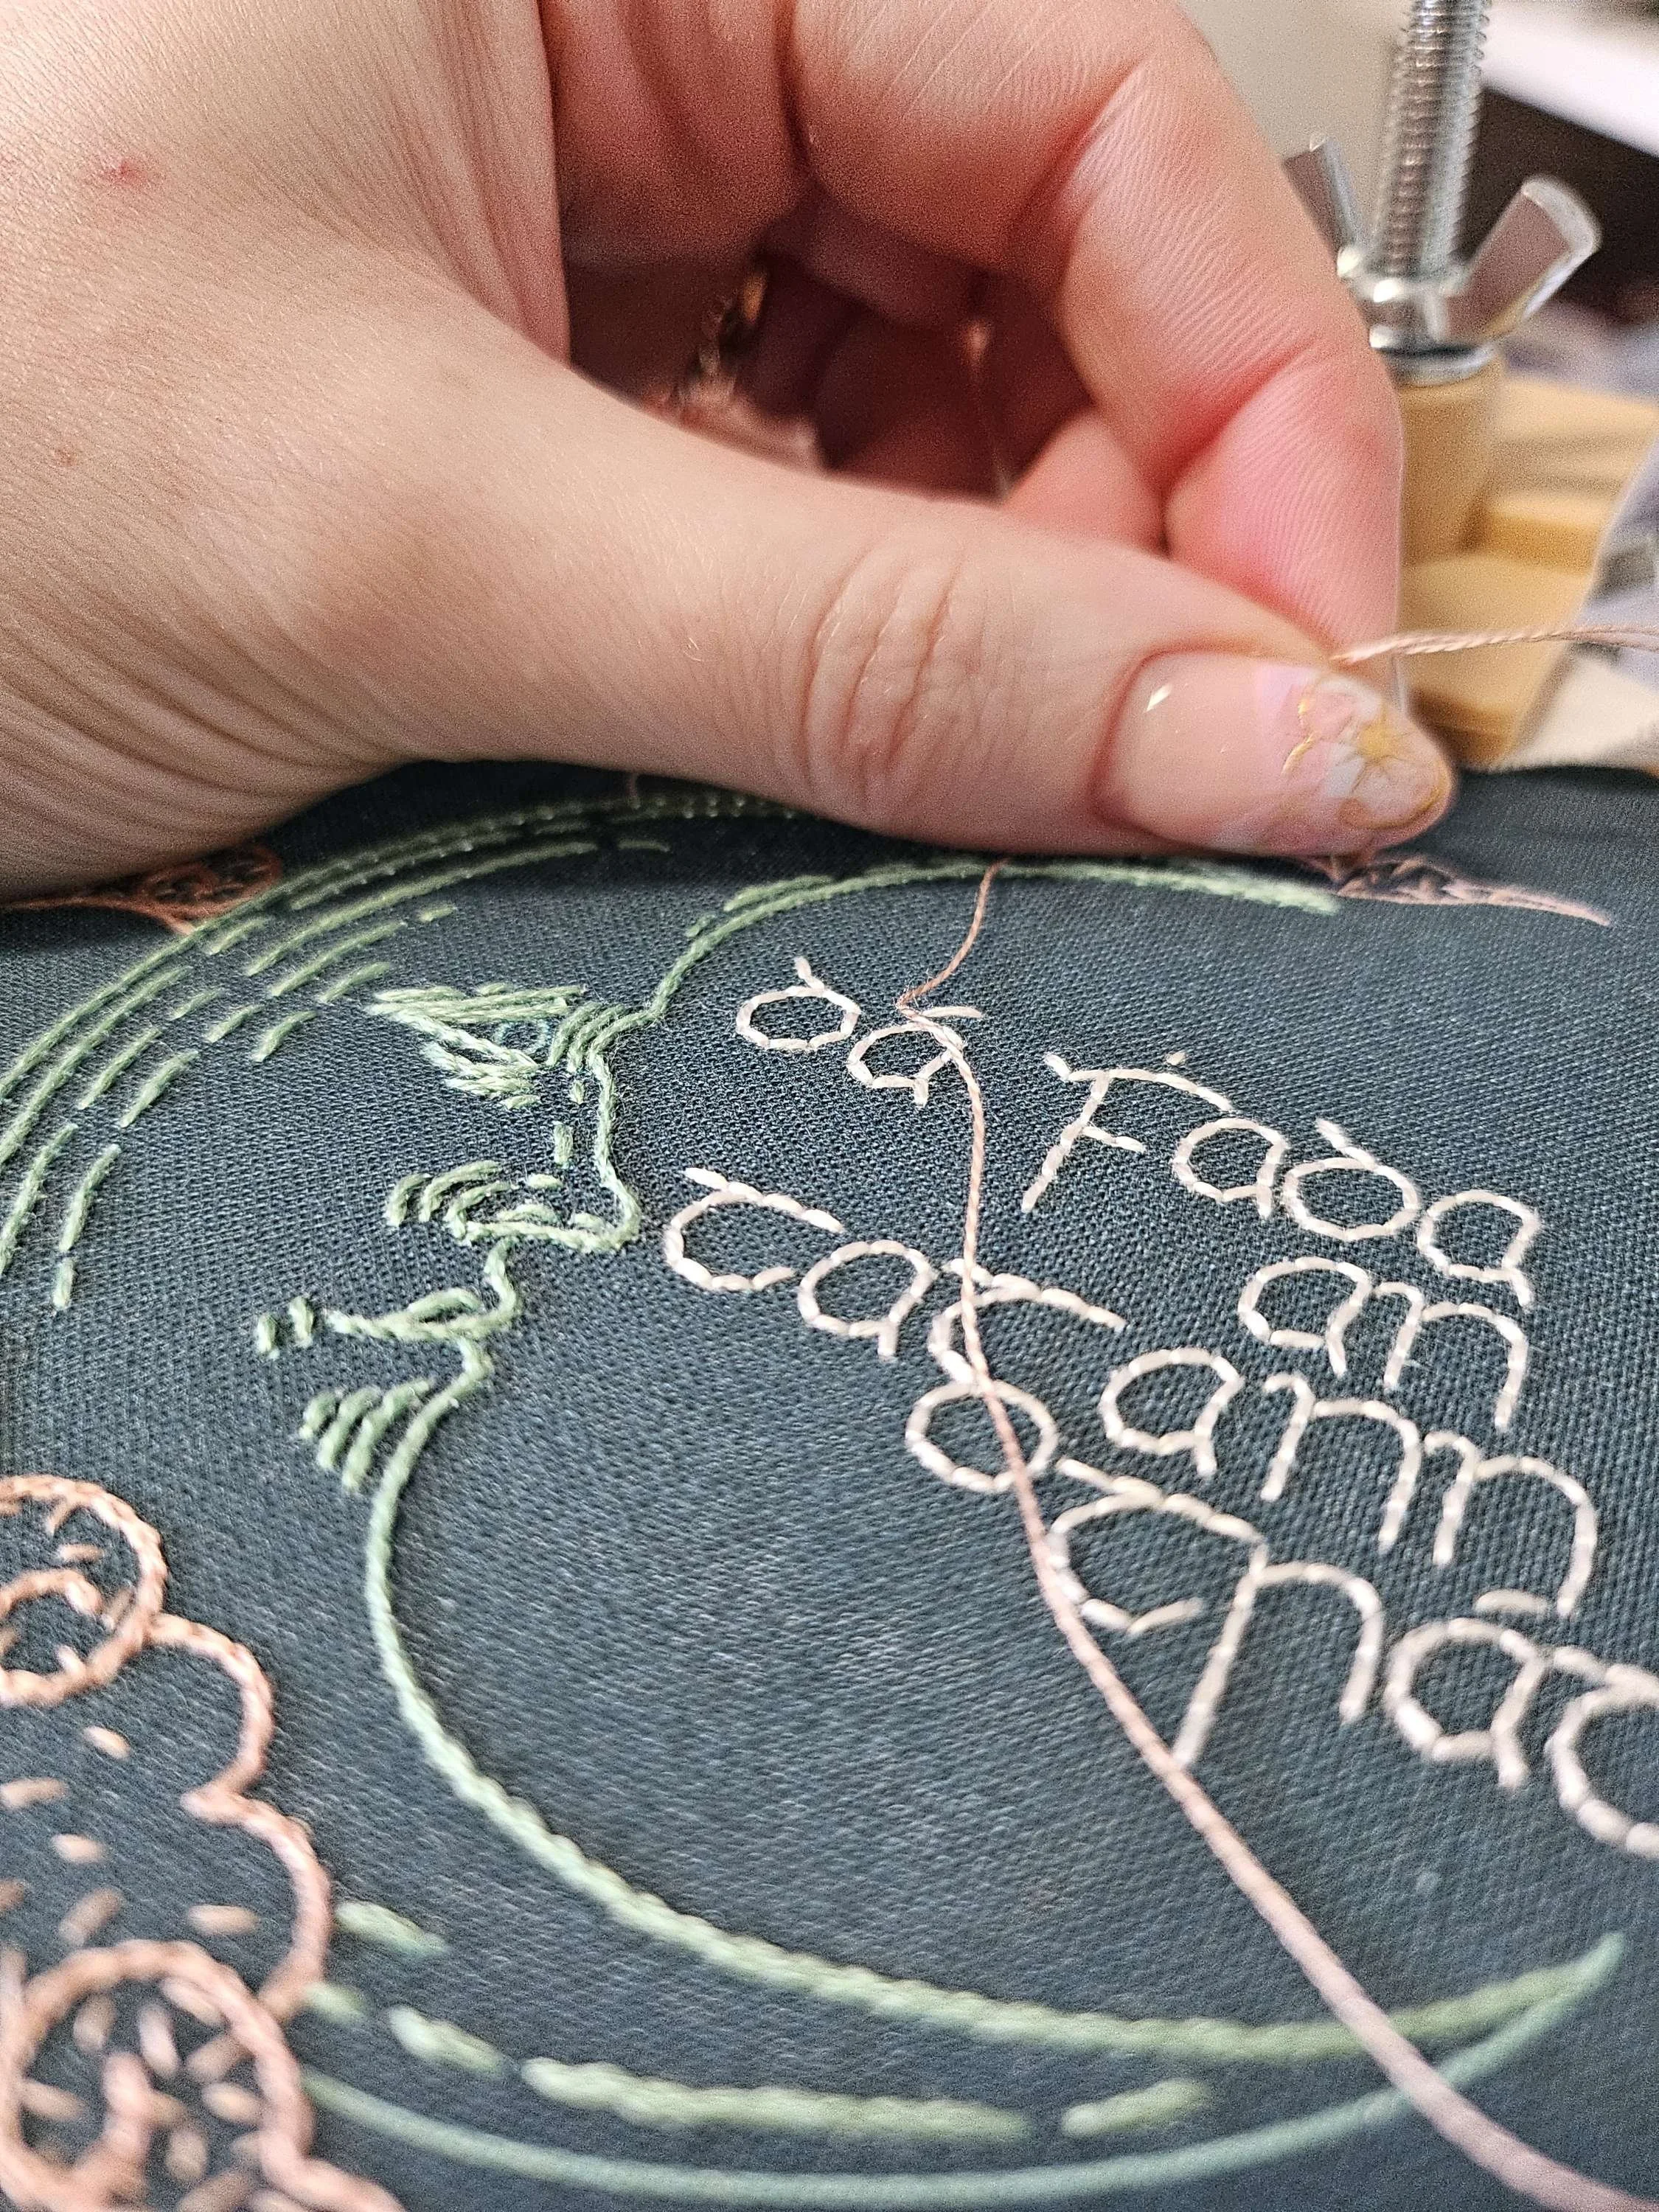
The back stitch is probably one of the easiest stitches to get the hang of. It's mostly used for stitching lines or outlining shapes. So it's ideal for stitching text! You can also whip your back stitch with a contrasting colour for a twisted effect. Or build up lines of back stitch to fill larger letters - often called brick stitch.
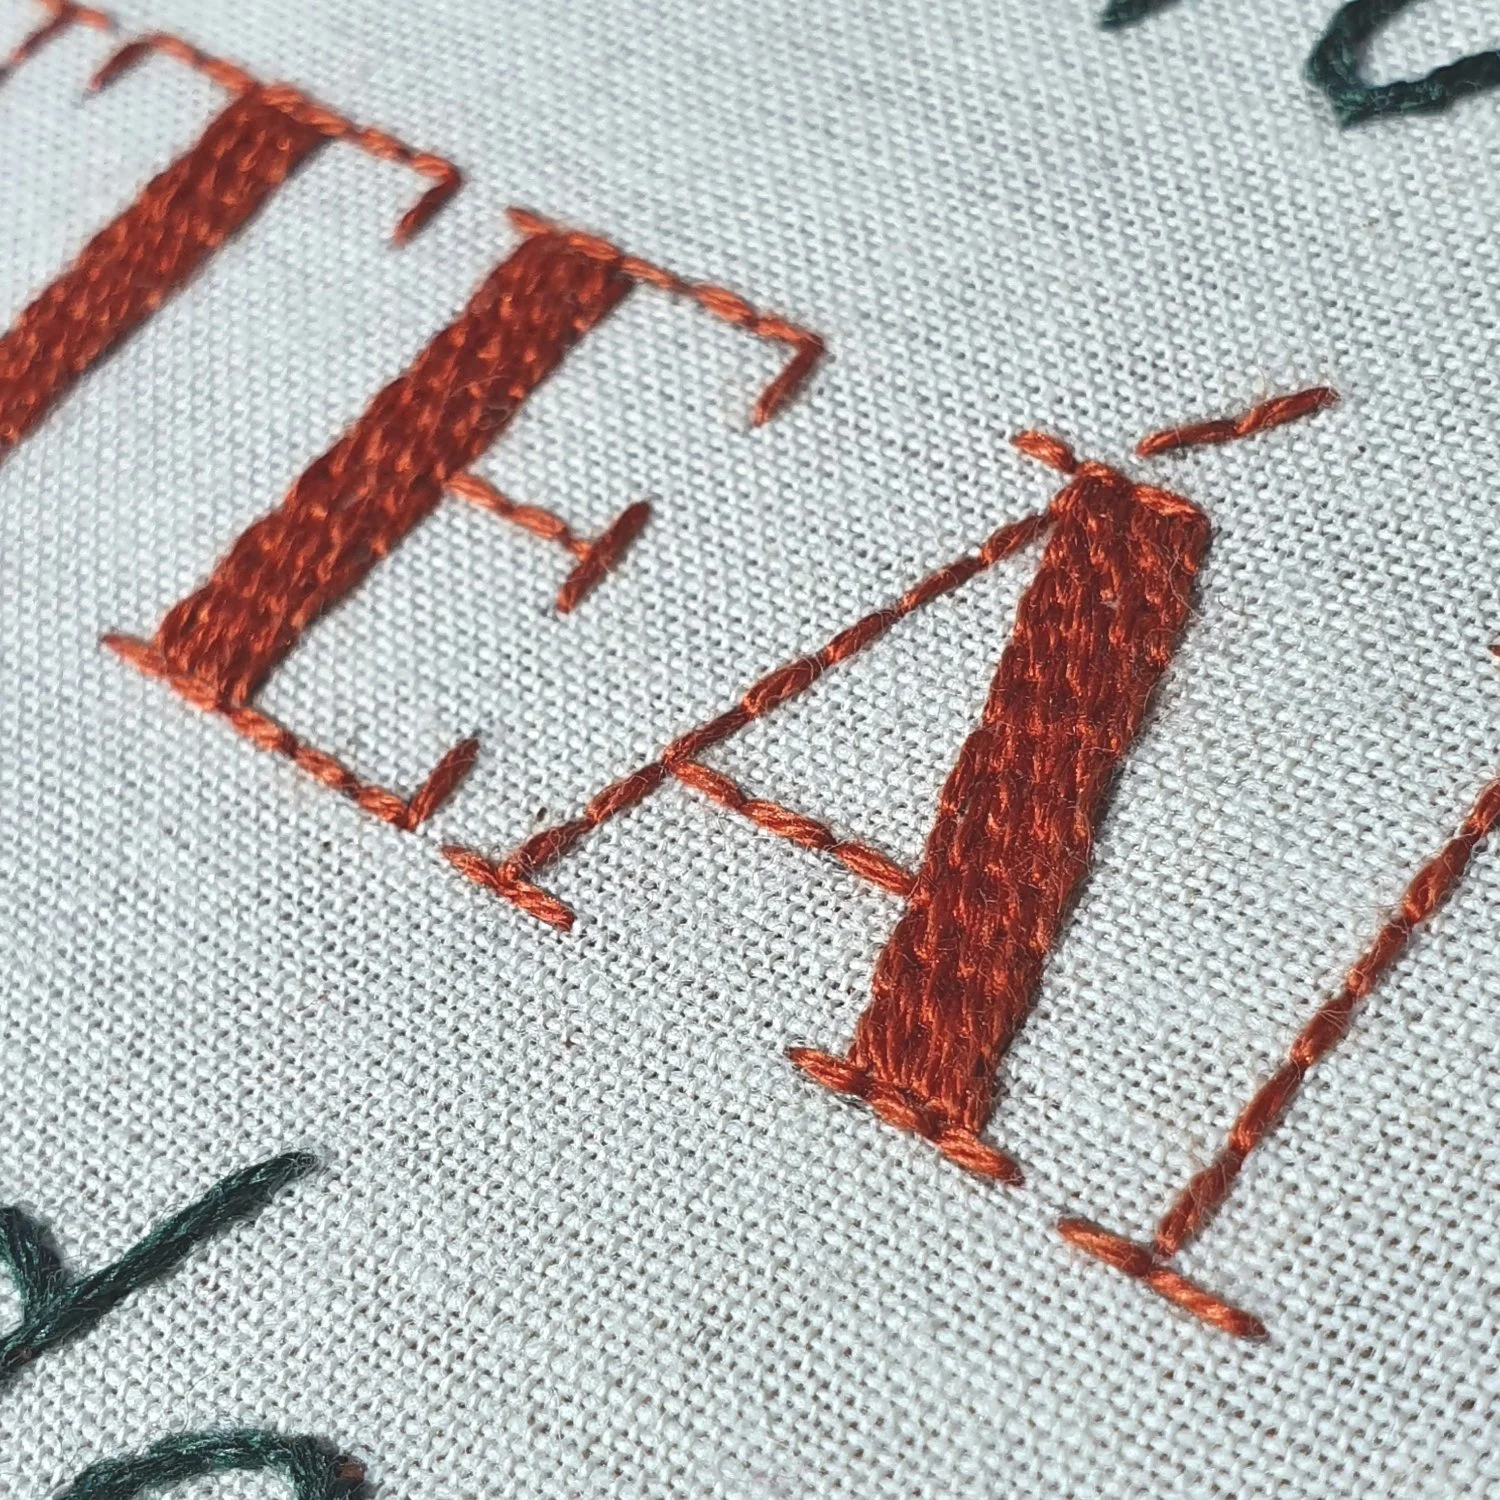
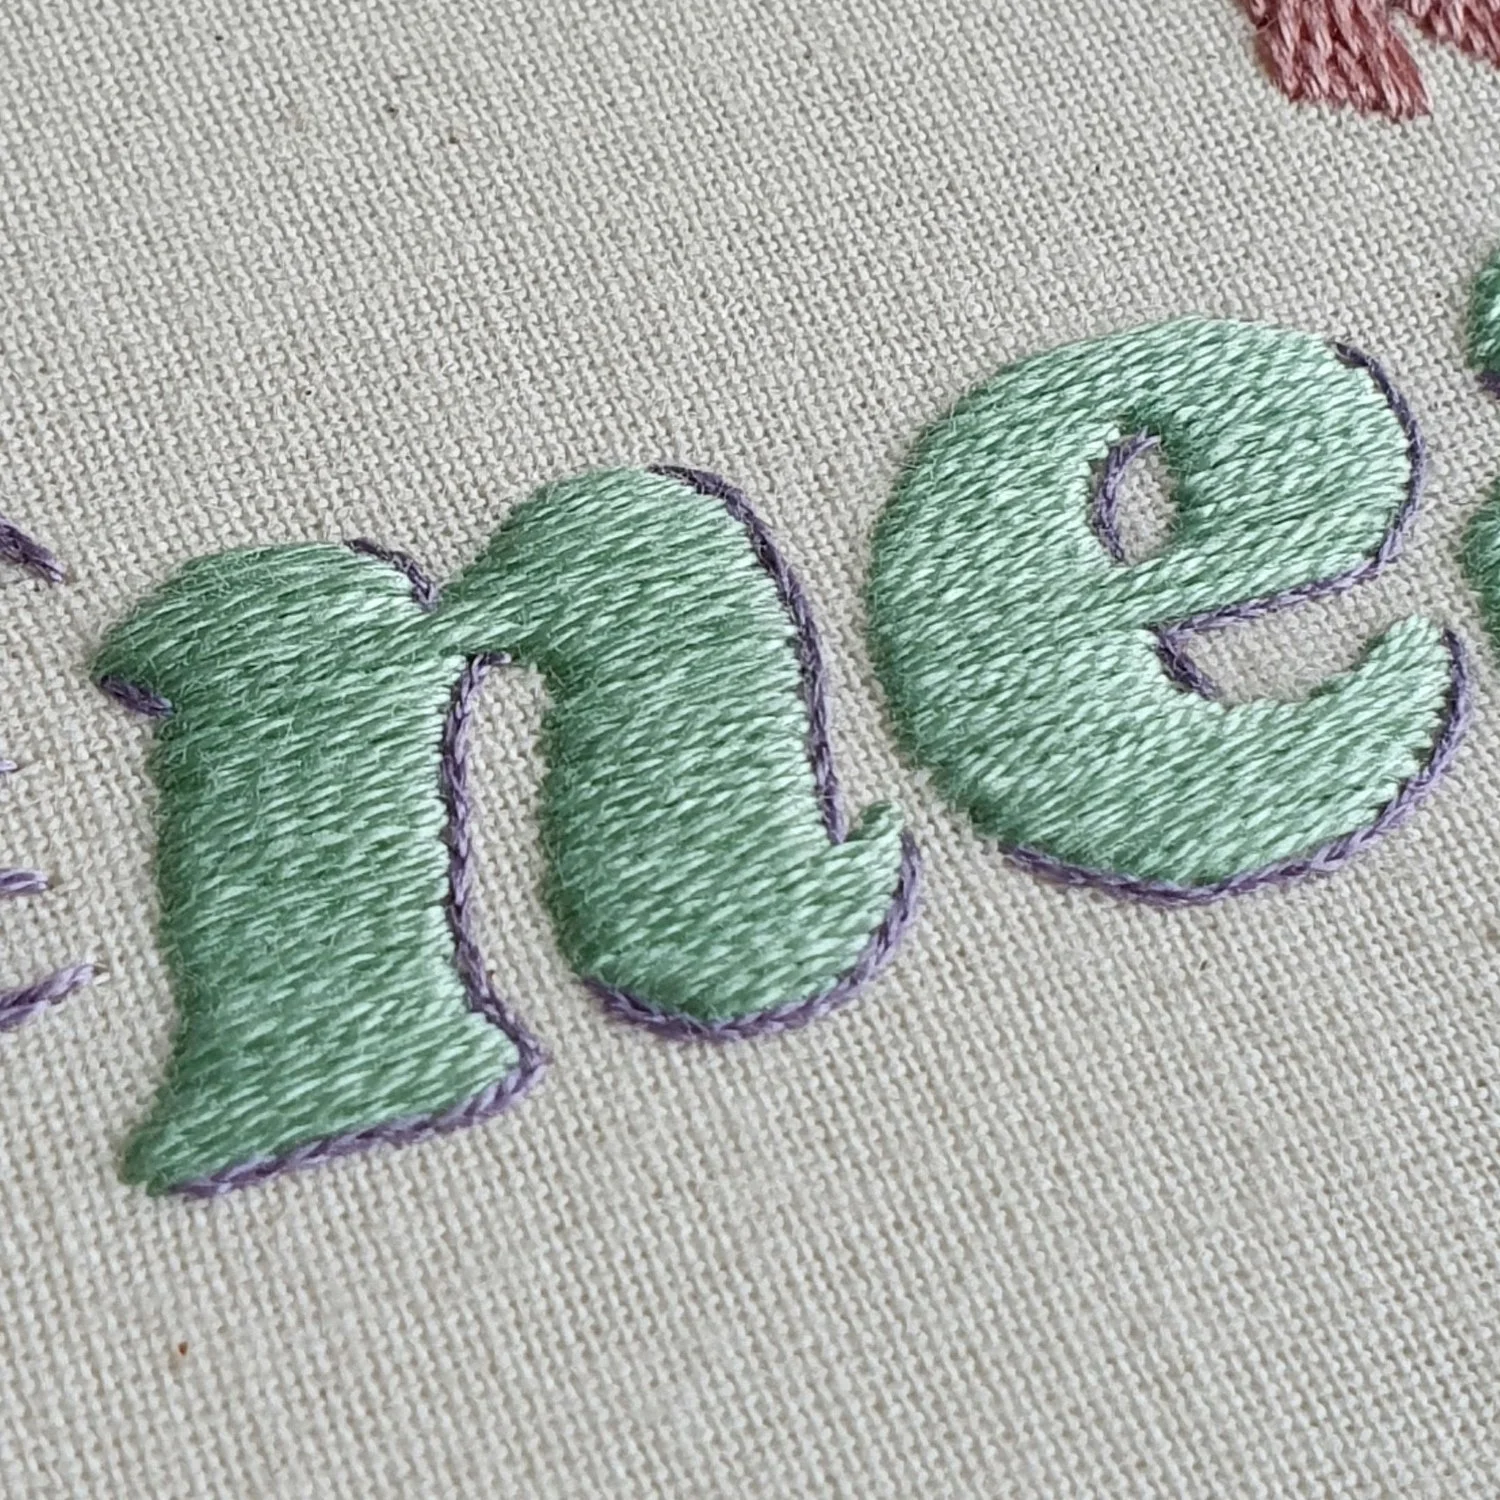
Satin stitch is used for filling small spaces with a single block of colour. Really great for big chunky lettering! When starting out, I recommend just keep your stitches straight (either horizontal or vertical) rather than trying to follow the curves of the letters. Drawing in some guidelines can help to keep your stitches on track. Padded satin stitch can be used to give your work a slightly raised effect also.
Chain stitch can be a little fiddly when it comes to lettering, and getting around all those tight curves. Make sure you keep your stitches small and stitch the lines in the same order you would if writing - that’ll help to keep everything looking neat. You can also stitch lines of chain beside each other to fill out wider letters.
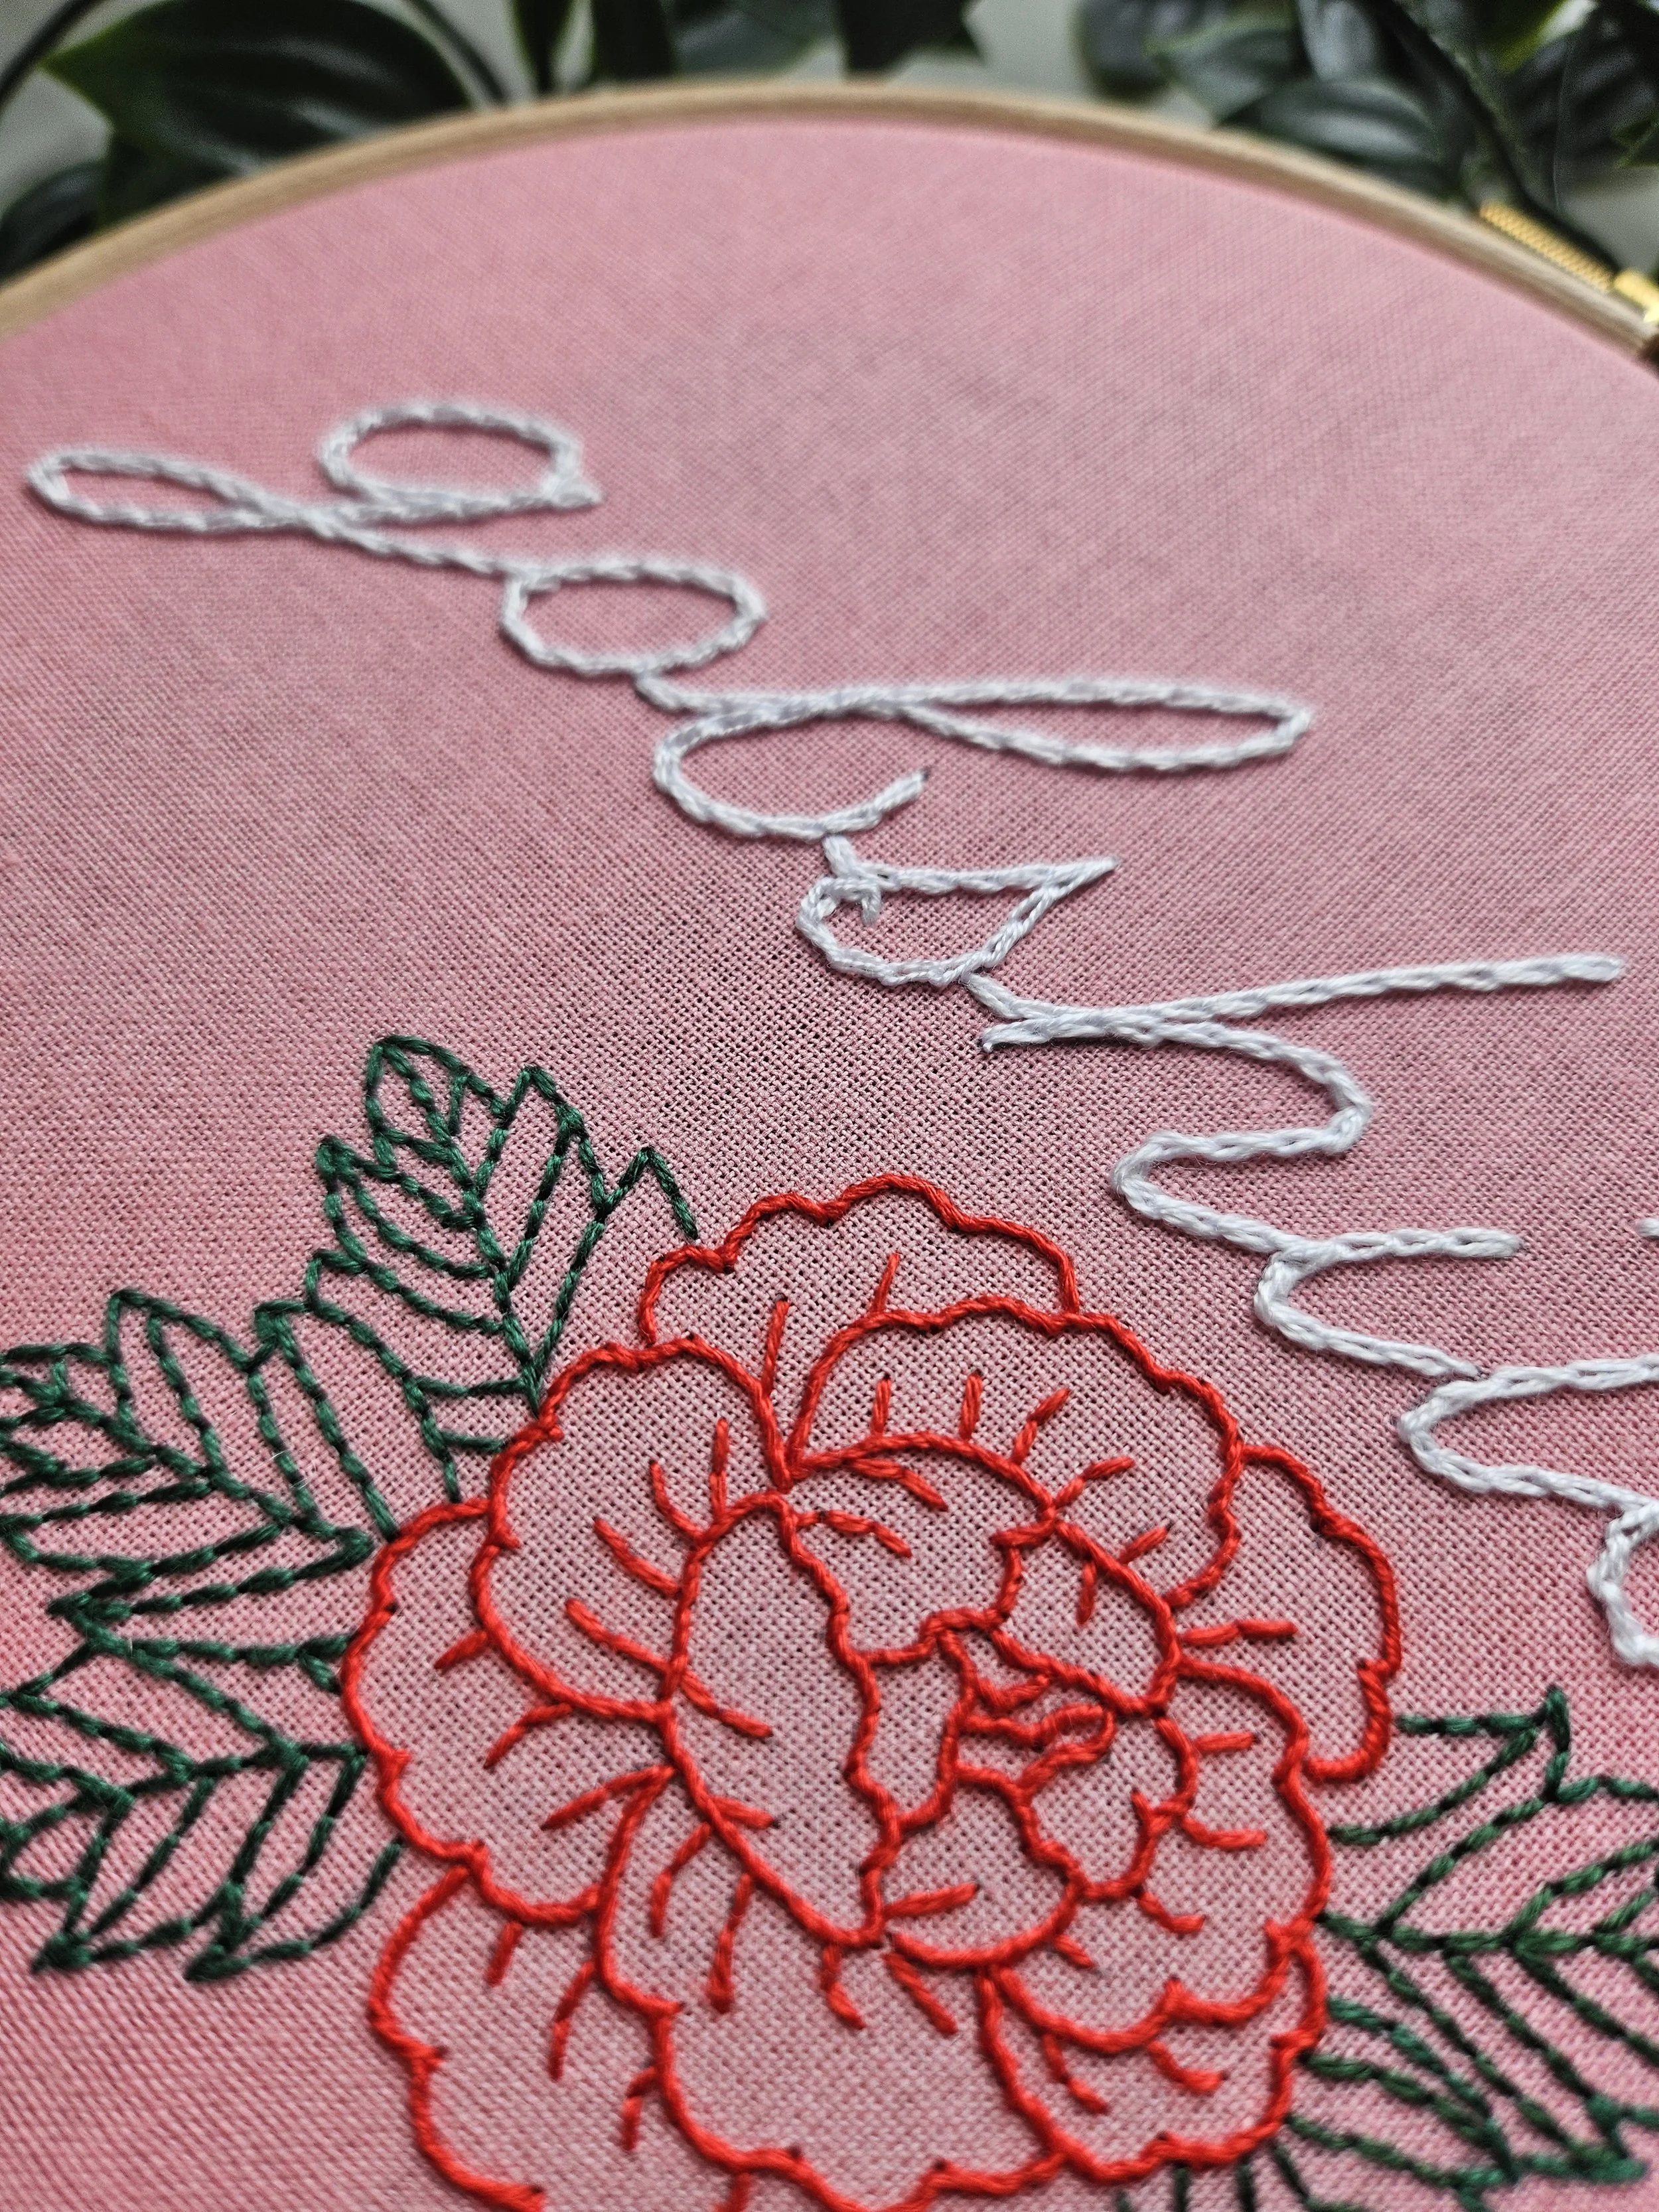
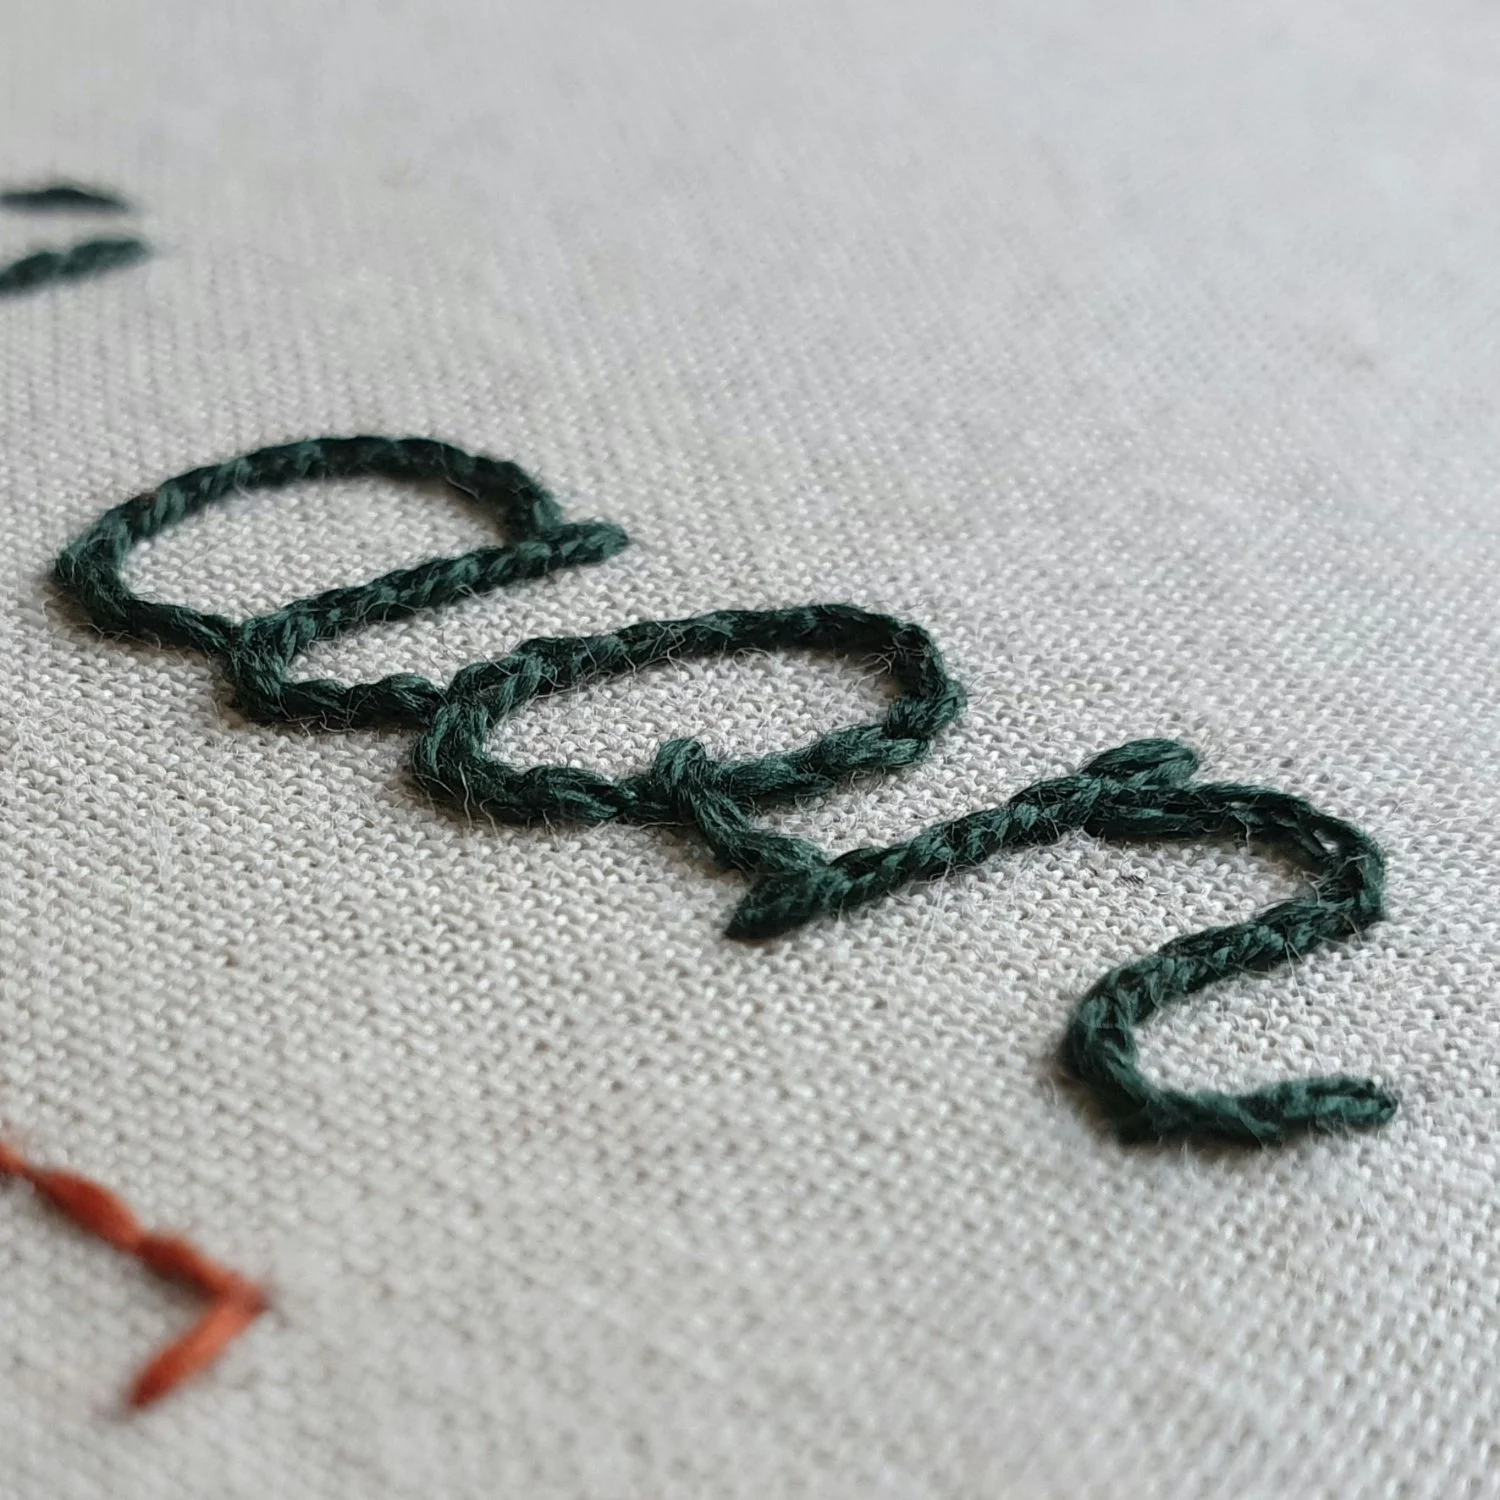
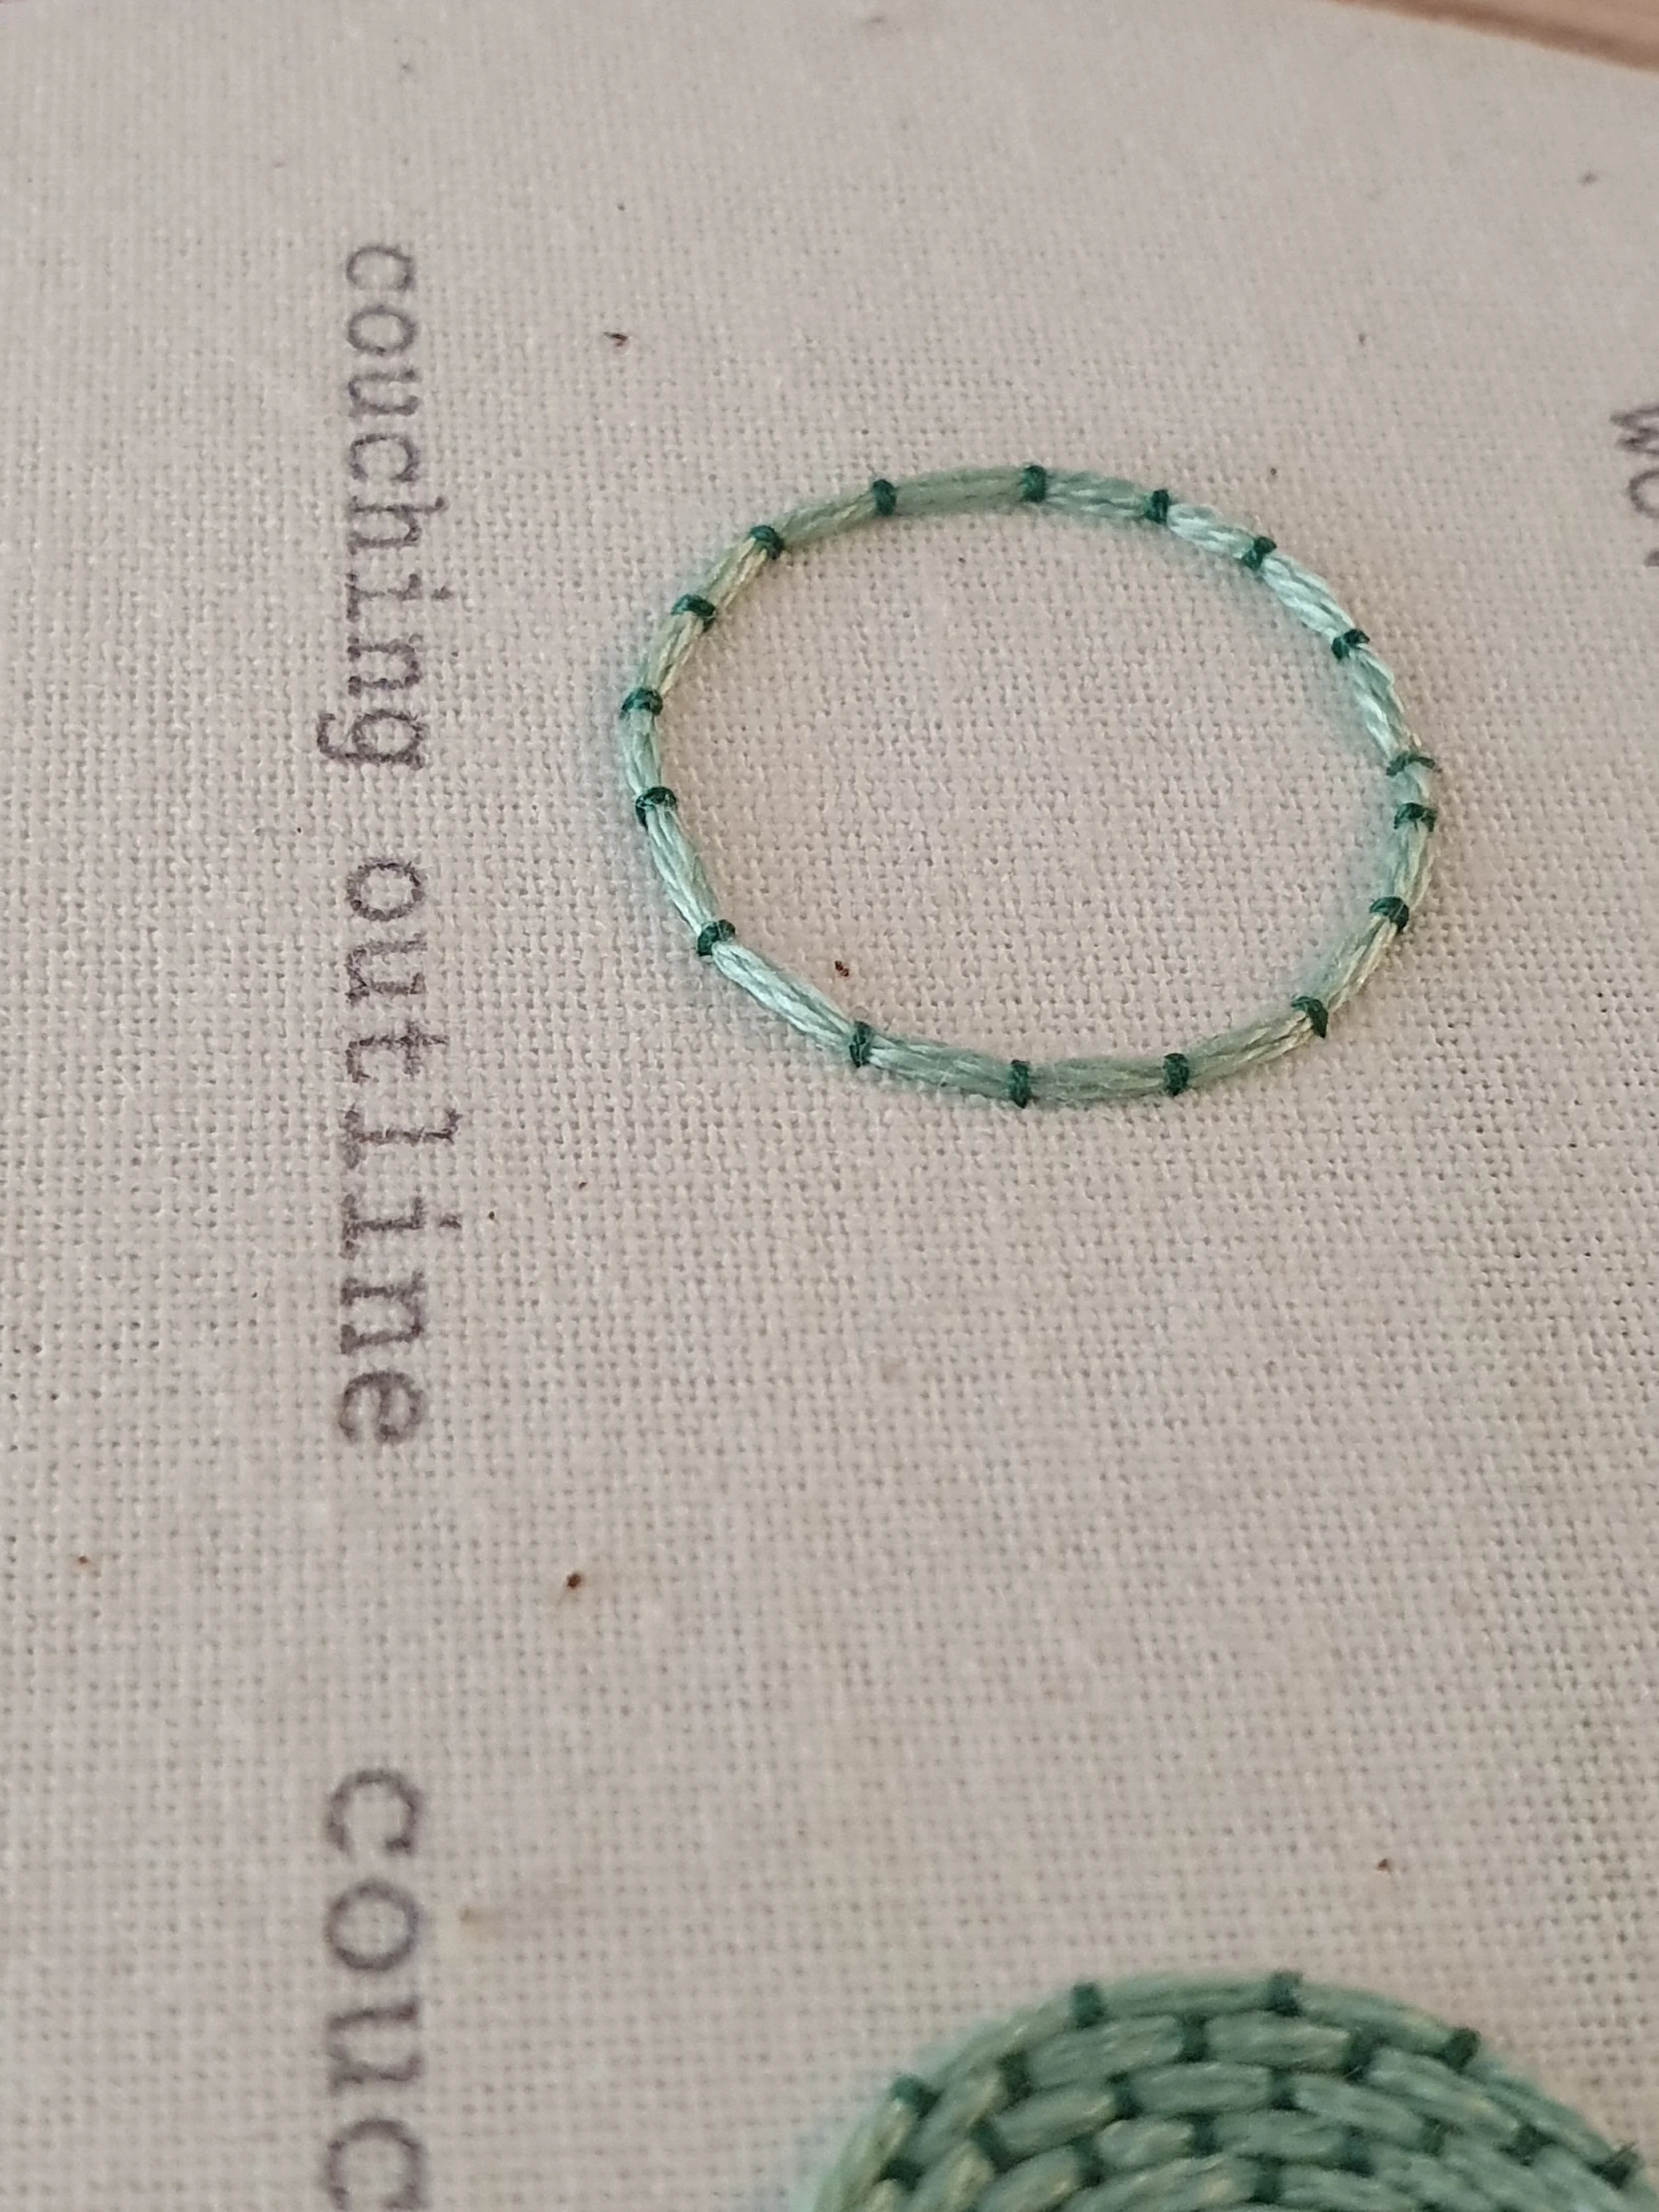
Couching is ideal for script fonts that are almost one continuous line. Couching makes it easy to manipulate the thread around all the odd curves and shapes of letters. And it's quite a quick stitch too! Make sure your couching thread is the same as your laying thread so it all blends together - unless you’re going for a funky look of course!
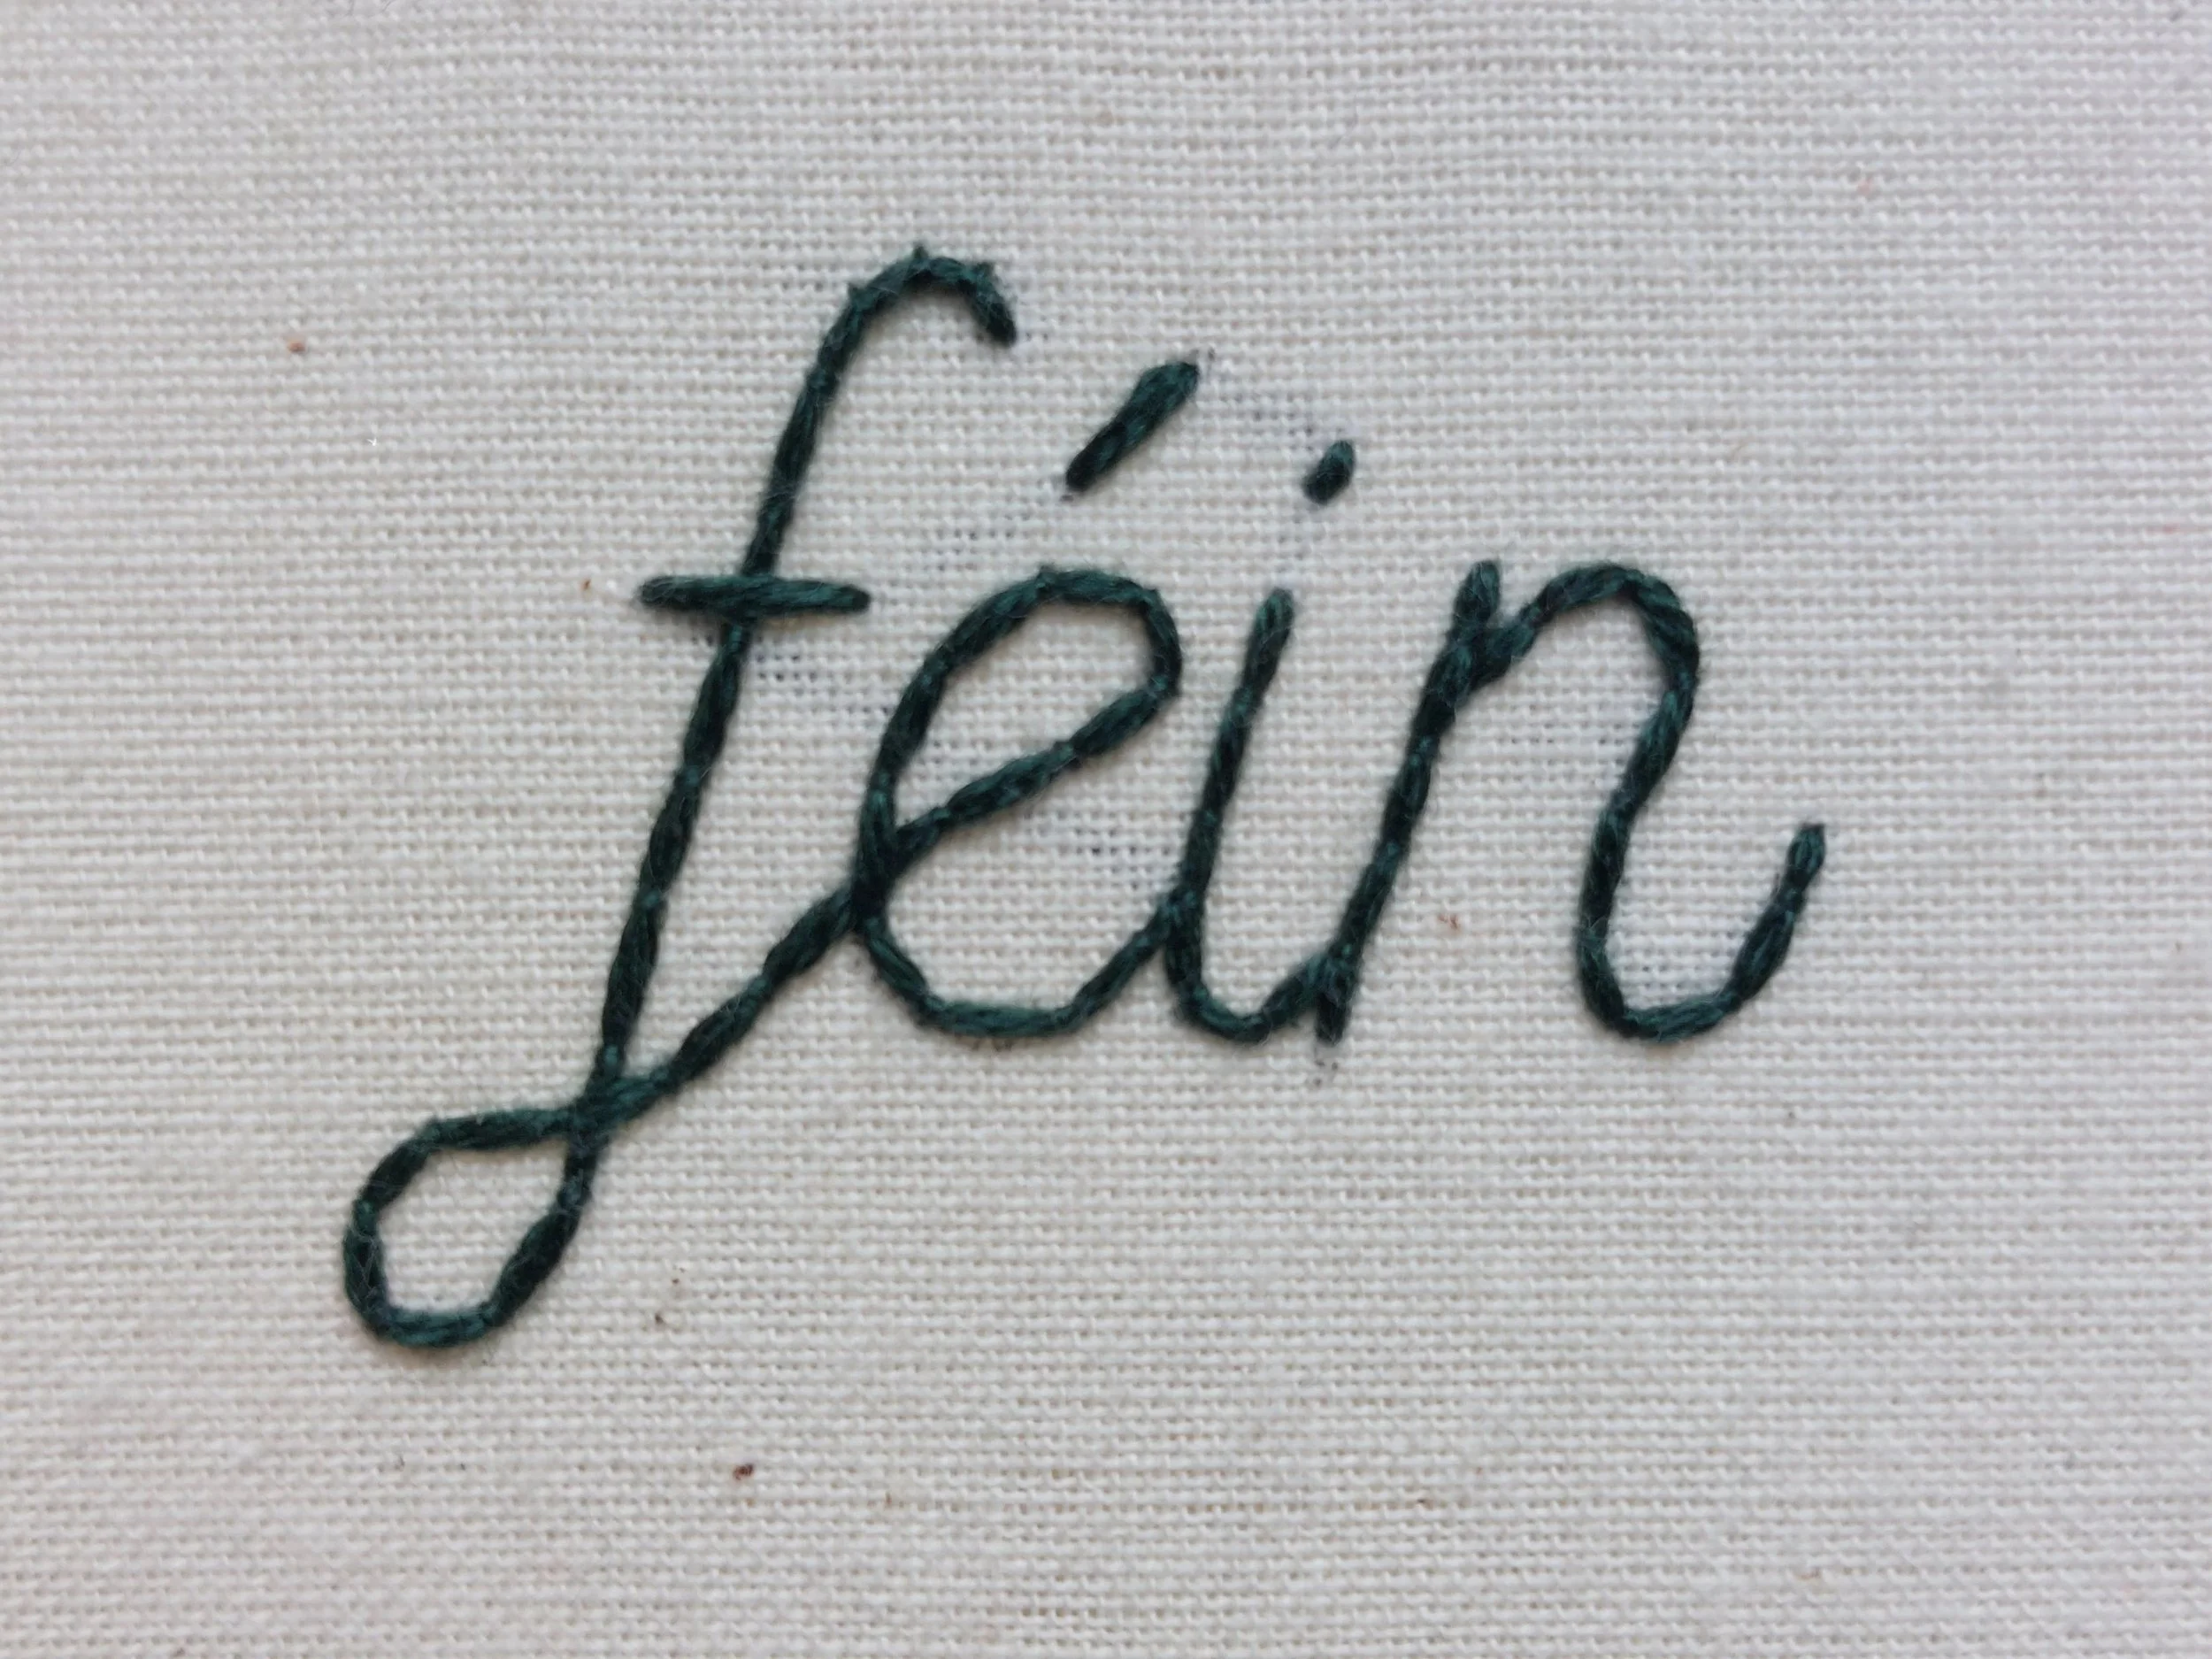
This is my absolute favourite stitch! It gives the look of one single line of twisted thread - almost rope like. And it looks great when you build up lines of it side by side to fill larger letters. Where posible, stitch curves in an anti-clockwise direction to stop the stitch leaning in on itself.
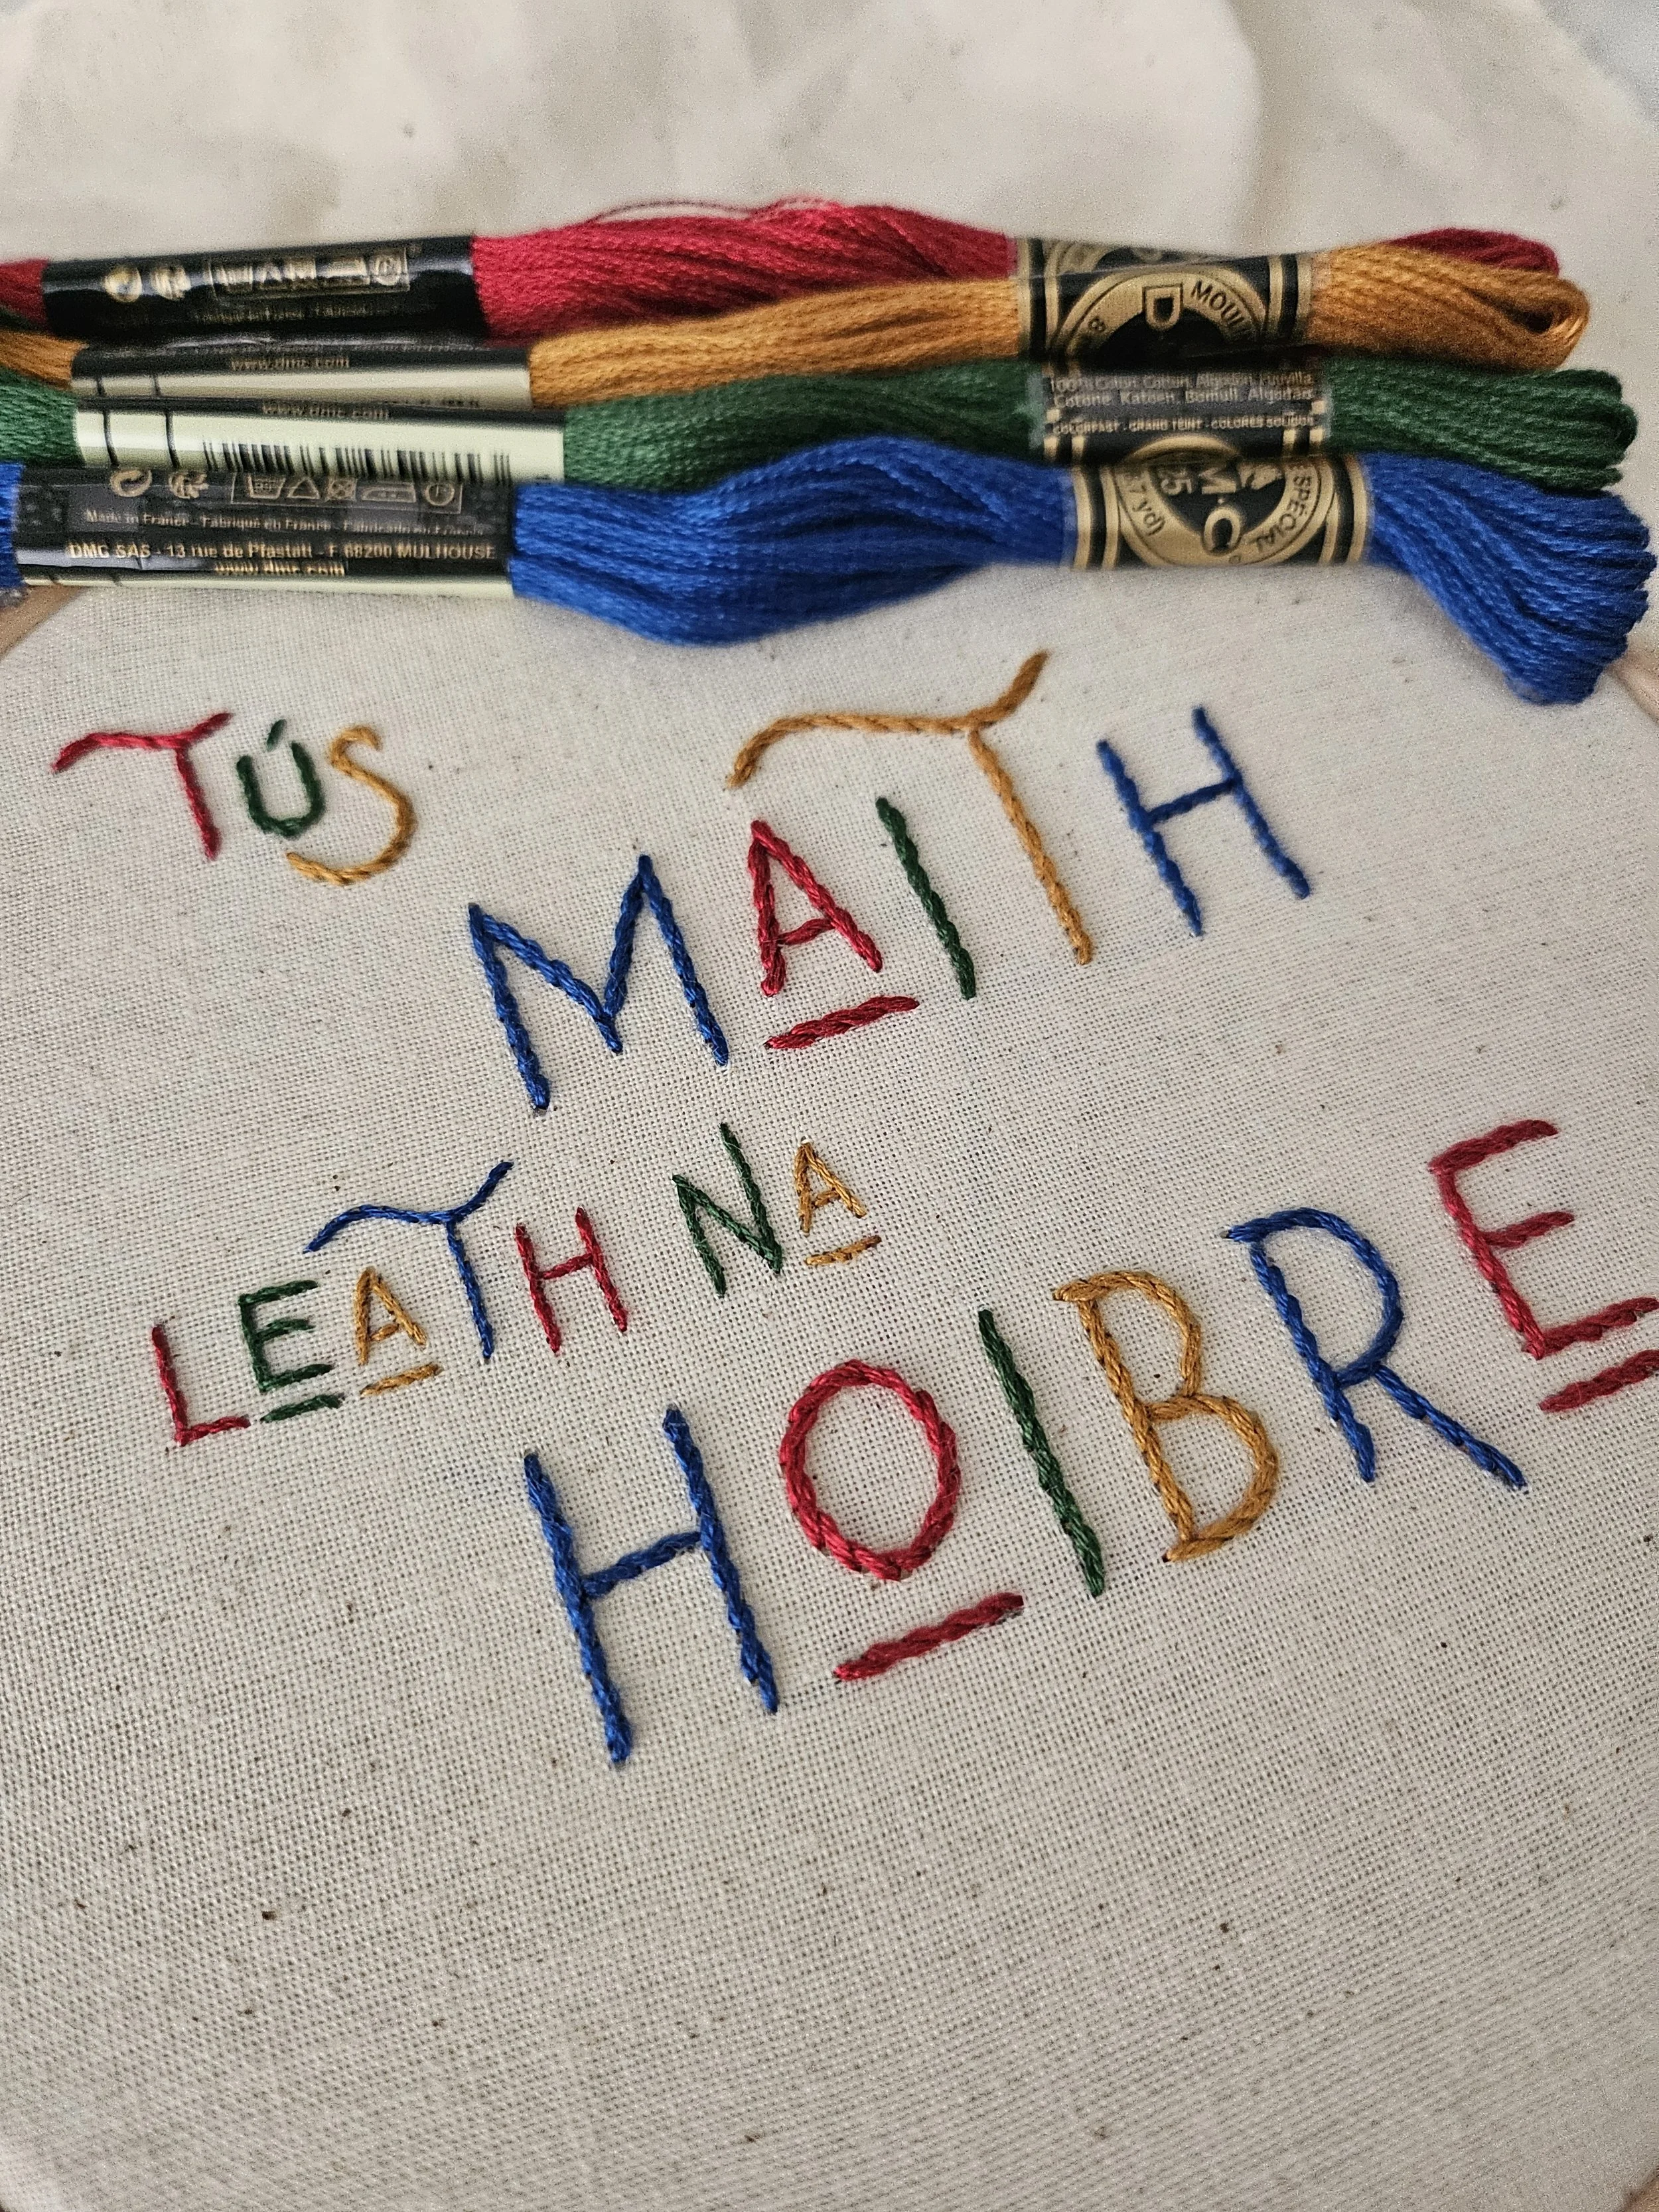
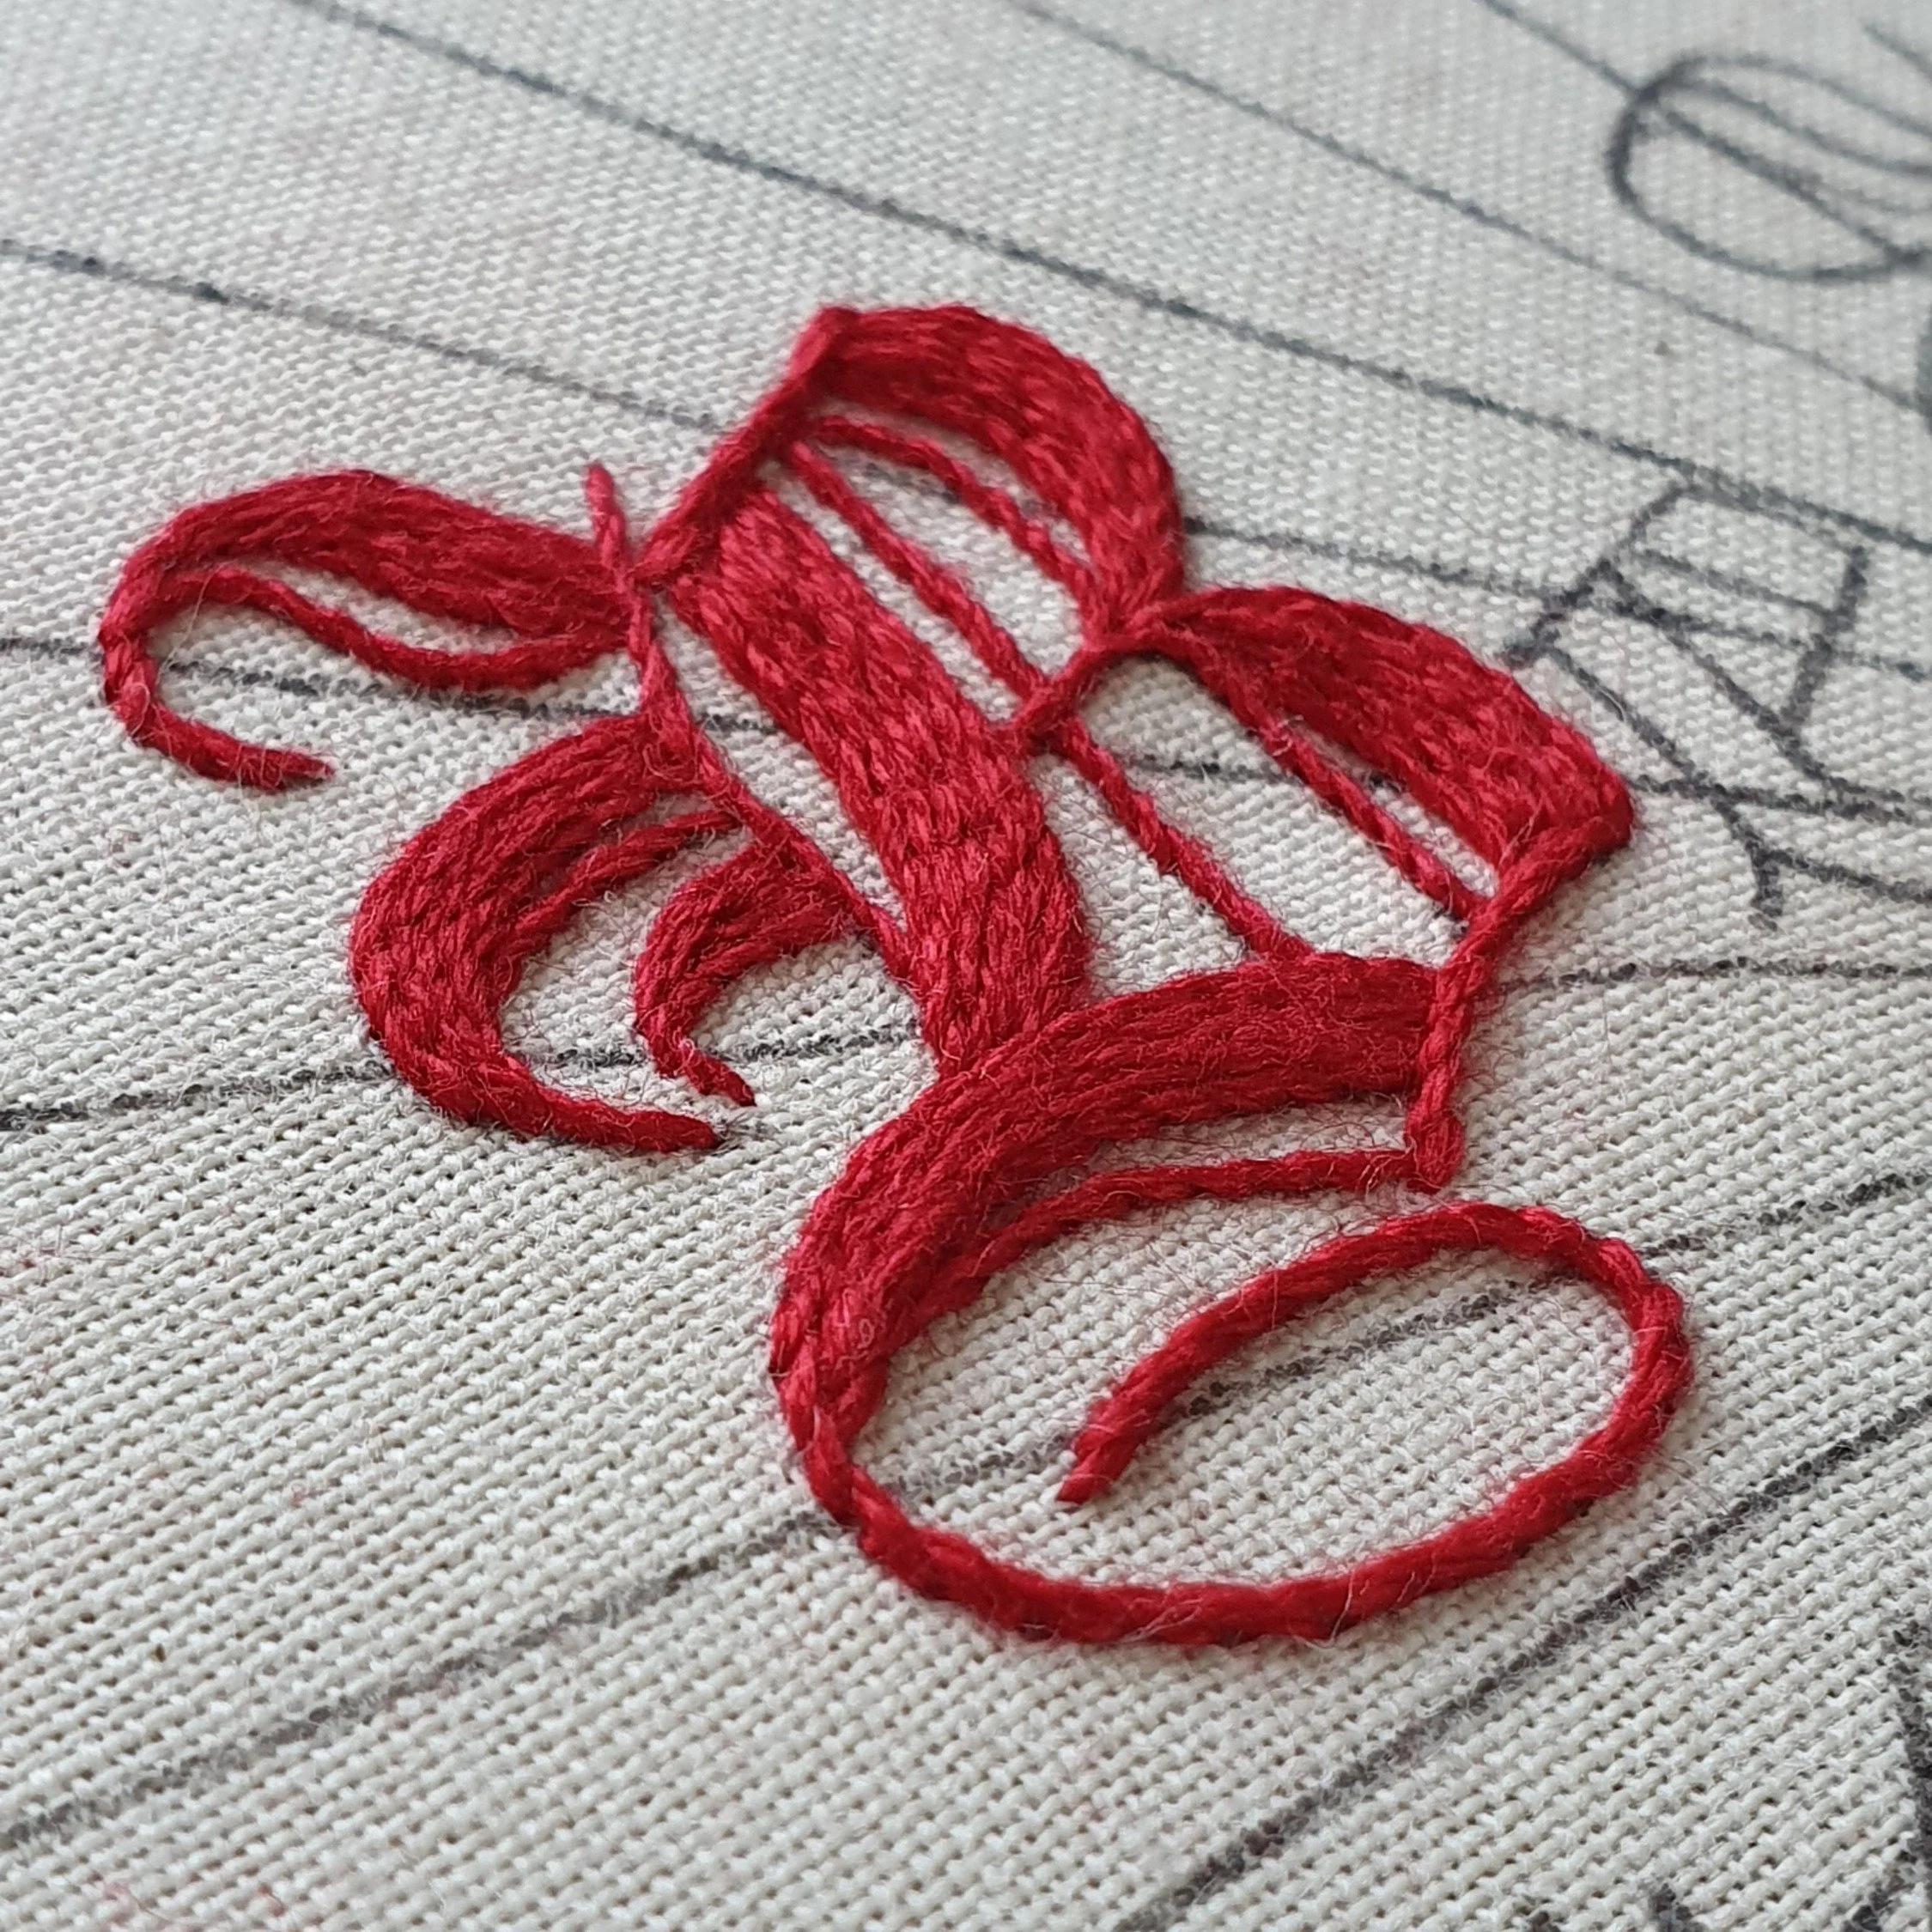
I hope this list helps you along on your embroidery journey! If you have any comments or questions, please leave them below or email alice@bealice.ie Check out the video library for more stitch tutorials.
